This page will help you with your first steps with Workflow Designer after you have installed the module and configured the license.
First I will describe the differences to the integrated module and then write what you can do.
Main differences from the internal module
In the internal workflow function you can connect a condition with one or more actions, but always in a single path from the start to the actions.
The Workflow Designer is based on single tasks that can be combined individually. This allows you to build a business process that uses each function flexibly.
You only need to be able to divide your process into small parts to build complex workflows.
Each task has an input (green) and one or more outputs (red).
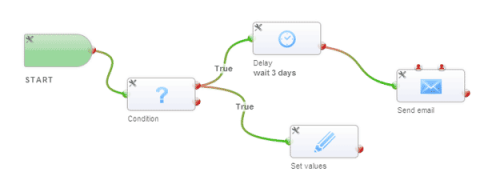
The execution follows the path from one task to another and executes all tasks to the end of the path. You can connect two tasks in one output and split the execution into two paths. If you split the process, then each path will execute to the end, regardless of whether the other path has already executed a task.
If you were to migrate your old internal workflows, the result would look like this:
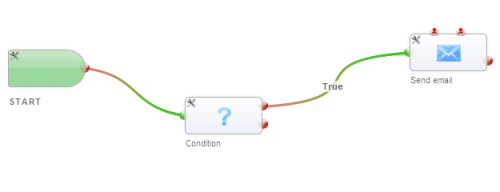
(Figure 4 represents the function to split the path when you add 2 actions in the internal workflow).
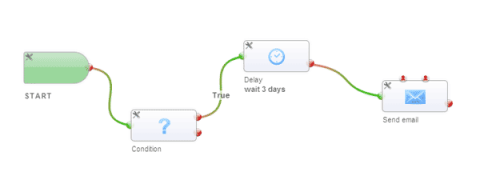
Each workflow runs at a defined time and is terminated after execution. Recurring workflows, such as a birthday email every year, work without hacks.
The new workflow module allows you to connect the last output to one of the first inputs, and create a workflow with infinite duration!
(Don’t forget to add a delay to prevent mass mailings).
First steps
- Each workflow starts with the [Start] block. This block saves the configuration like the execution trigger or the record filter. (For the first time please set “Start trigger” to “on first save”).
- To configure a block, simply double-click on the task or use the small utility icon at the top left of each block.
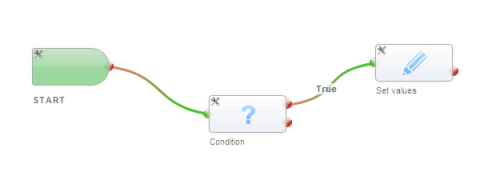
- For this example, add a condition block from the left menu and set a condition you need. (For example, “Last Name” contains “Test” in Contacts).
- Now create a path by dragging and dropping from the output of the “Start” block to the condition entry point. (If you want to delete a path, just click on the path).
- Next use a “set values” block and connect the top (true) condition output to the “set values” input and set up a value change setting that you can detect. Optionally add a second “set values” block connected to the lower (false) output. But this is not necessary to see the result.
- The result should look like the first image of the upper images.
- After you have activated the workflow in the overview, you can create a record with the values that match the condition you are using in the condition task. After saving, you should see the changed value.