To inspect the playground as an inspector, you must use the playground app.
Enter your login and password to login and start the inspection.

When you are logged in, you will see the list of inspections planned for today and the time defined for them. You will also see the name of the playgrounds that are being inspected.

Click on the required inspection and press the right arrow to start.
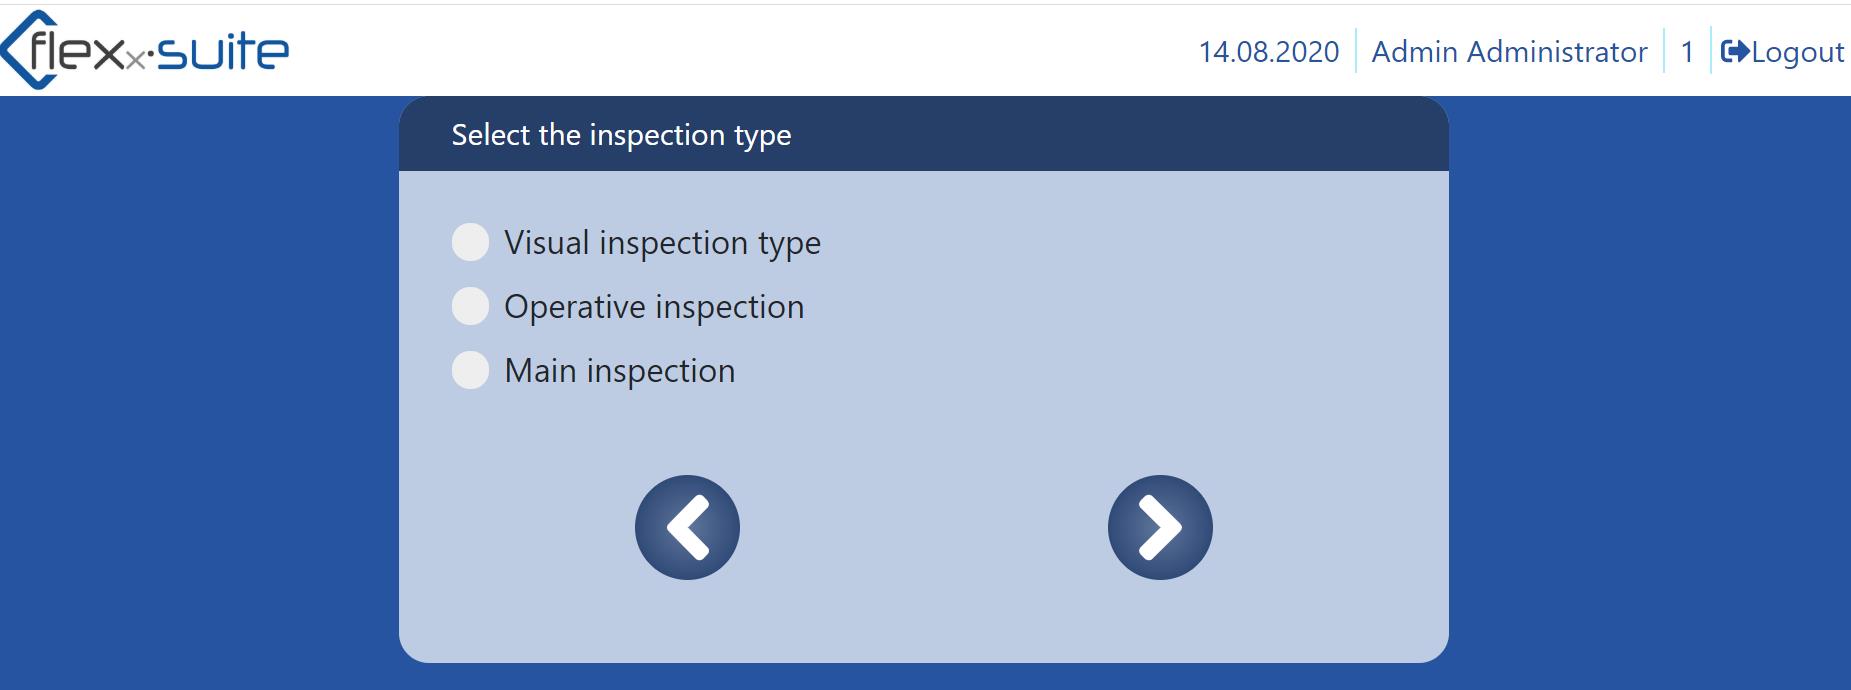
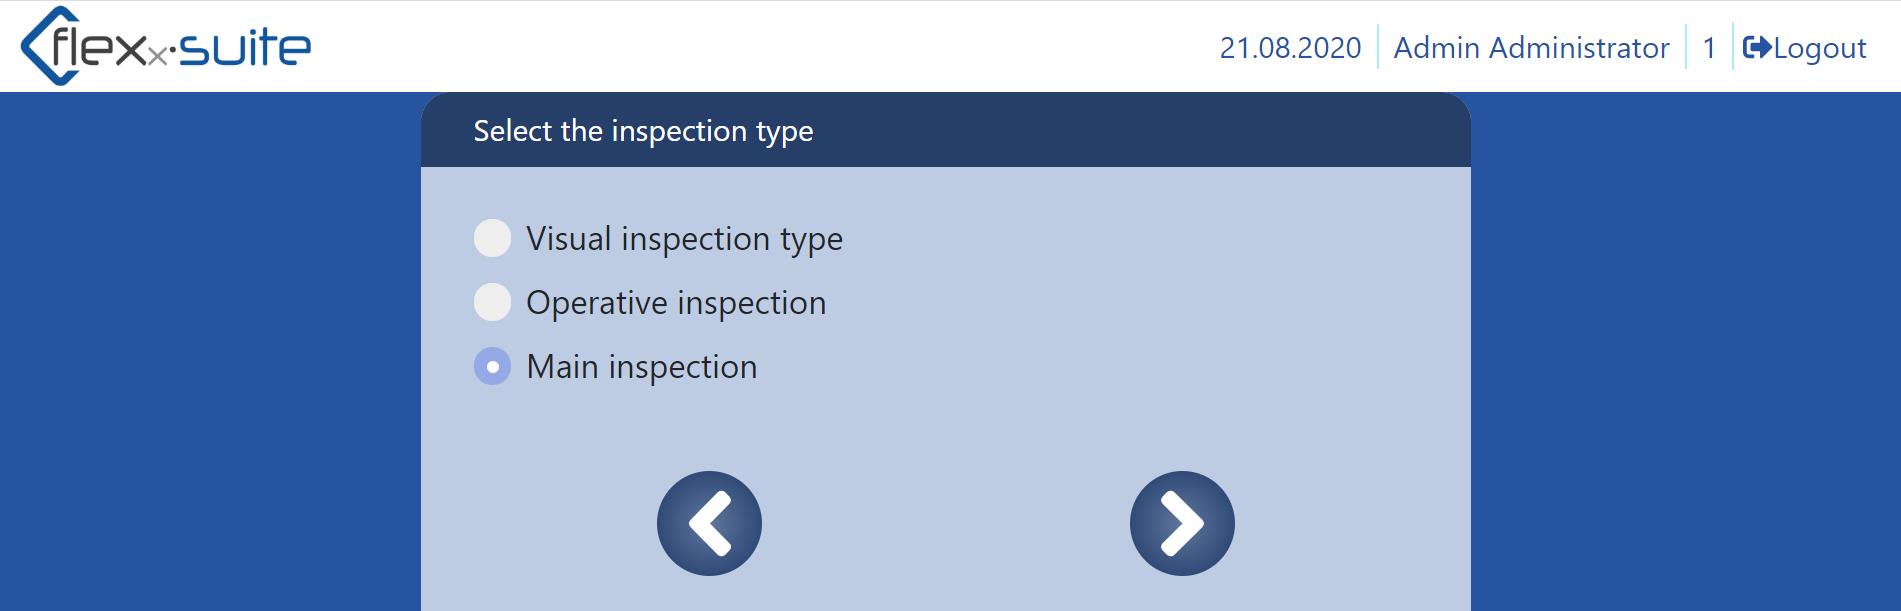
In this menu you have to select the type of inspection from three existing ones.
Visual inspection / visual routine inspection
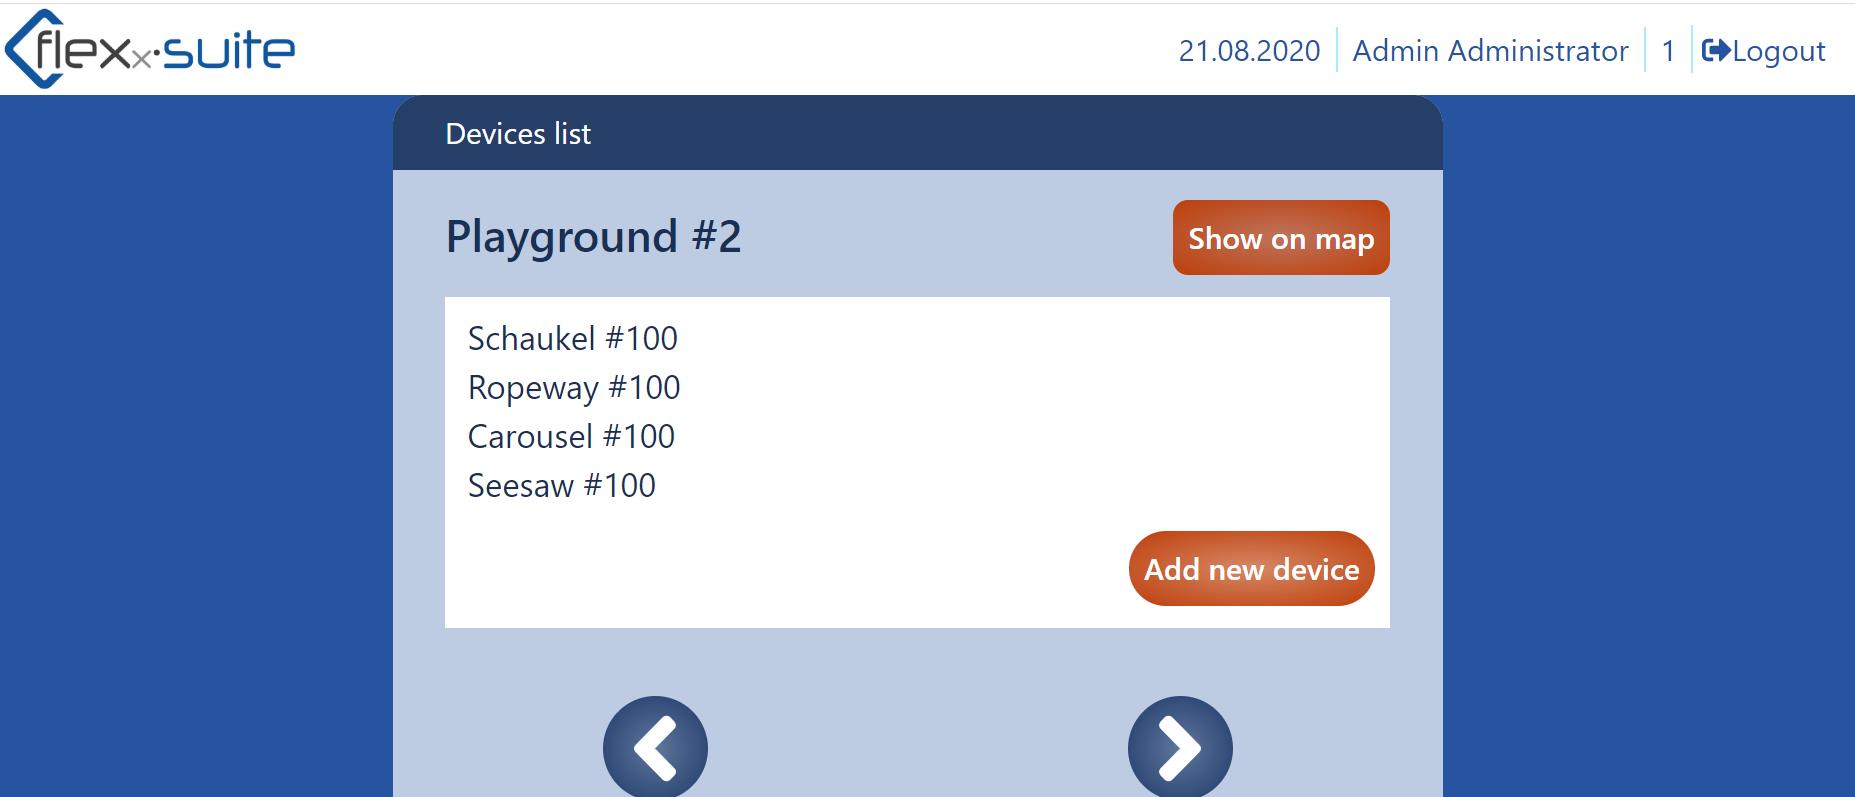
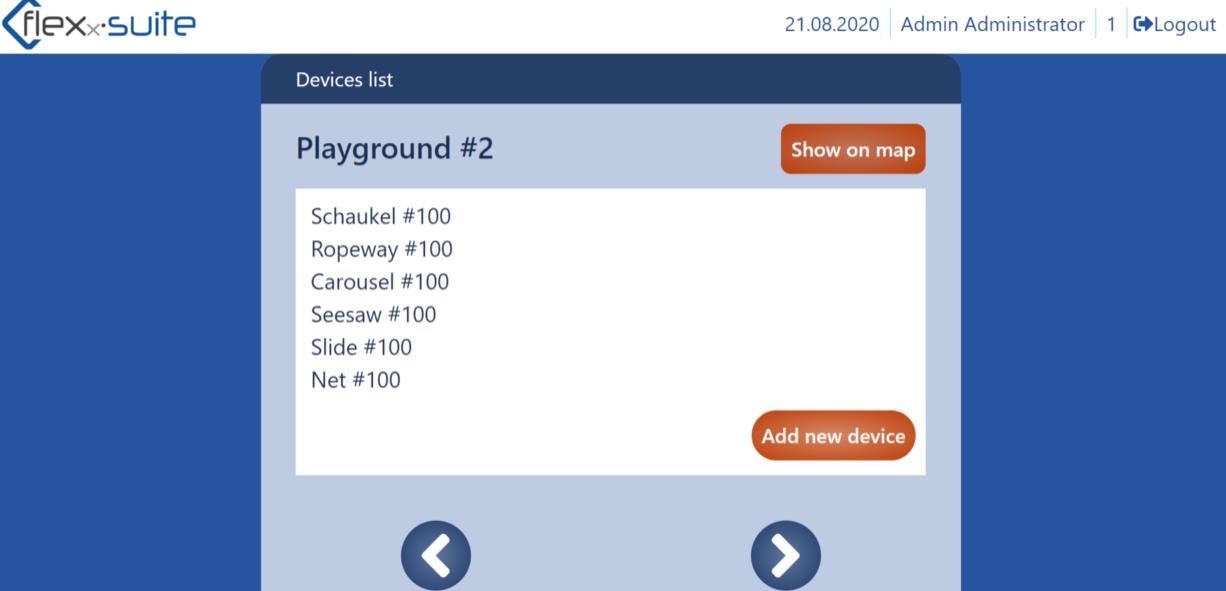
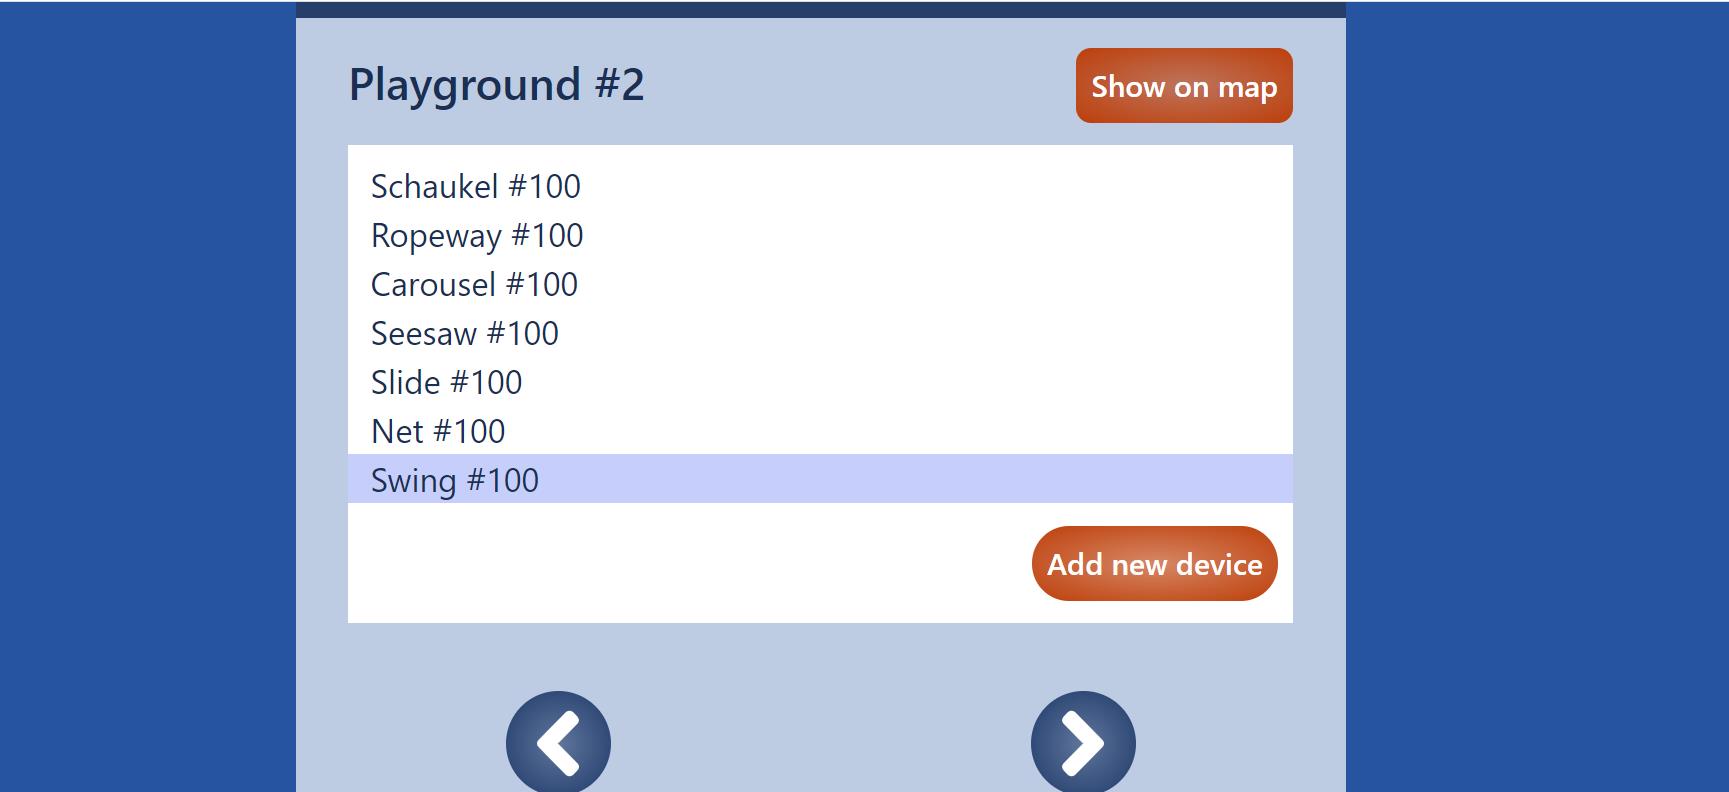
After you have selected the visual inspection, you will see the list of all the equipment available on the playground.

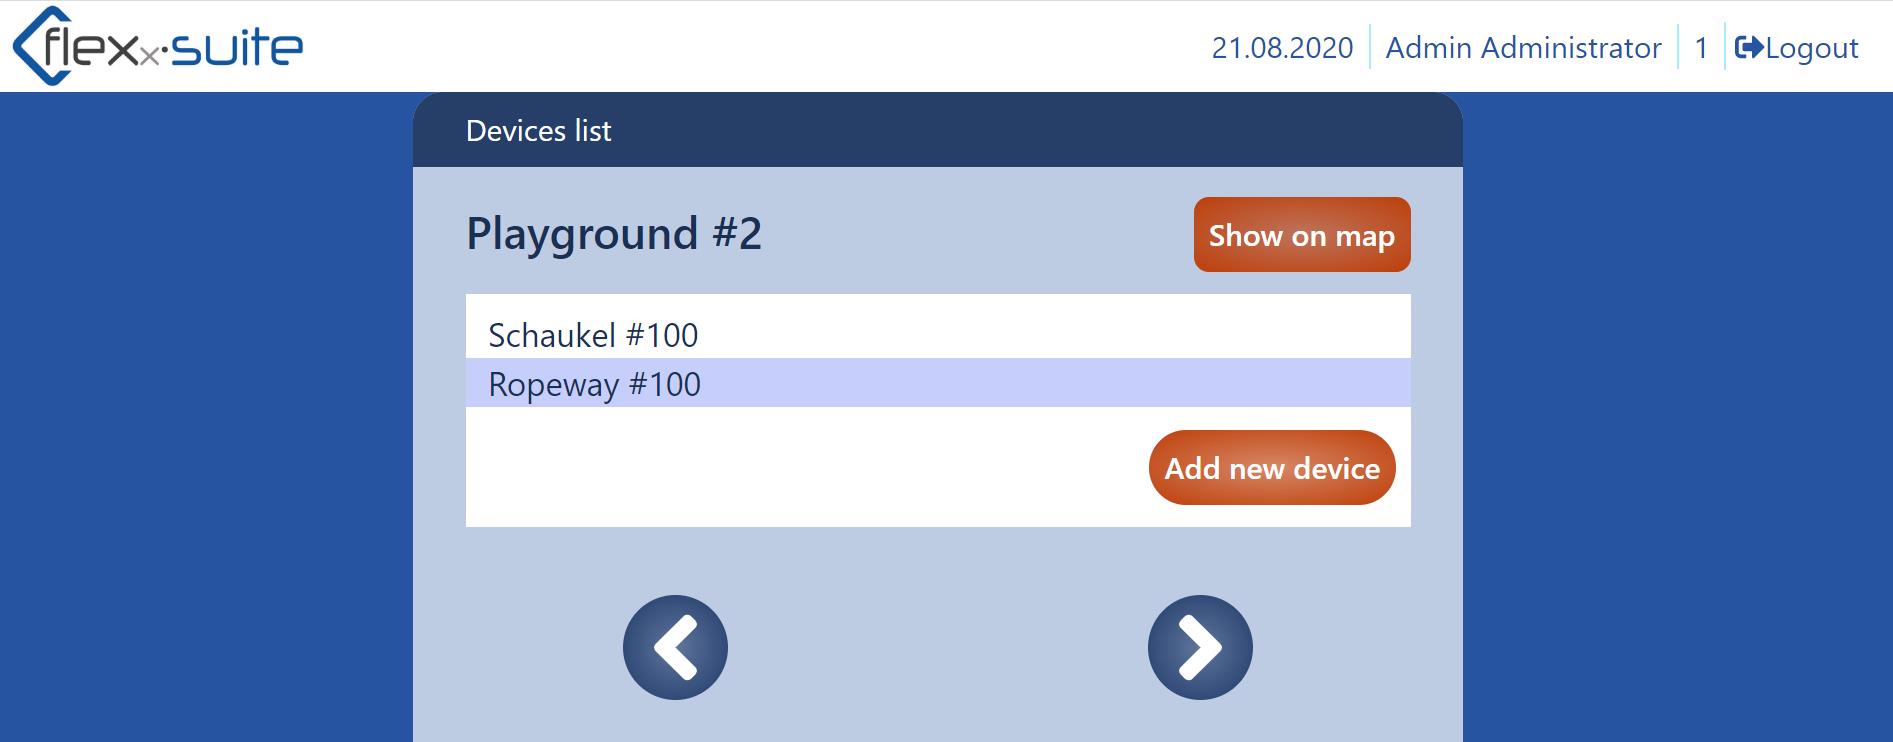
To see the location of the separate devices on the playground, press the button “Show on map”.
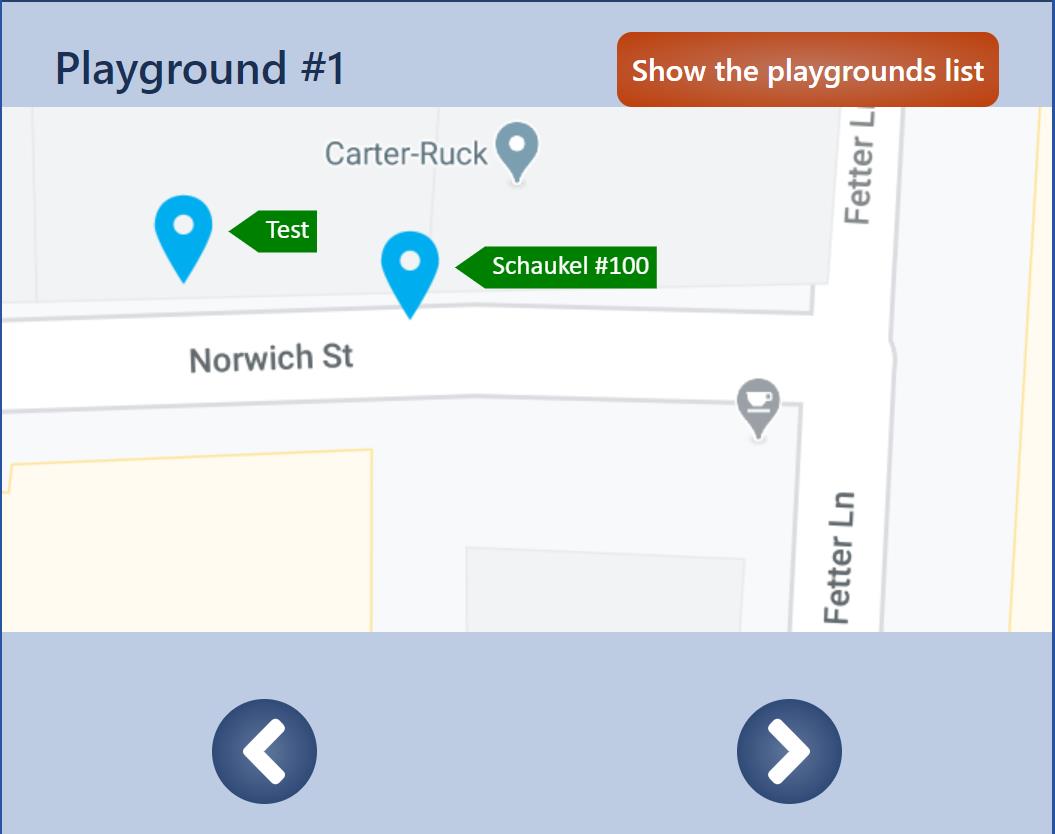
To return to the device list, press the “Device list” button.
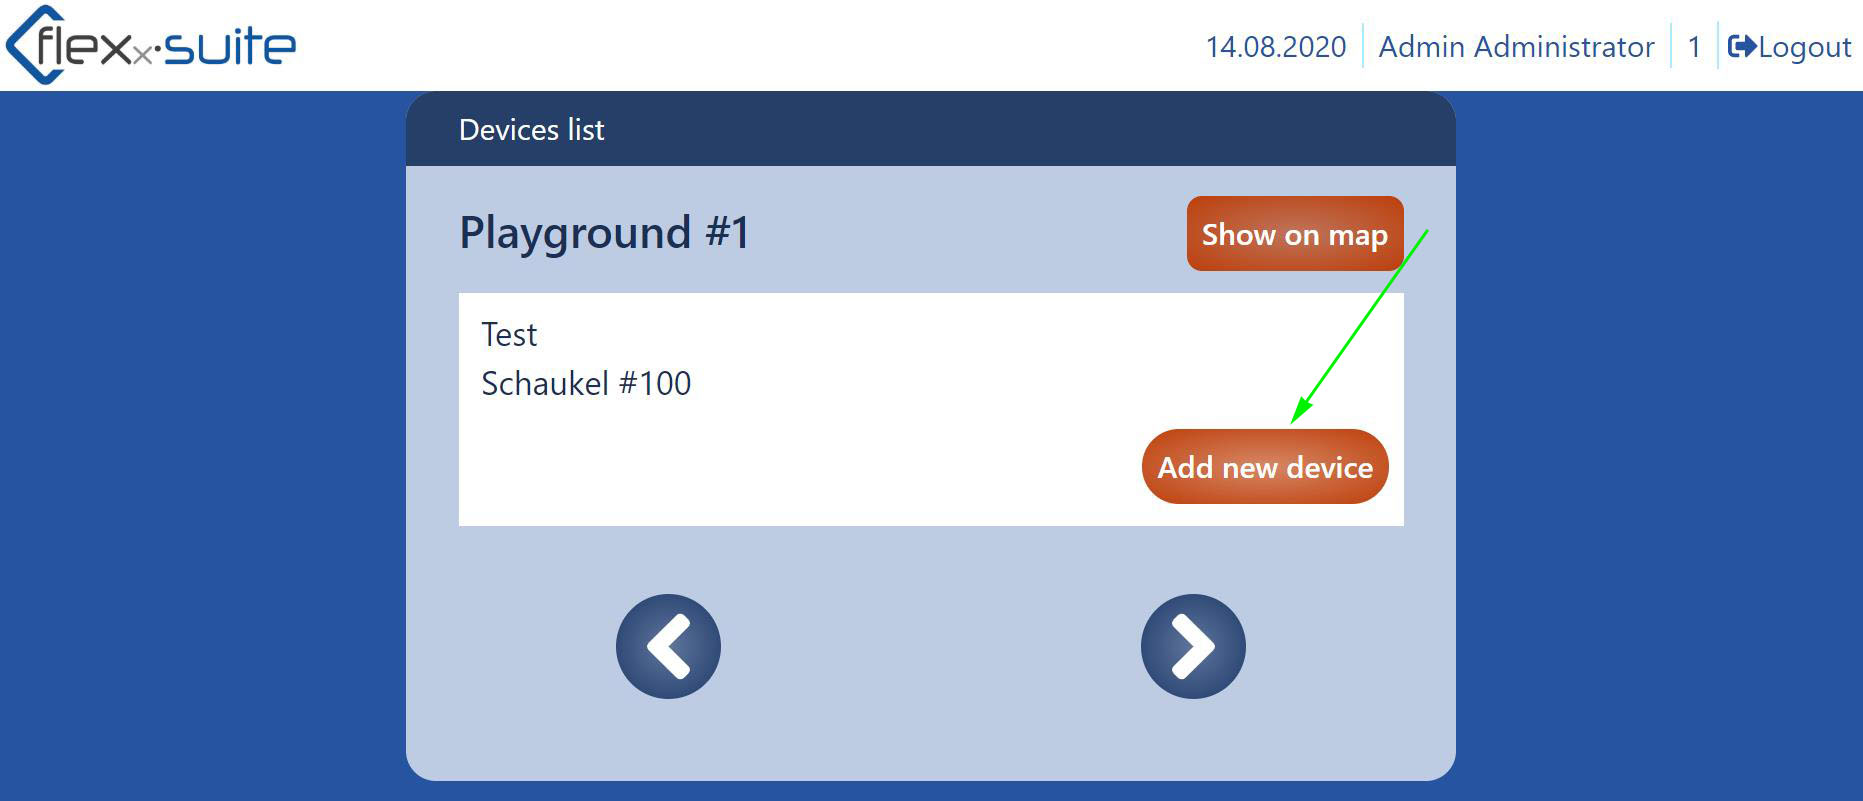
You can also add a new device in the device list overview.
Just click on the button “Add device” (→ green arrow).
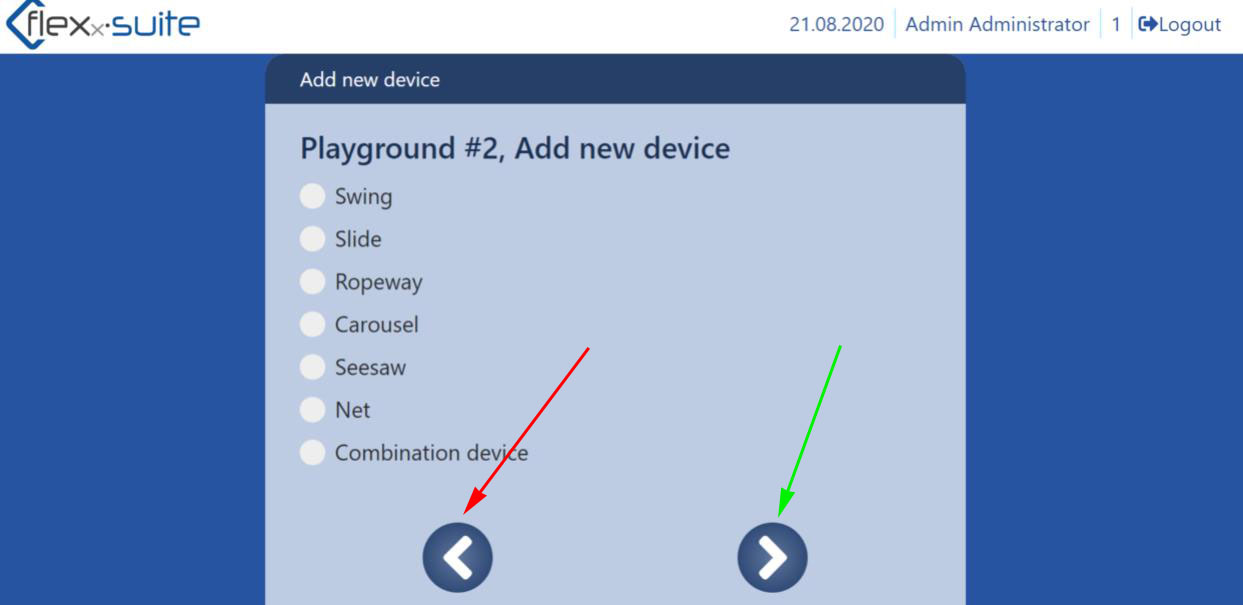
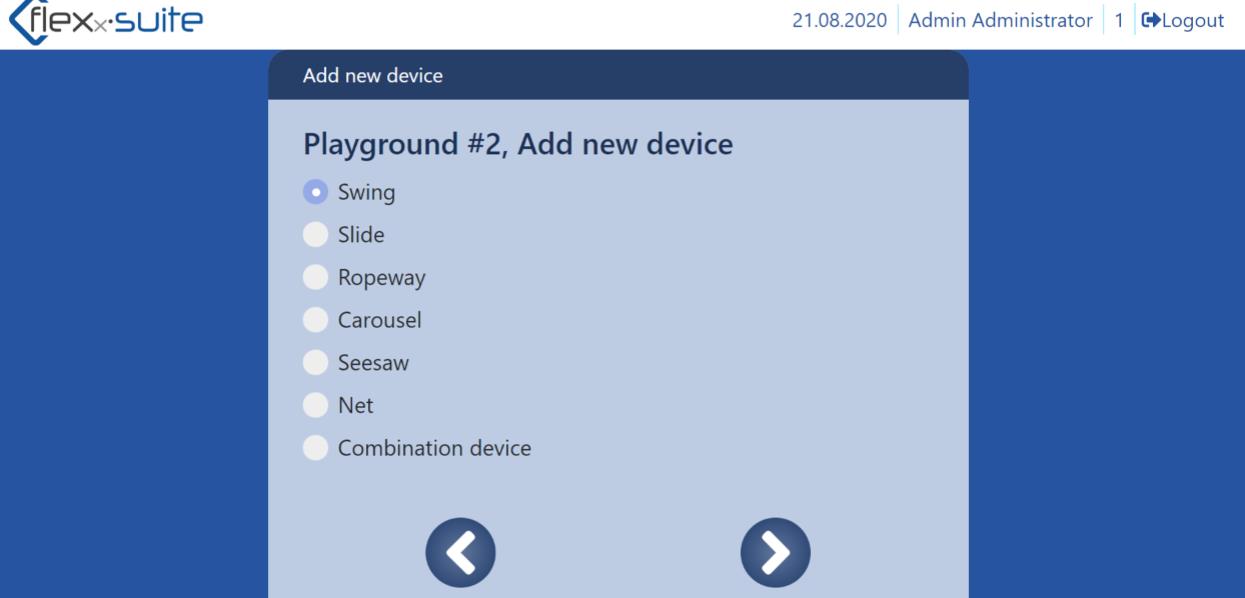
Now select the required new device. Thereafter click on the right blue arrow button to confirm your selection (→ green arrow).
If you do not want to add a new device, press the left arrow button (→ red arrow).
Select your new device.
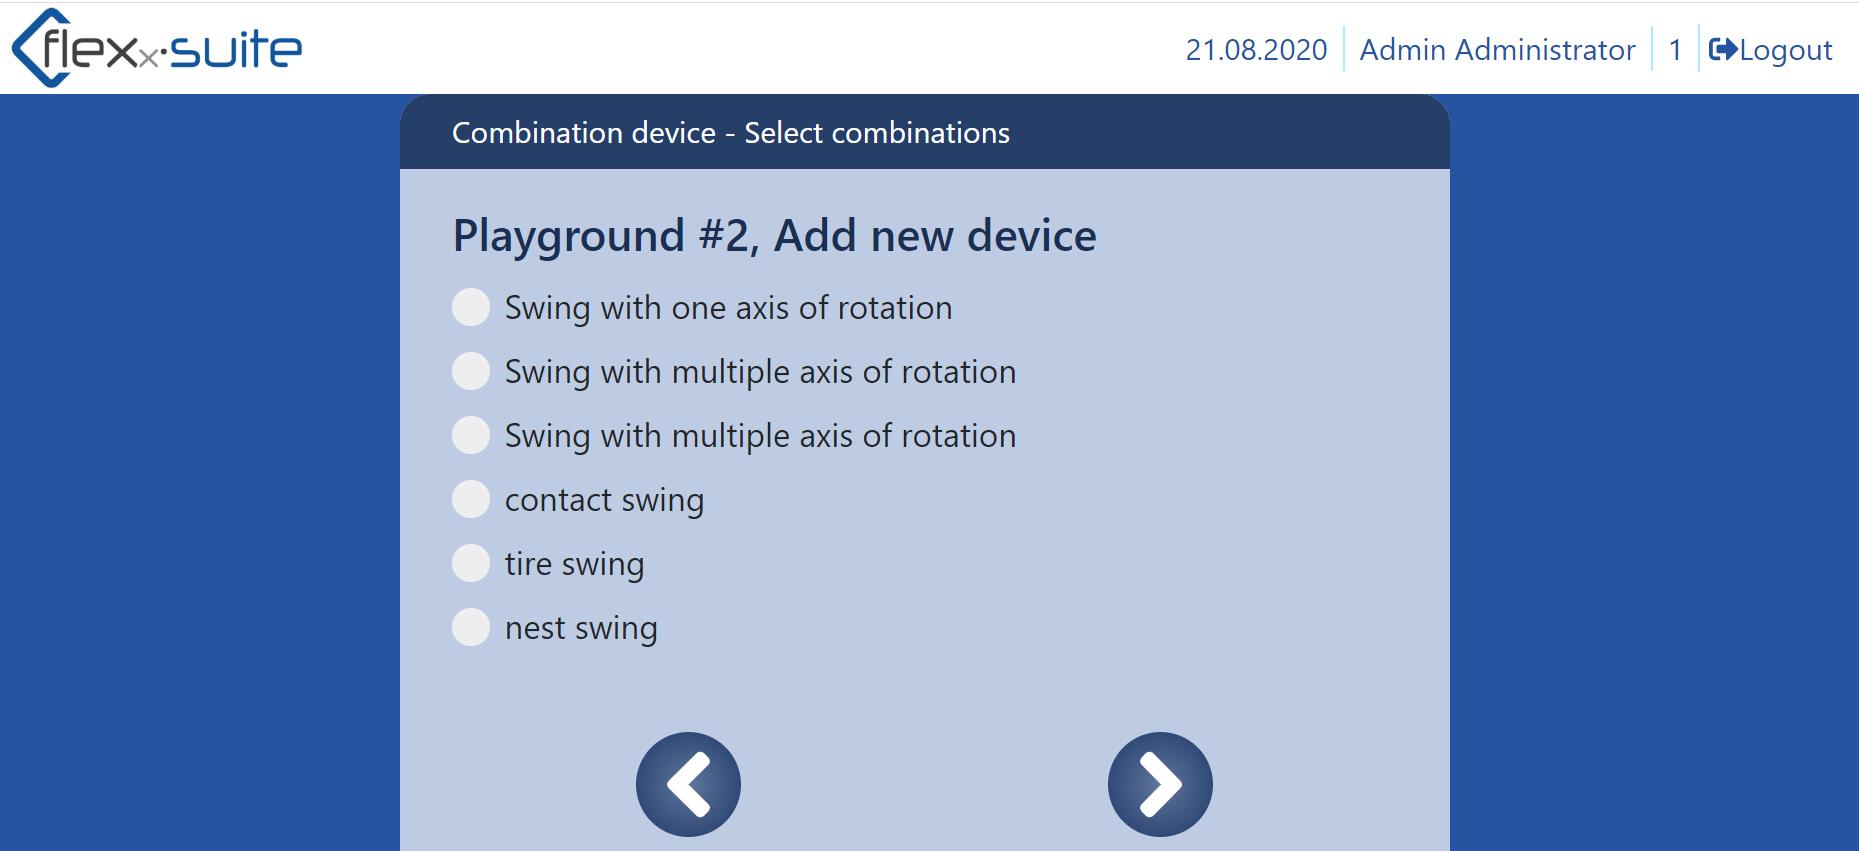
Define your device.

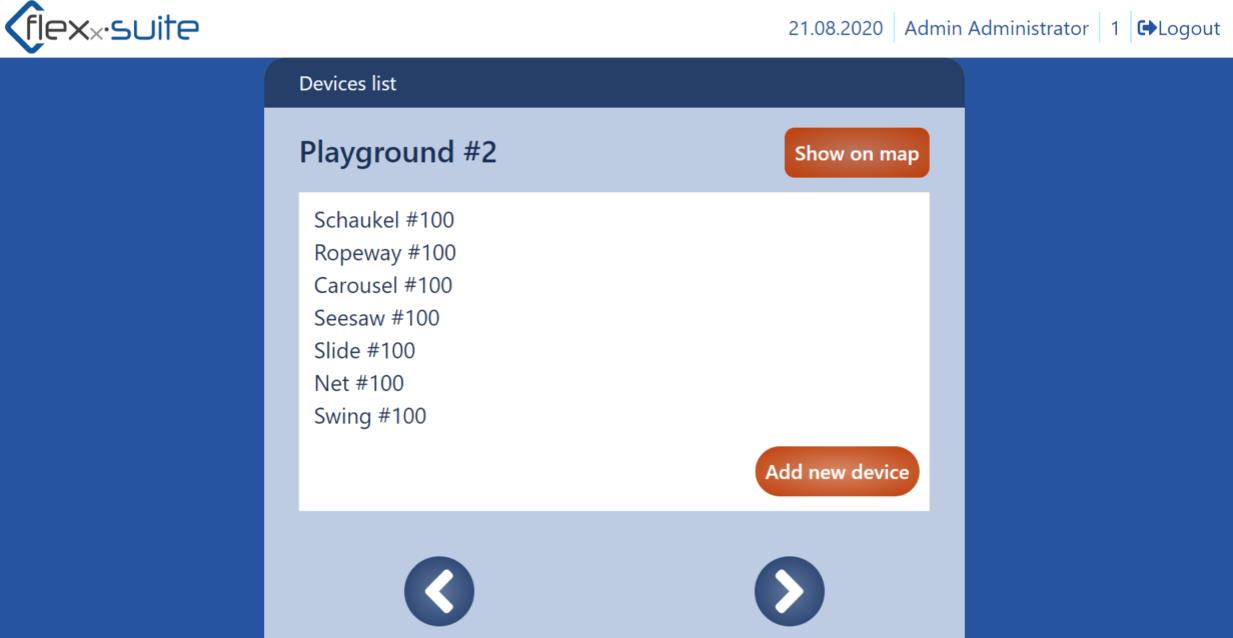
Your added device appears in the device overview.

To inspect a device, click on the device name and then press the right arrow button to begin.
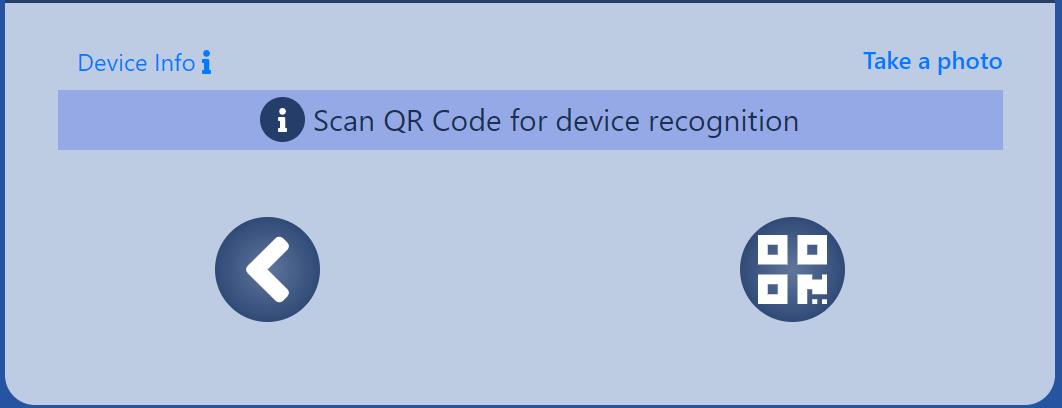
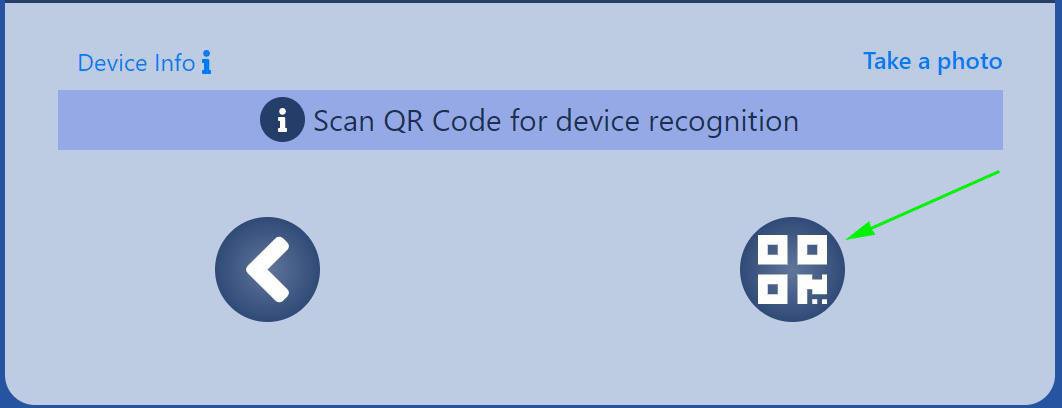
Now select the QR Code Scanner button.
Then scan the QR Code.
If your QR Code is invalid, the app will inform you accordingly.
If no QR Code is available, you can generate a new one. To do so, click on the QR Code icon again.
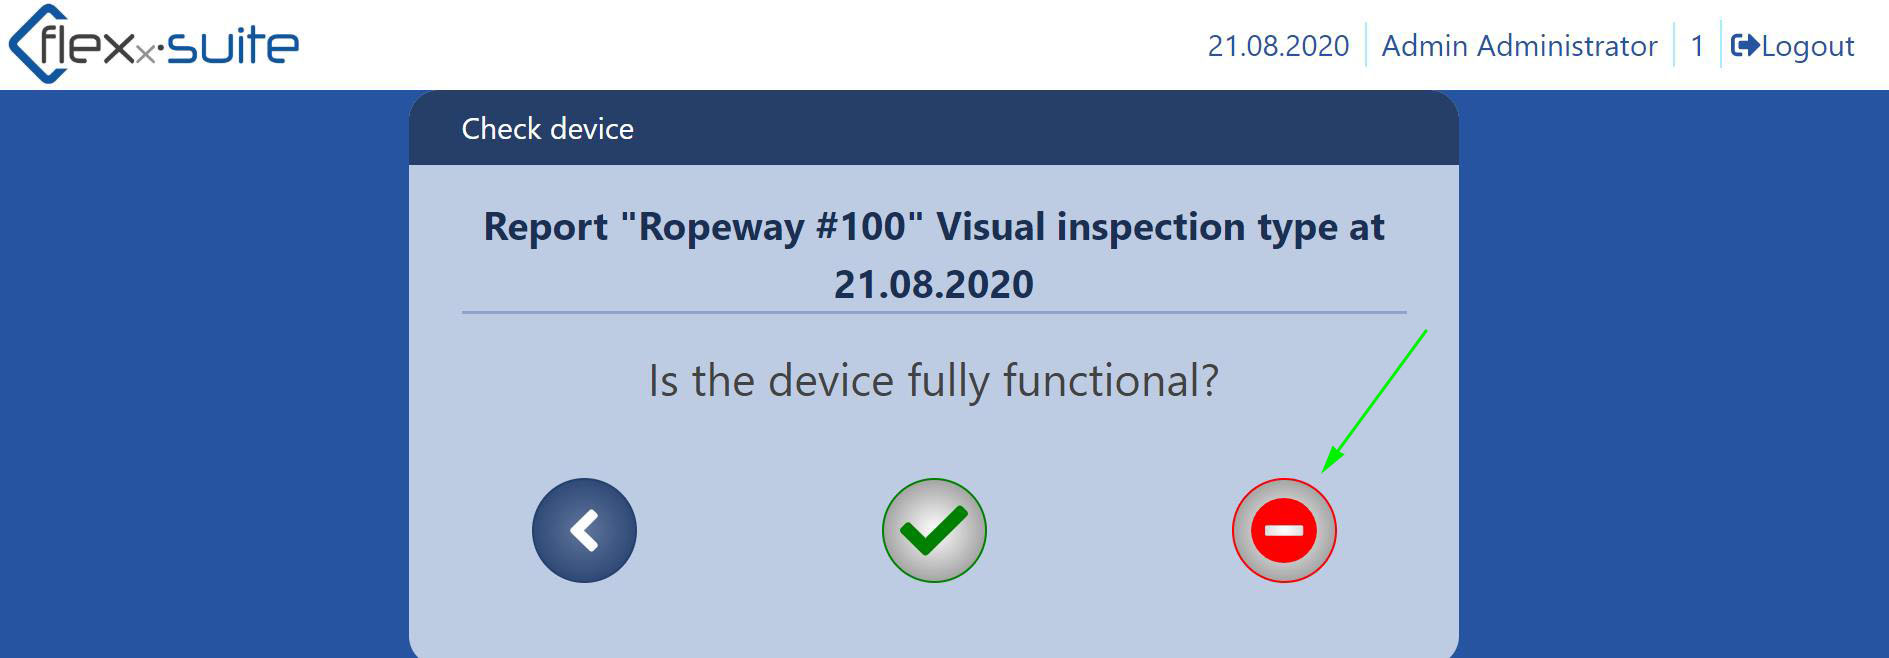
On the next page you will be asked if the device is working properly.
If it works properly, press the green check mark button (→ green arrow)
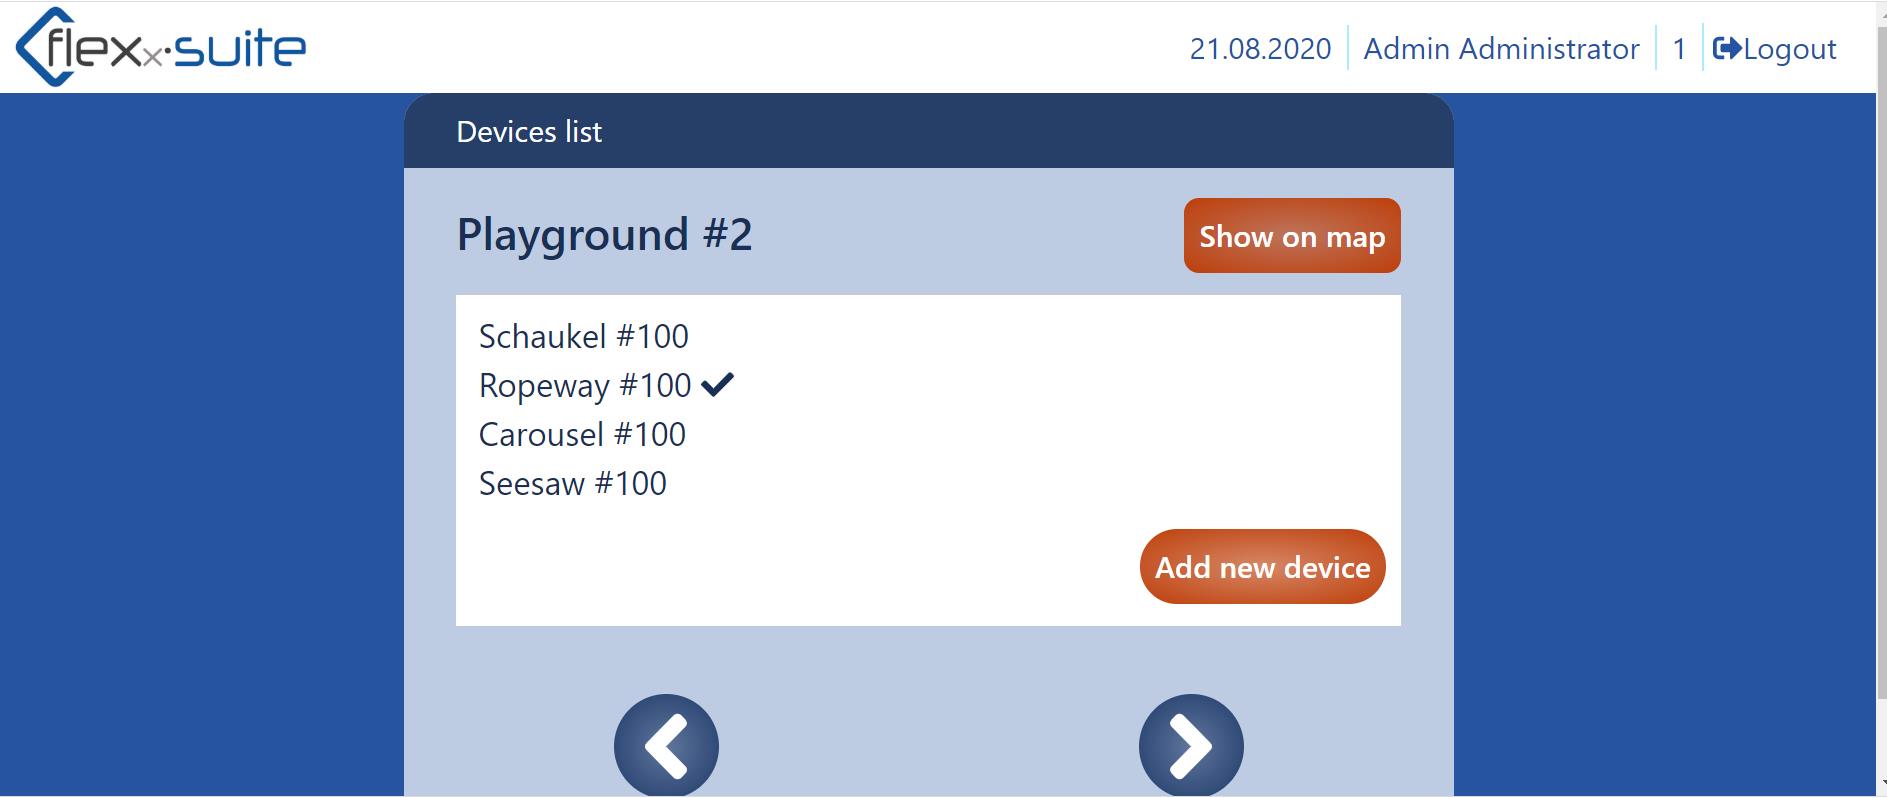
Now you will see a tick in the device list behind the device name.
This means that you have successfully inspected the device.
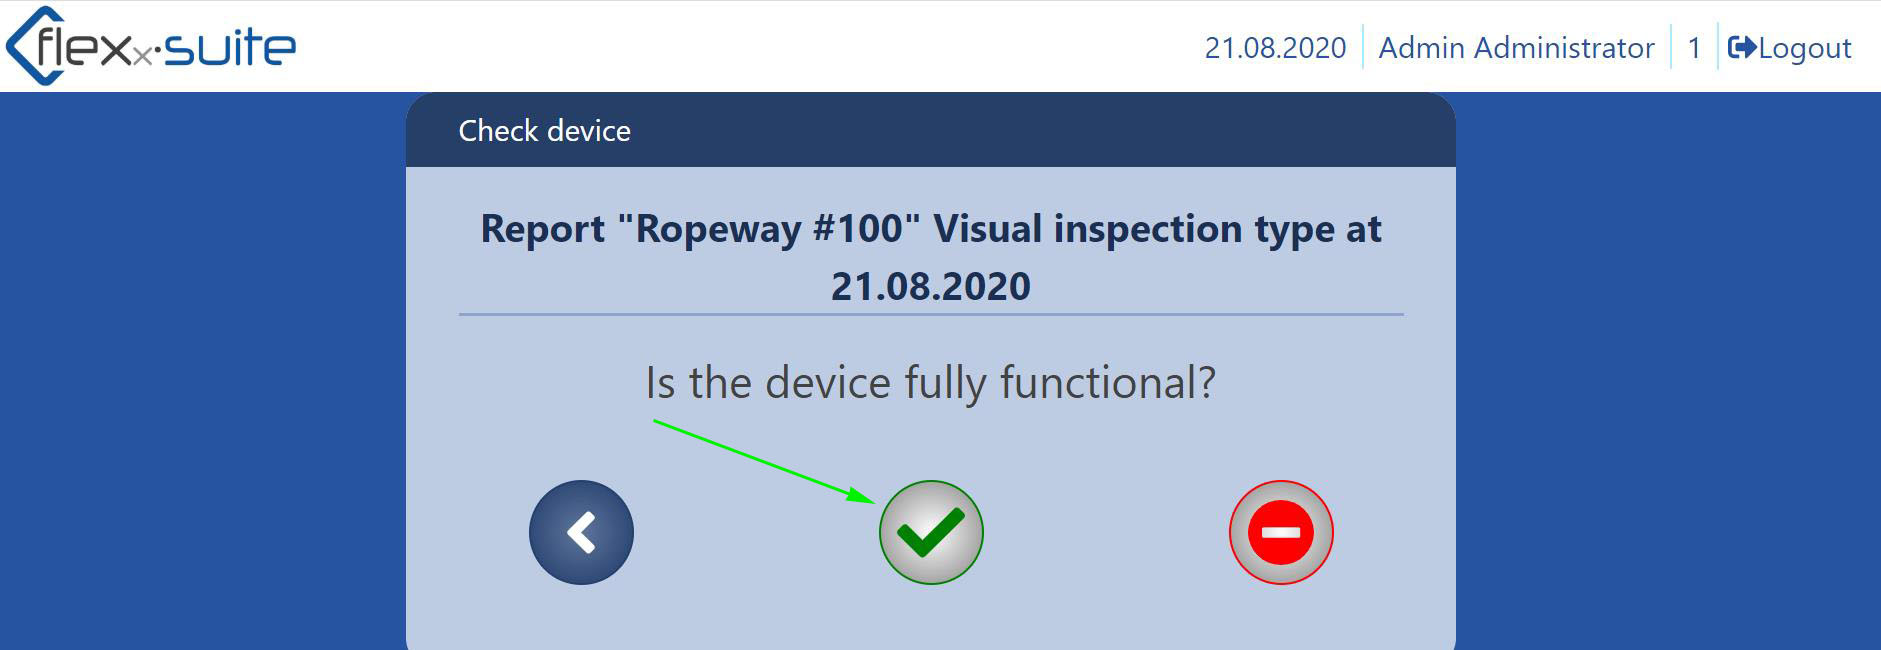
If something does not work, press the red stop sign (→ green arrow) to go to the next page
You will then receive an overview in which you can leave device errors.
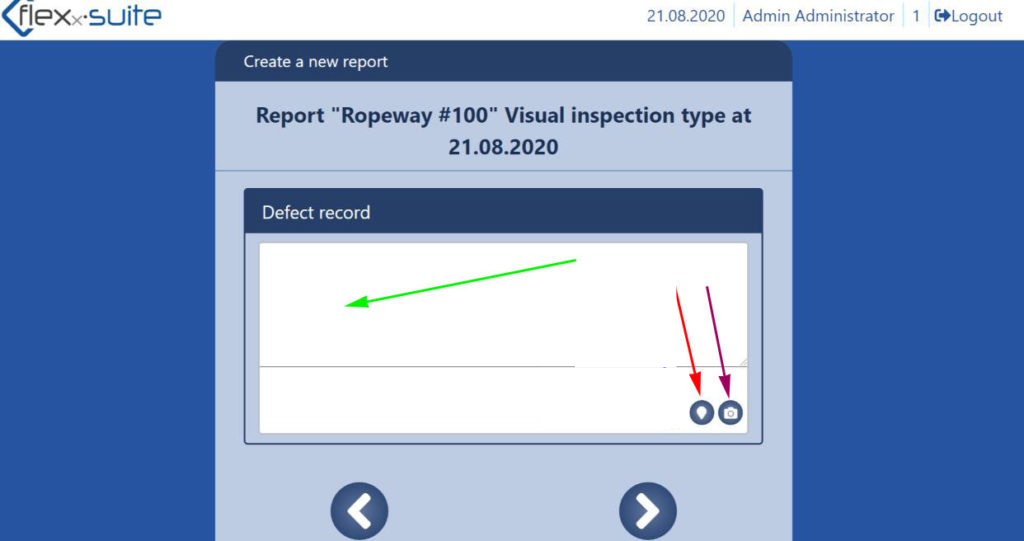
In this overview you can leave a message.
Write a text message (→ green arrow) , indicate the location (→ red arrow) . You can also directly add pictures (→ purple arrow) of the defective device.
When you have finished writing an overview, click on the right arrow button to continue.
The next step is to answer the question whether the device can function without endangering life safety.
If it does not pose a risk to the safety of human life, press the green hook button to continue or the red one if you assess a safety risk.

The next step is to answer the question whether the device needs repair.
If the device is in bad condition and needs repair, press the green hook button.
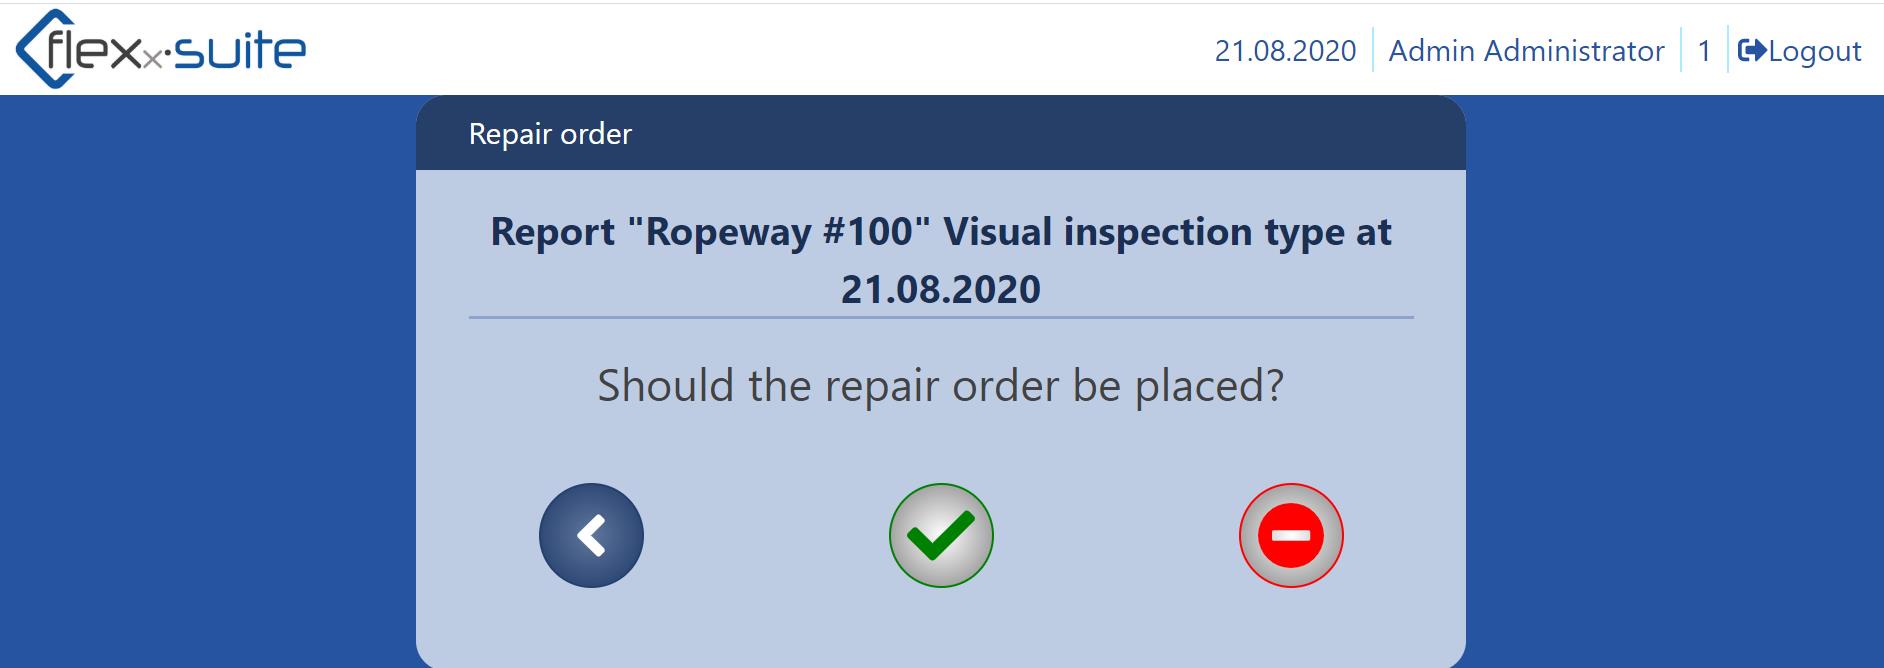
Now You are asked whether you want to place a repair order.
To do this, click on the right arrow button.
In this case you will be asked to select a company that will repair the device.
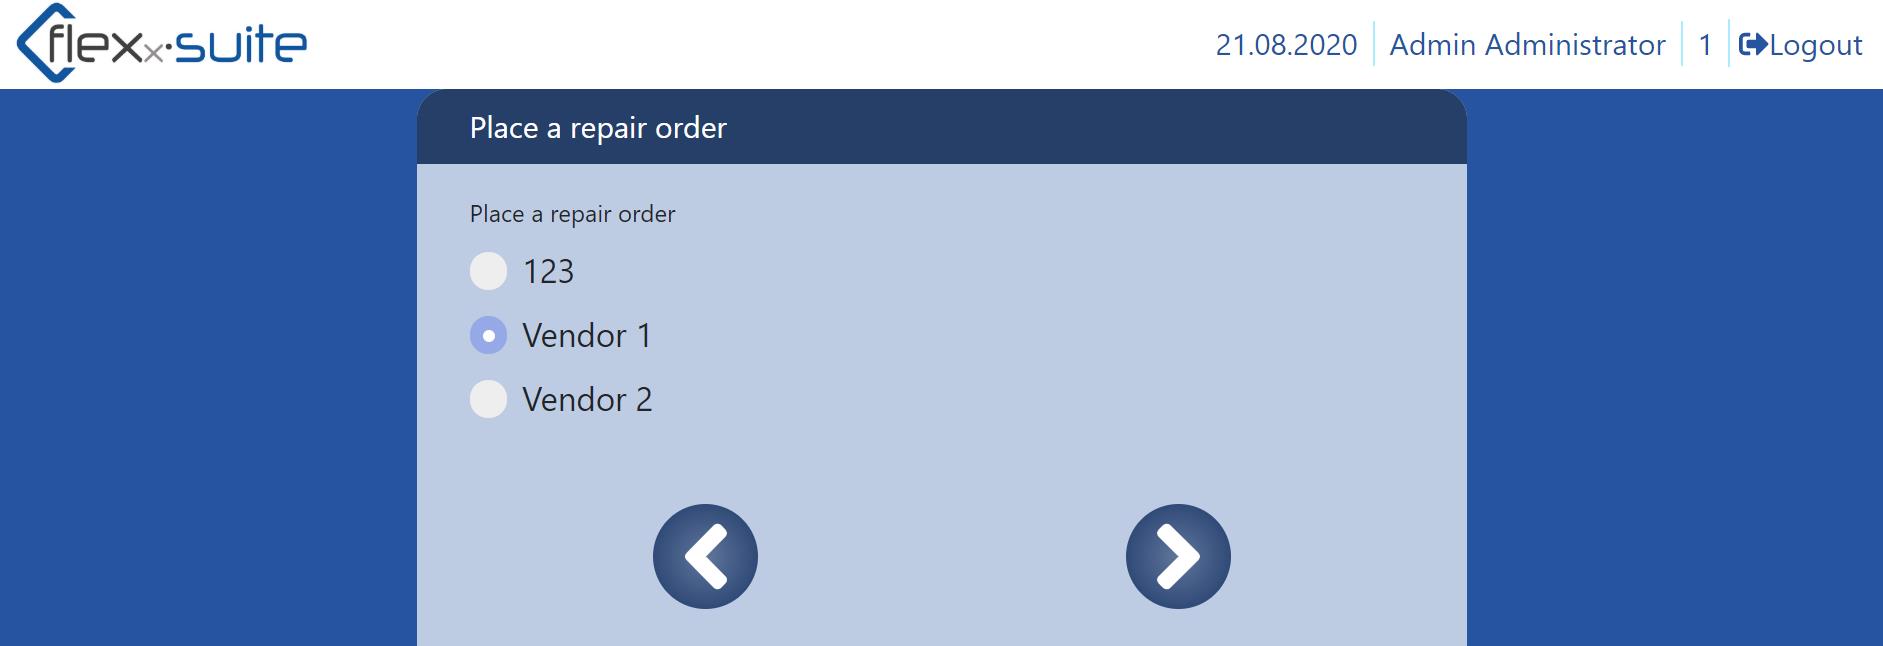
If you click on the right arrow, you will see the summary of the checked device.
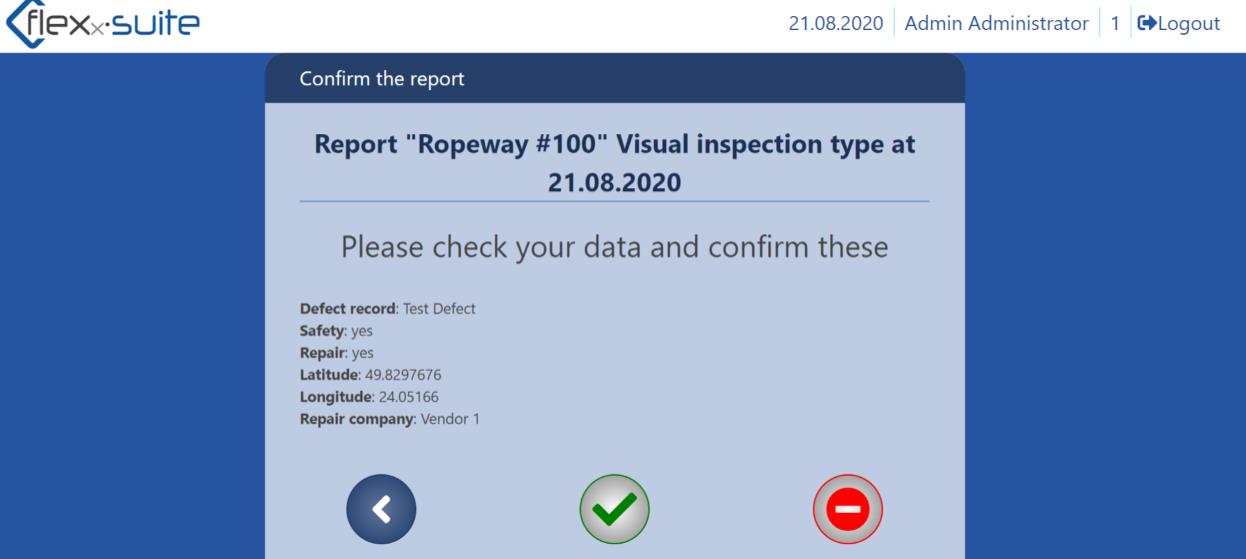
Confirm your entries with the green check button.
In the device list you can see again that you have checked this device.
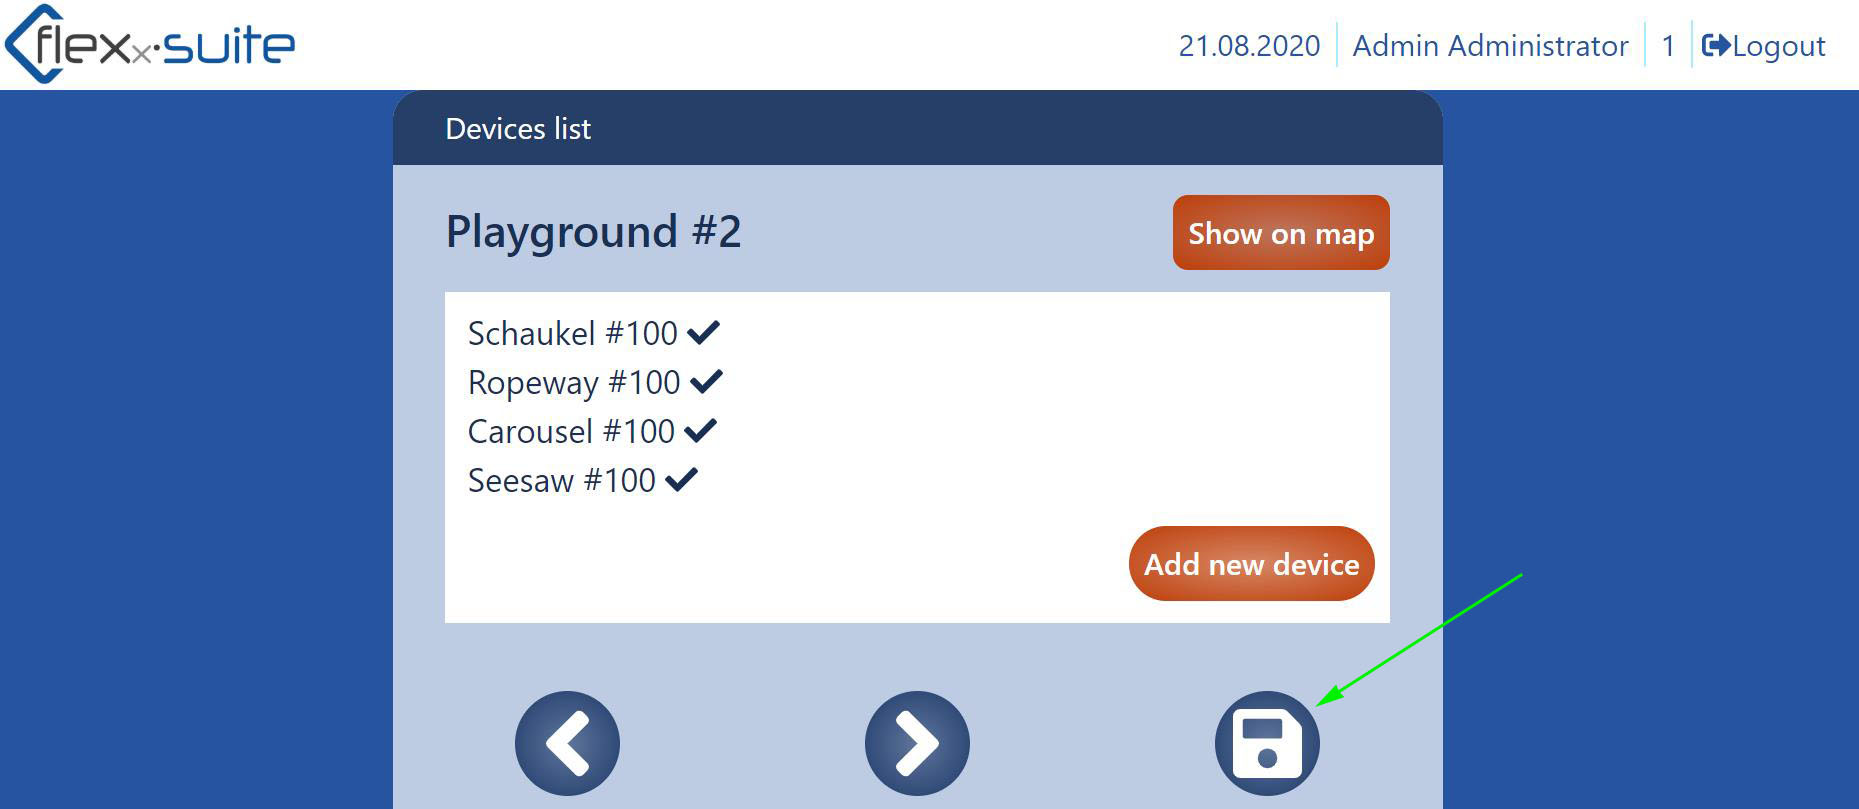
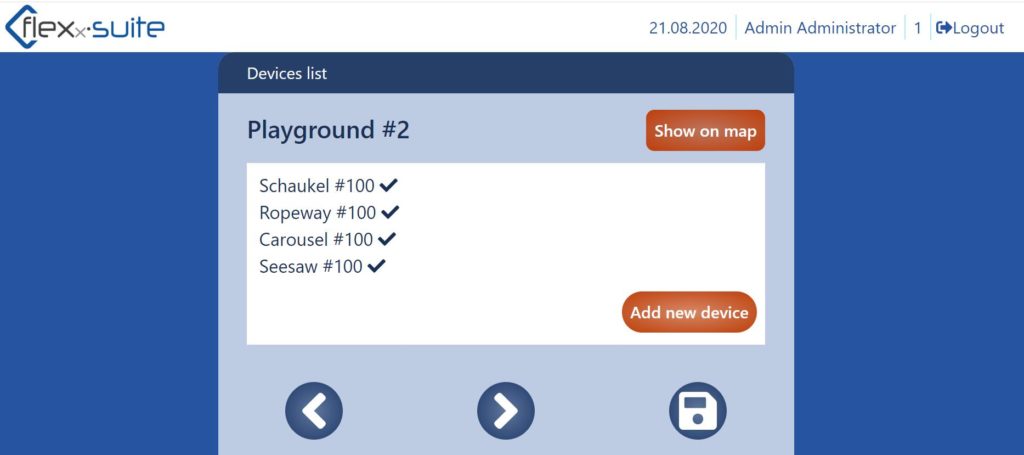
When you have checked all your devices on the playground to be tested, a tick will appear behind each device.
Now press the Save icon (→ green arrow).
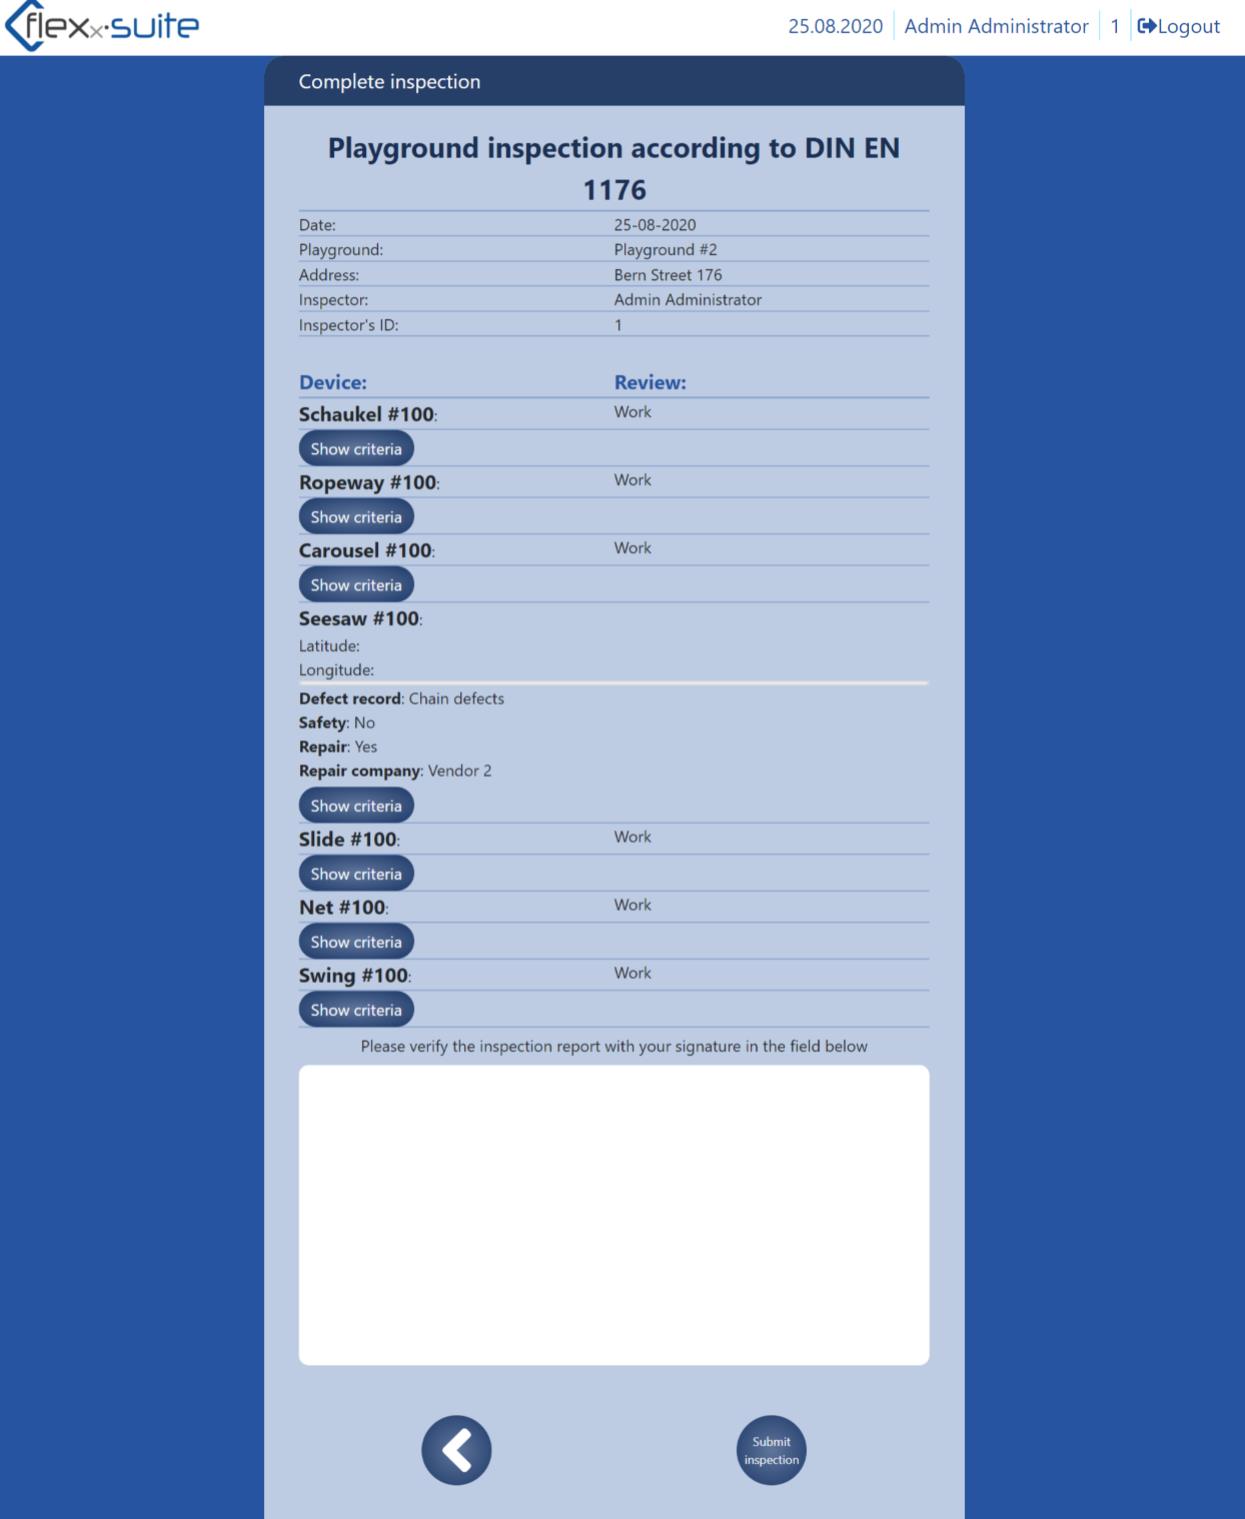
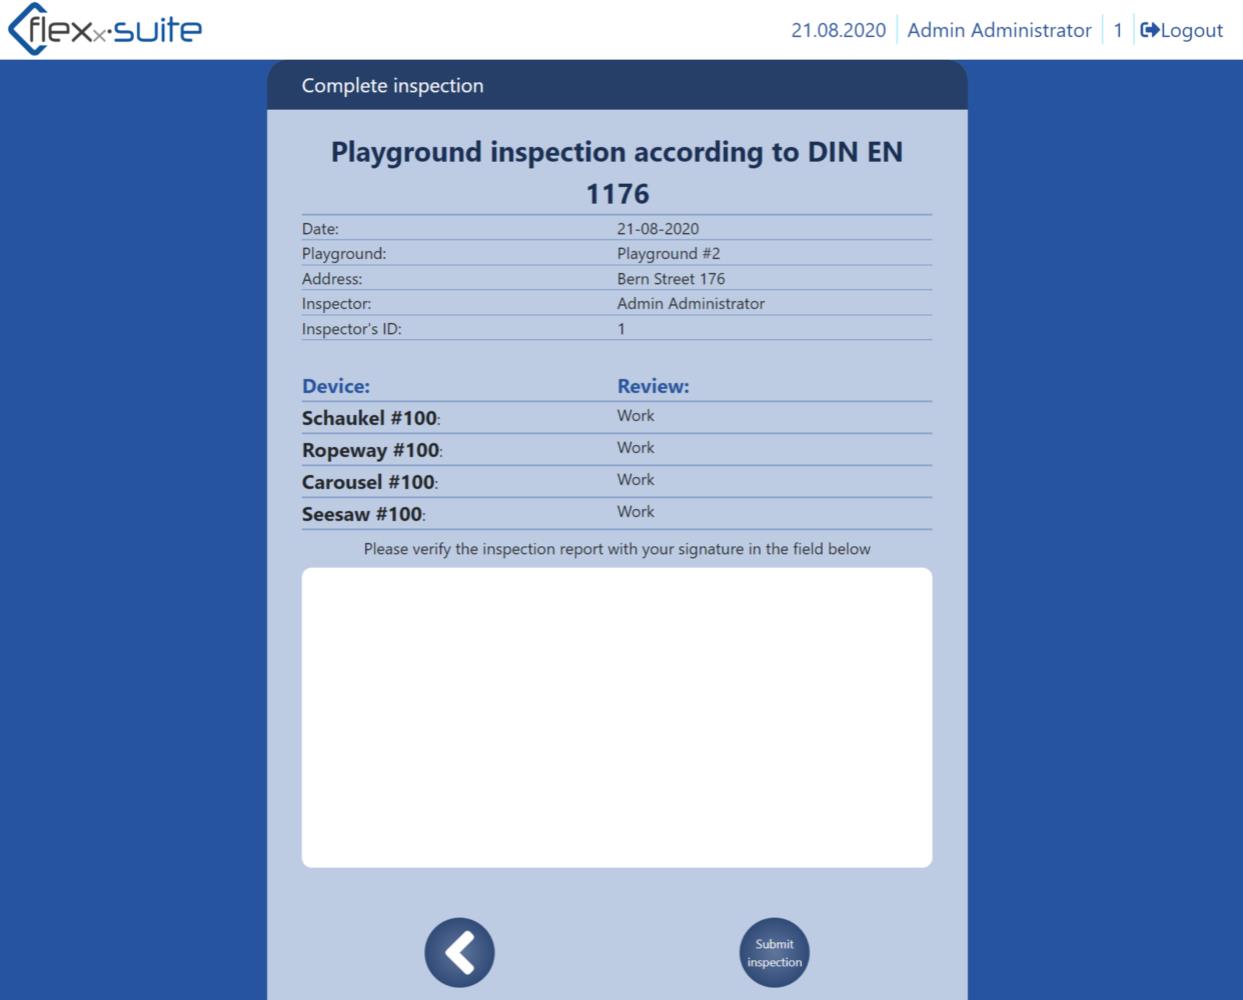
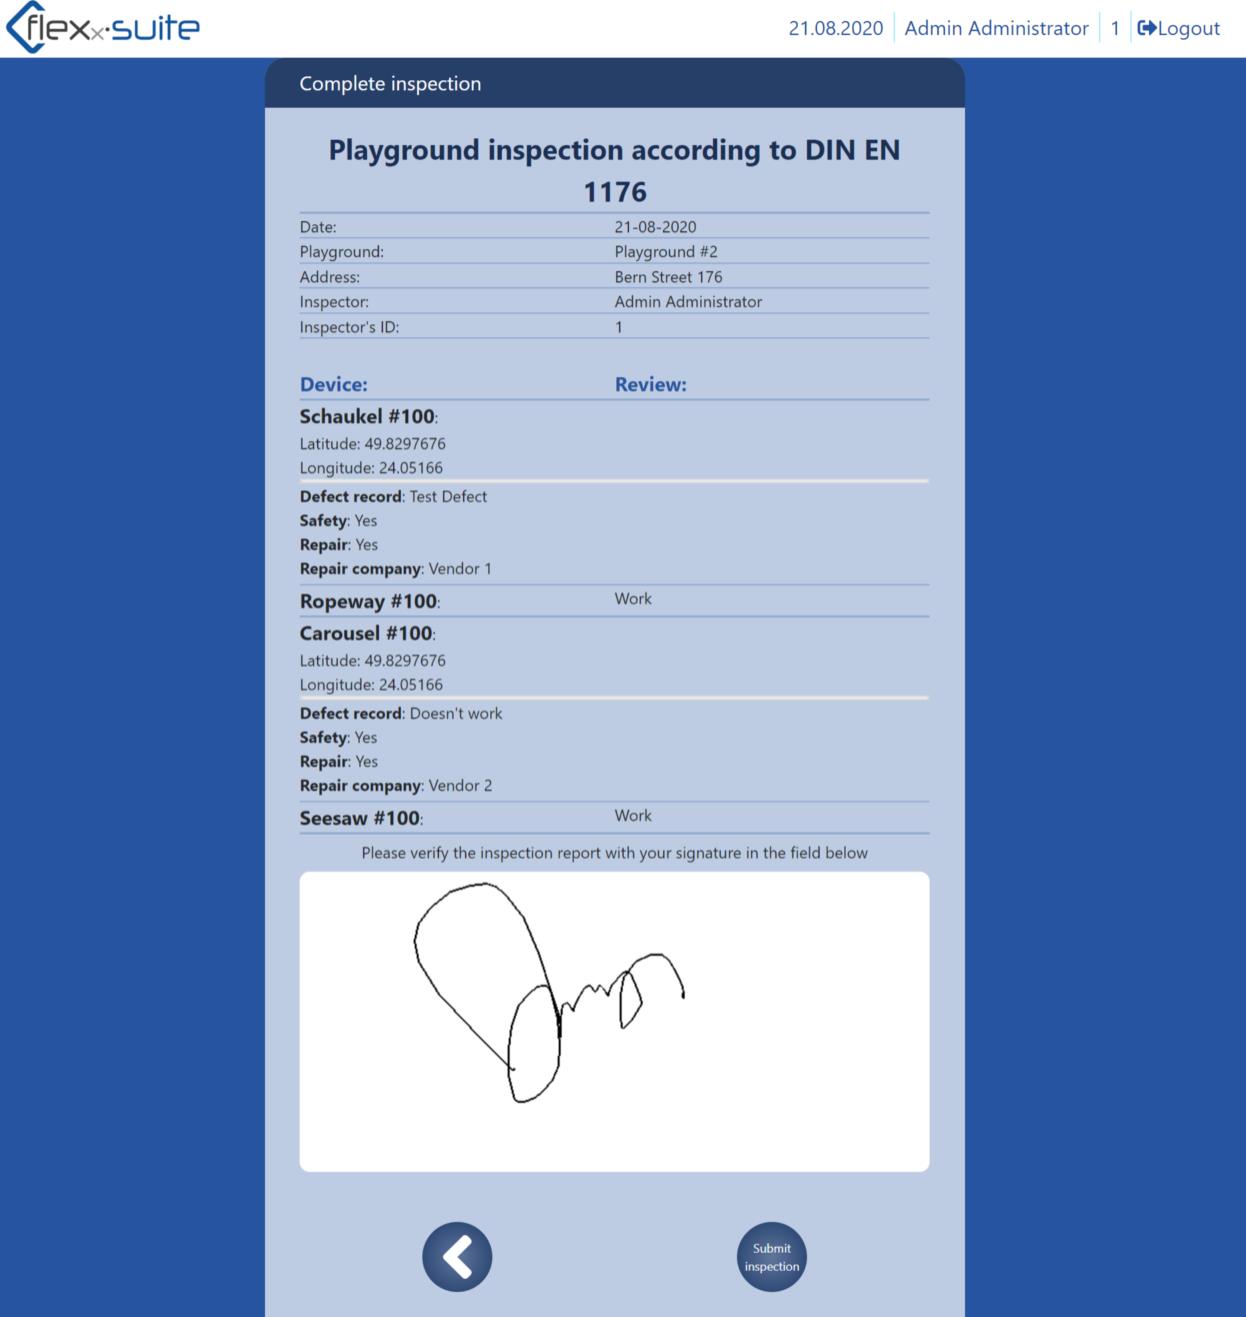
After saving, you will receive a complete inspection report.
You can now send this report by clicking the button “Complete inspection”.
Operative inspection
Select your planned inspection
Now select the button “operative inspection” .

Select the device to be tested.
Go through the now already known inspection process and enter your decisions and messages.
After all devices have been successfully tested, a check mark is placed on the devices.
Now go to the save icon.
An overview of your inspection is displayed and you can now complete the
inspection.
Main inspection
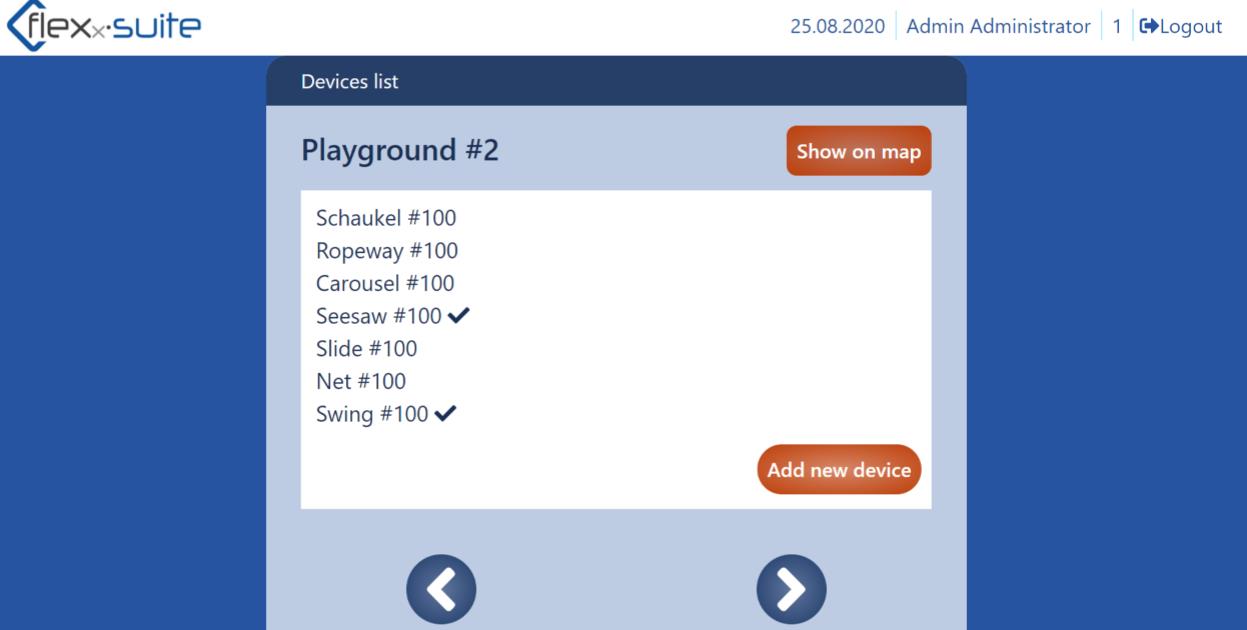
After you have selected the main inspection, you will see the list of all devices, which are available on the playground. To see the location of each piece of equipment in the playground, press the “Show on map” button.
To get back to the devices list, press the button “Devices List”.
Here you have the possibility to add new devices.
Select the required device.
Assign a subtype to your device.
Find your device listed in the device list.
Now select the device you want to inspect.
Confirm your selection with the right arrow button.
Now select the QR Code Scanner button.
Now scan the QR Code. If your QR Code is invalid, the app will inform you accordingly (→ green arrow)
If no QR Code is available, you can generate a new one.
To do this, click on the QR Code symbol again.
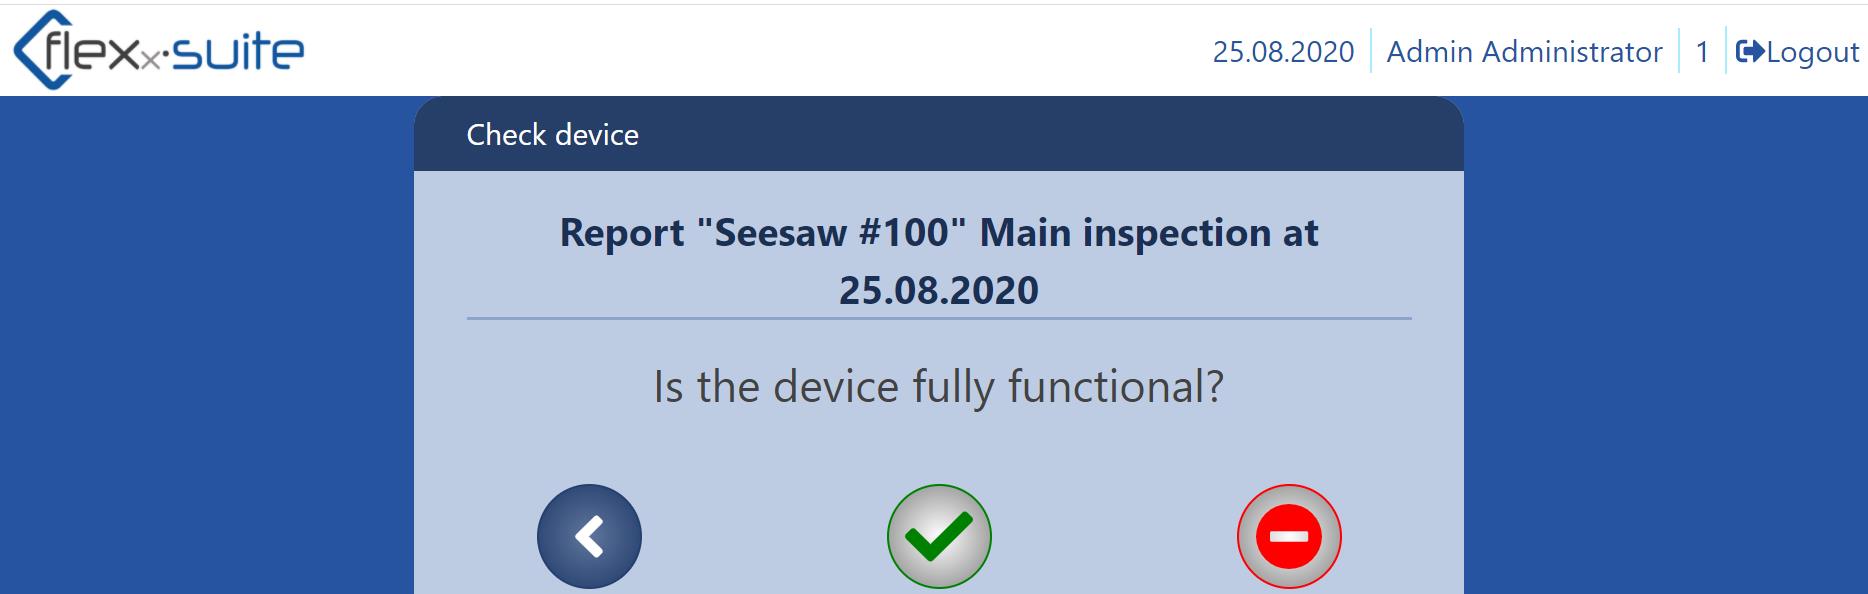
On the next page you will be asked if the device is working properly.
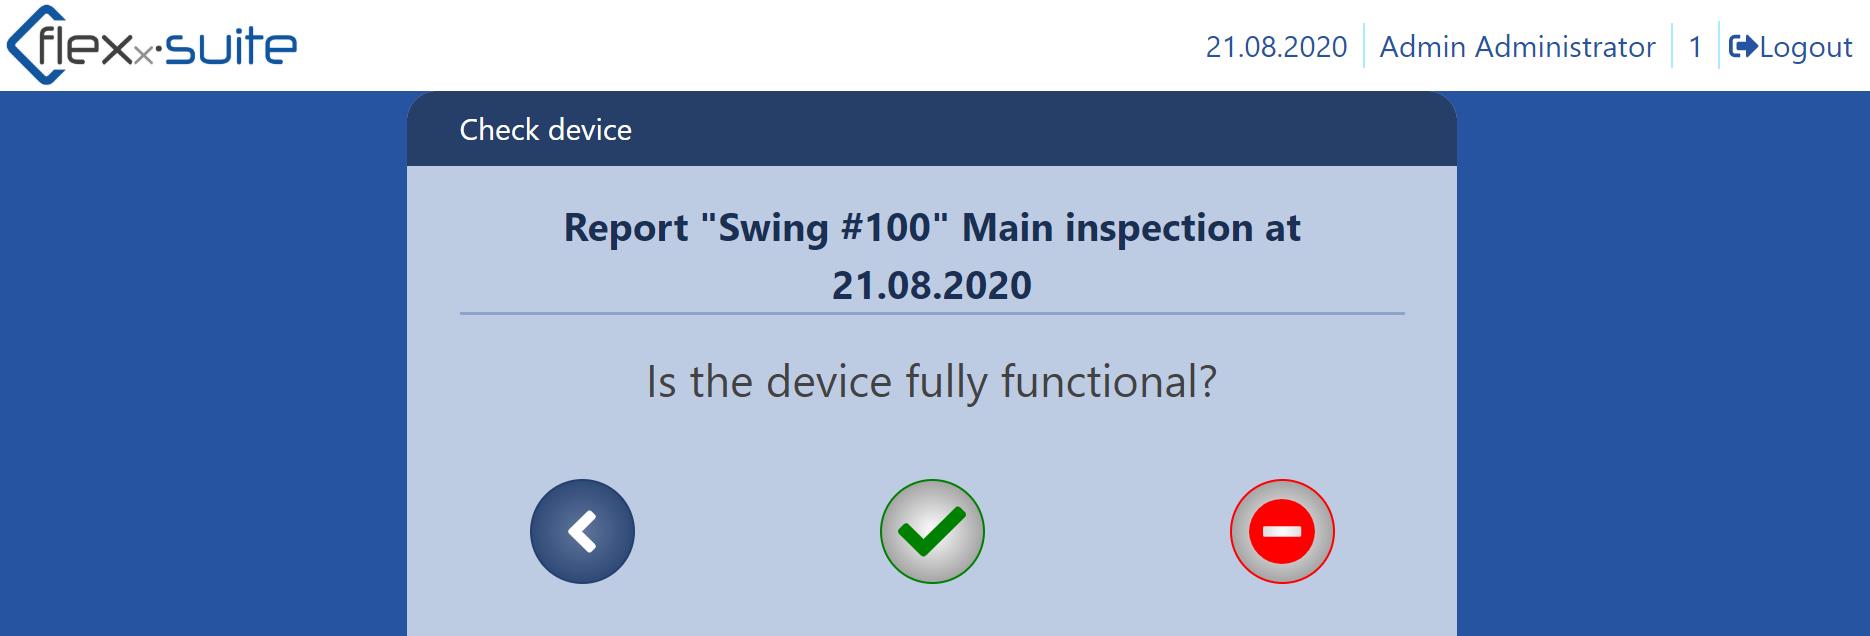
If the device to be tested is functional, confirm this with the green hook button.
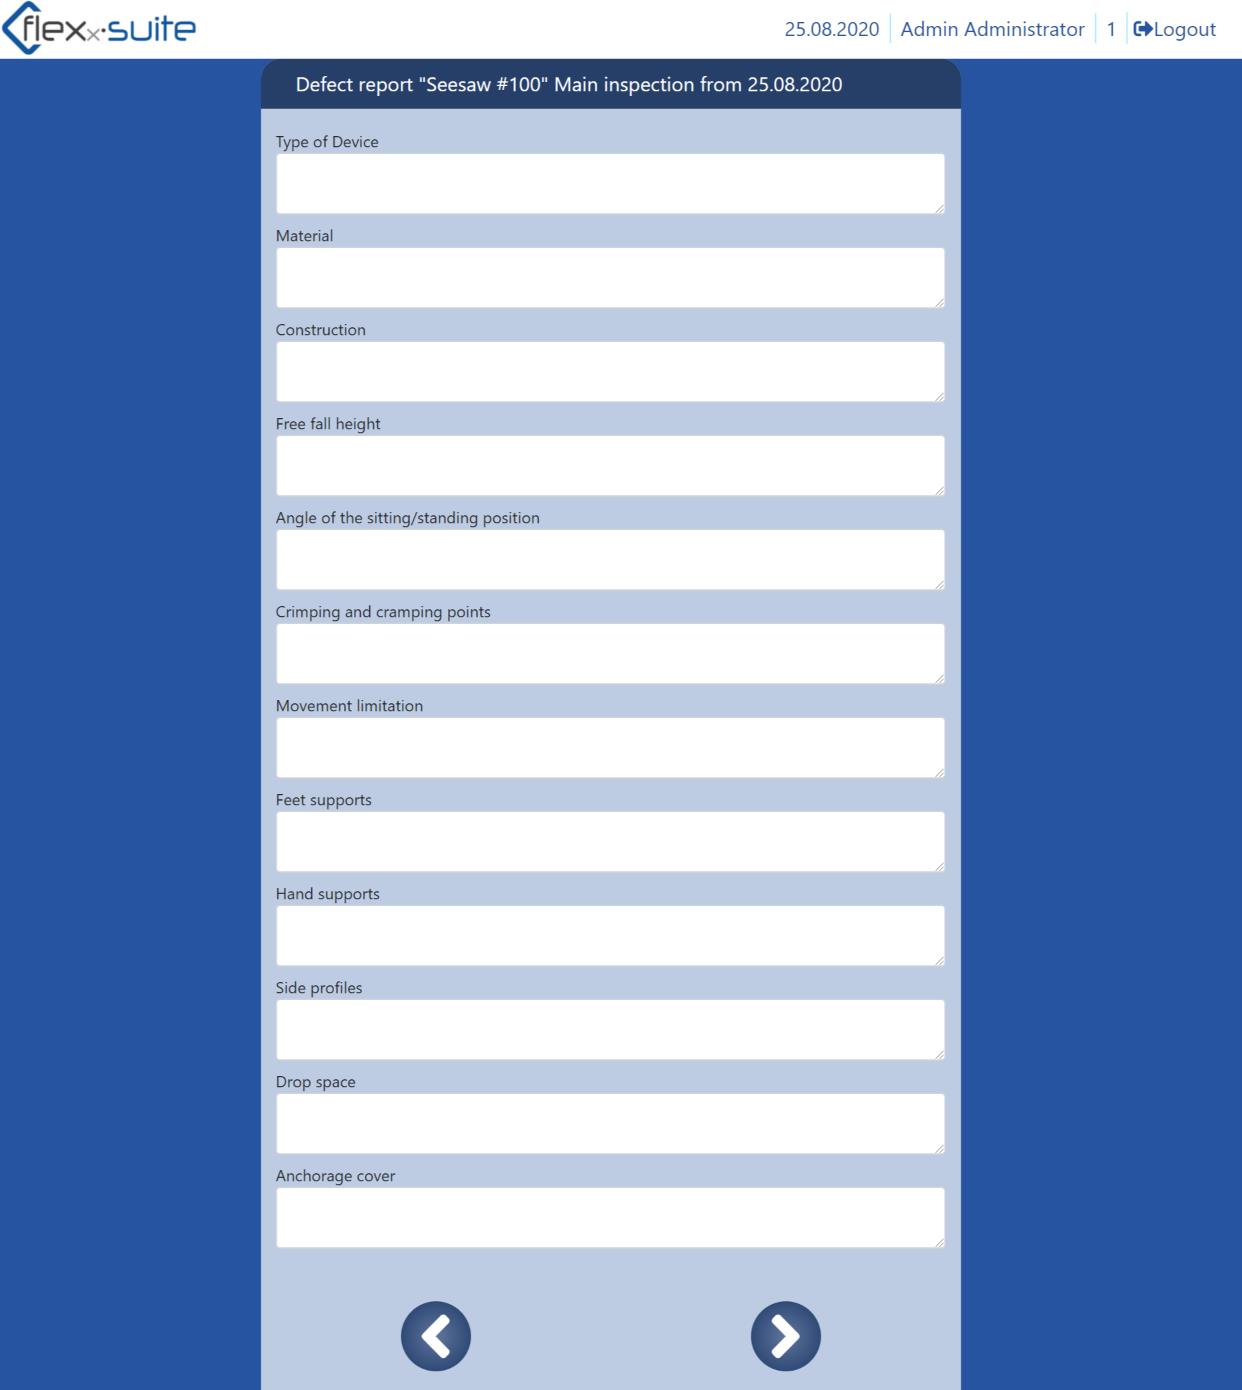
In this case you will be forwarded to the next page where you have to enter the required information.
Enter all information about the device.
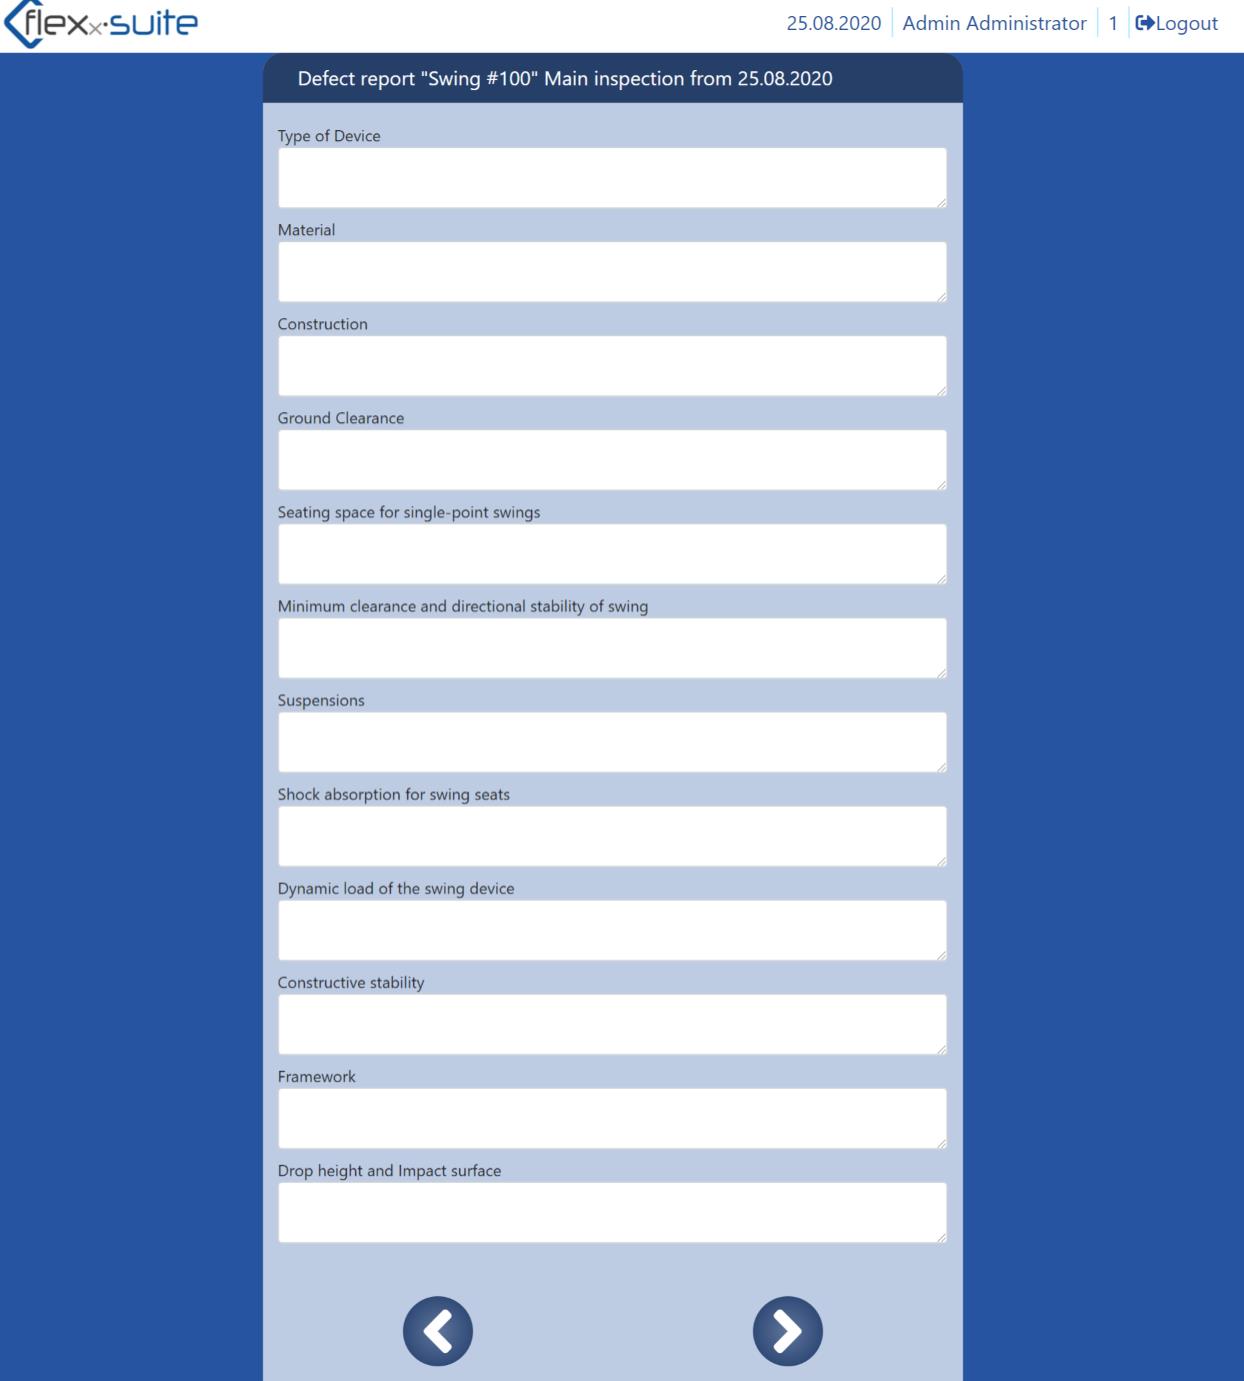
Click on the right arrow button after your entries.
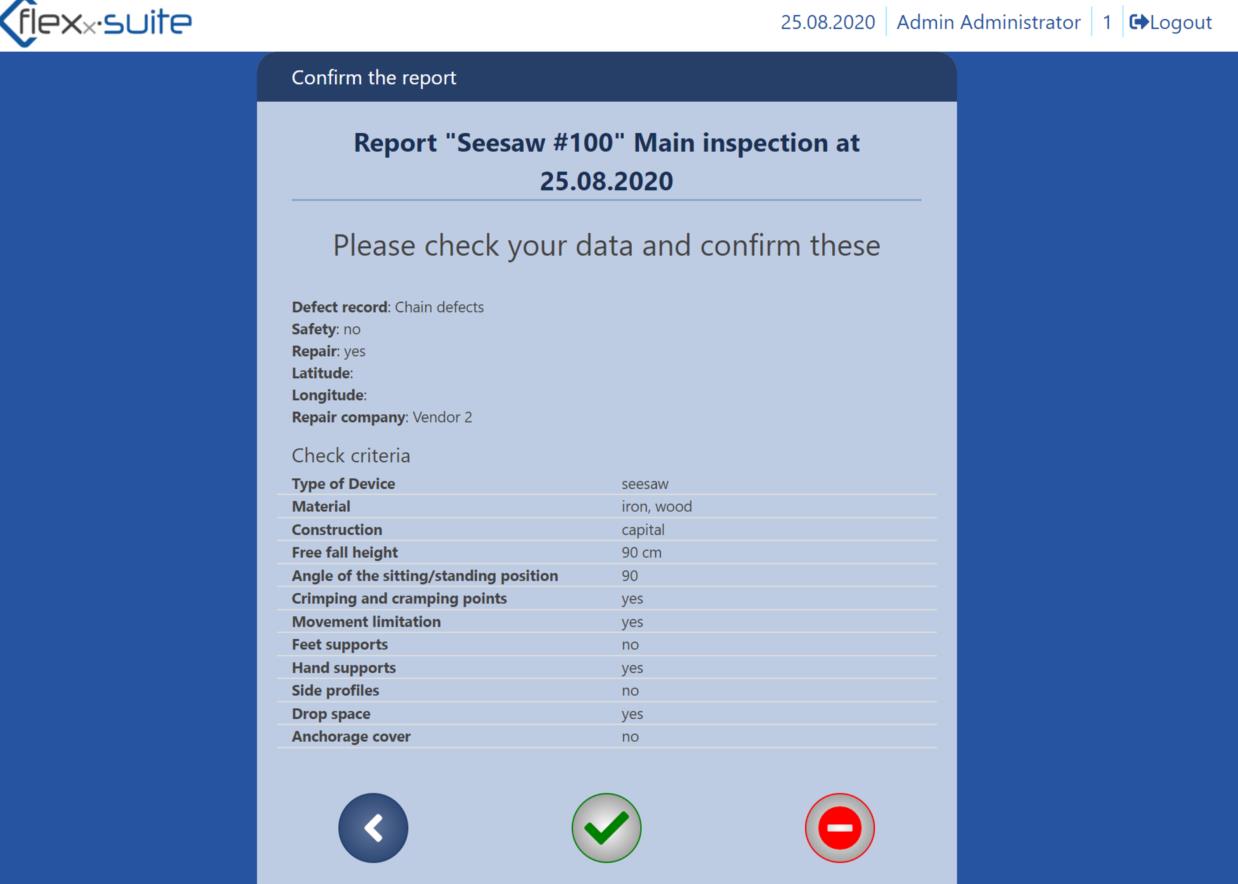
You receive an overview of your report.
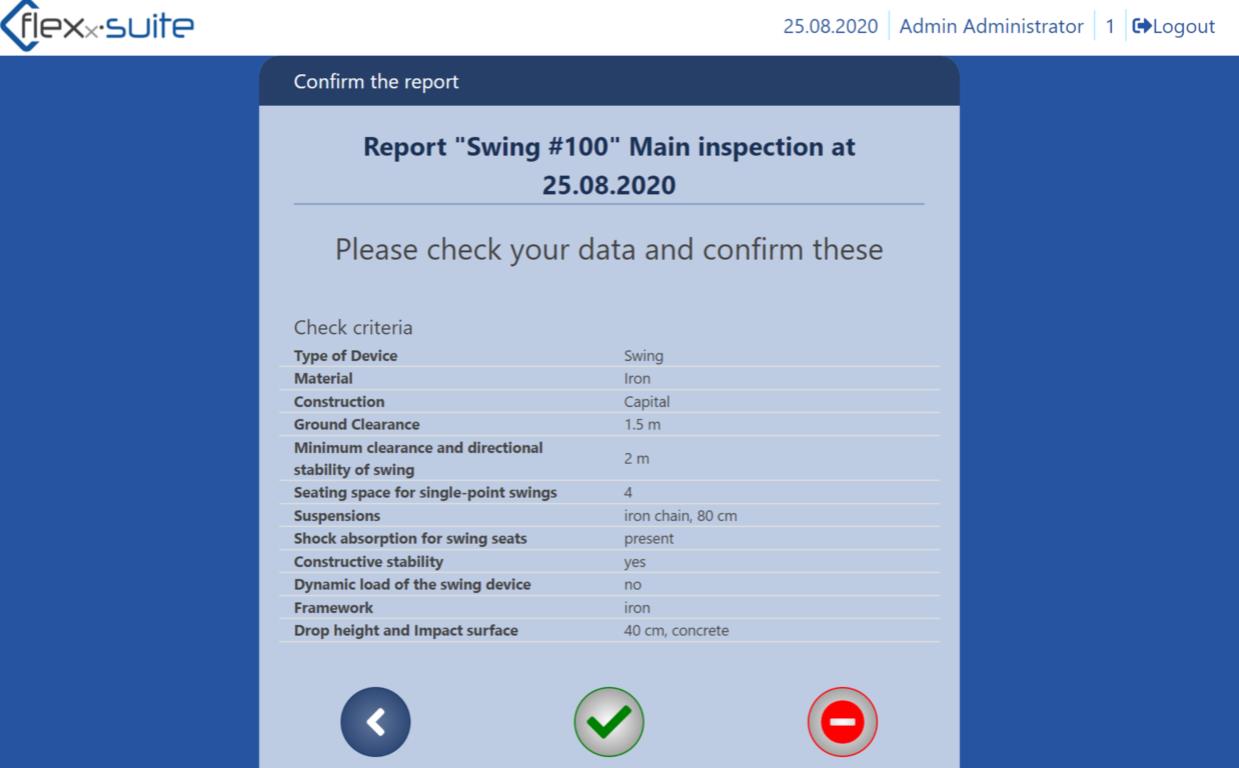
Check your entries and confirm them with the green check button.
If you want to make changes, click on the red button.
If you have found any defects in the device, you must indicate this in the first
preselection.
To do this, click on the red button to go to the defect report.
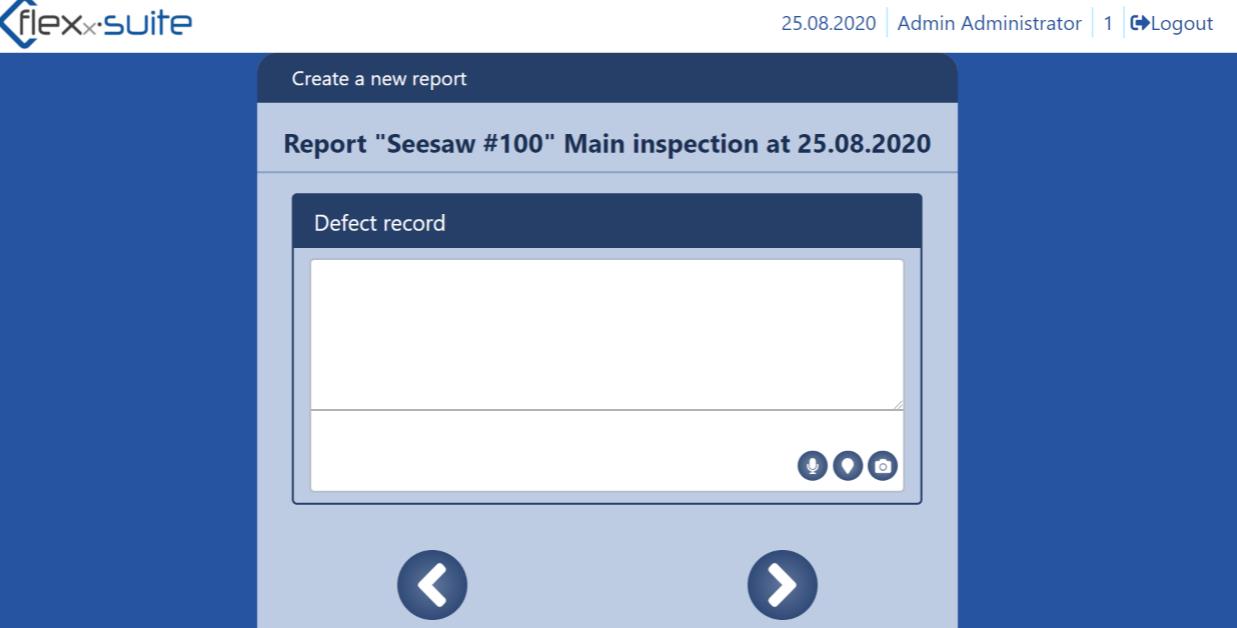
Enter the defects here. You can also leave a voice message, the location and
pictures about the deficiencies
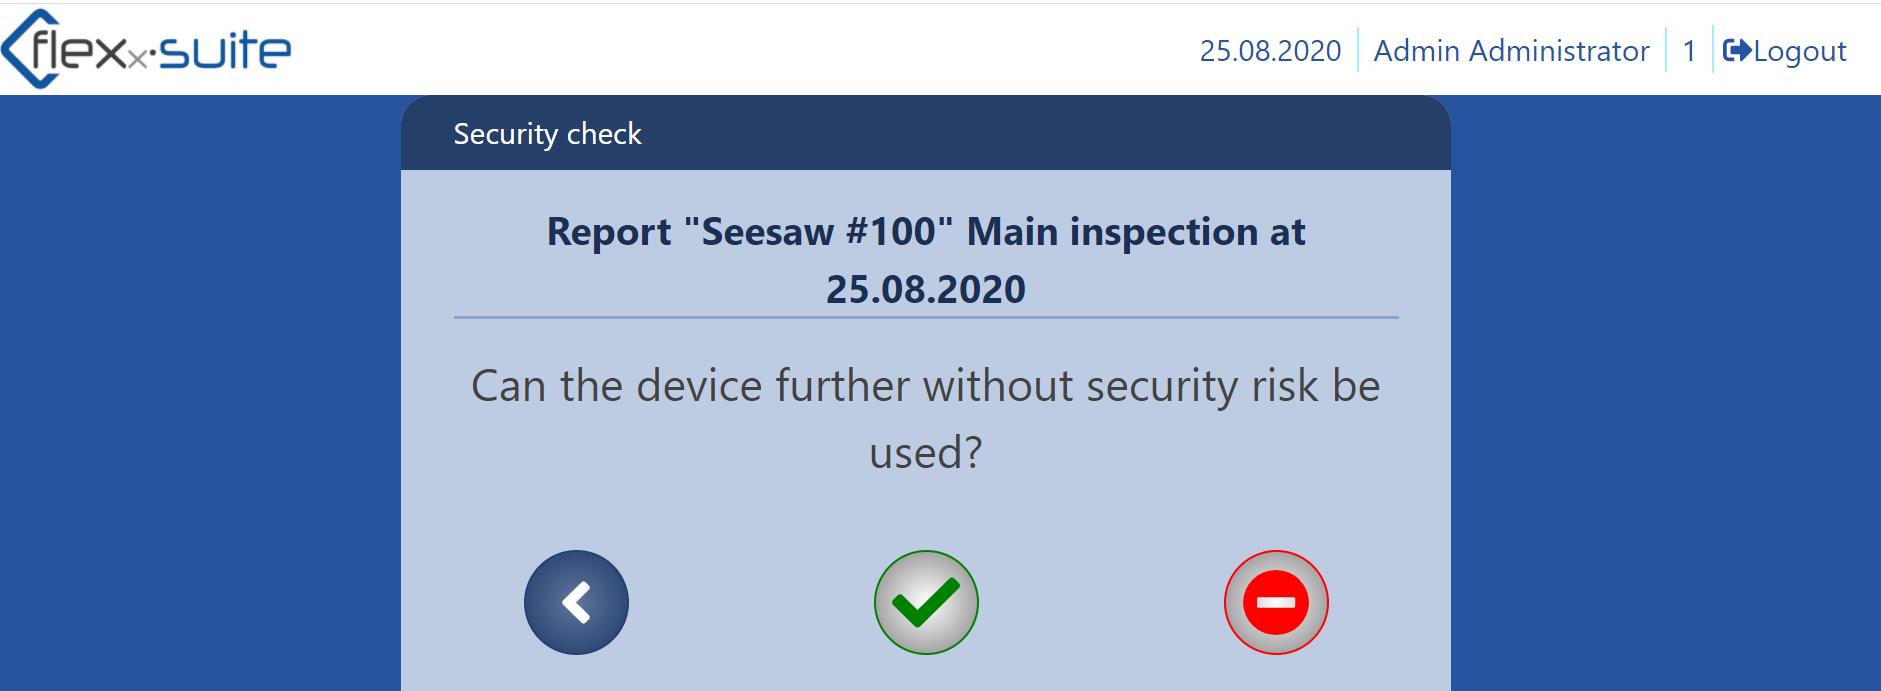
The next step is to ask whether the device can still be used.
Make your decision here.
Now place the repair order for the playground device here.

Select your company for the repair.

Now enter all necessary data about the playground device.
Now you will receive a general overview.
Check your entries and confirm your report with the green check button.
Your tested device has a tick in the device list.
After testing all devices, save your inspection.

After saving, you will receive a general overview. Press the button “Submit inspection”. The inspection is now complete.