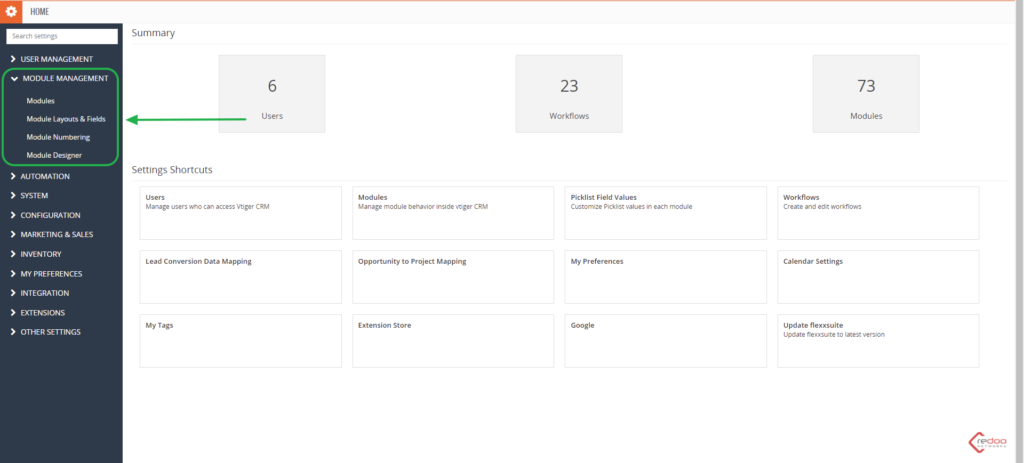
To get to the Module management page firstly you have to enter the Settings page
Click on the gear symbol like shown in the image
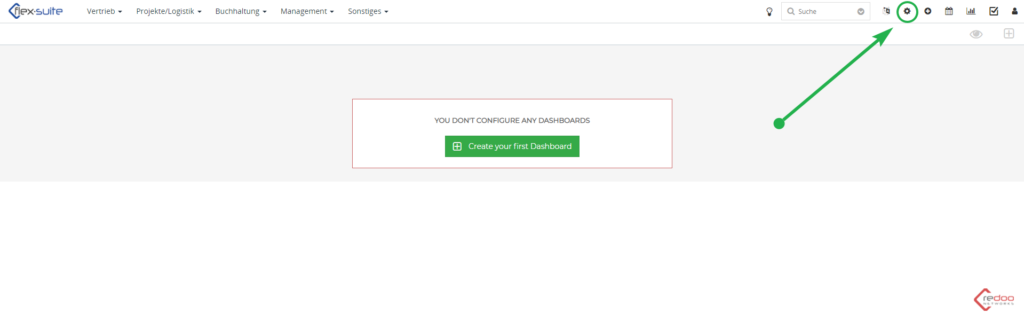
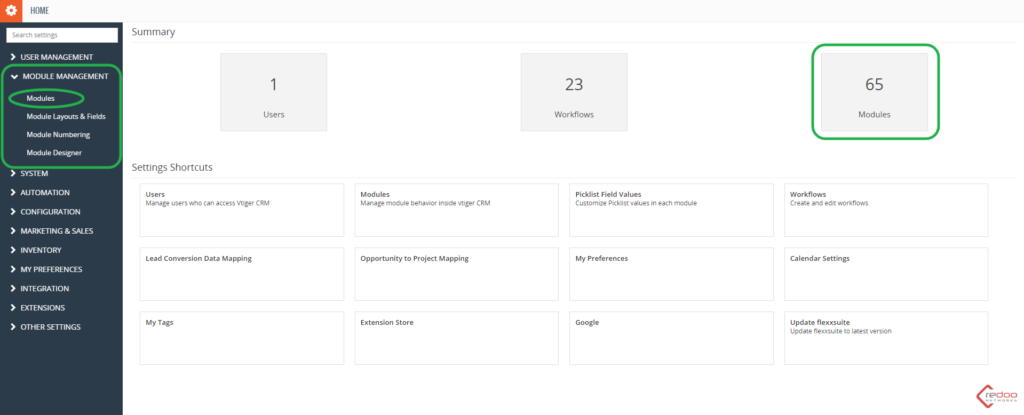
Now you have two options: First – is to open a Module Management layout and click on “Modules”. Second – click on the “Modules” square in the right corner of the page
Here you can see the list with all basic or customly added modules
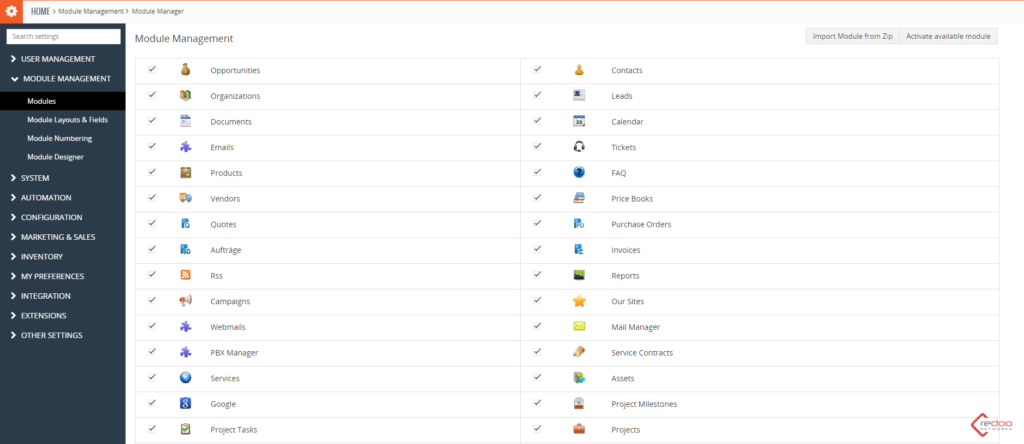
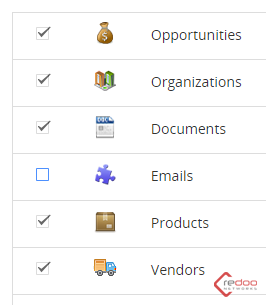
Here, by using the hooks placed beside the Module names, you can determine if the Module is visible in CRM or is it deactivated.
(Modules that has the hook set are available)
To import a new Module click on the “Import Module from Zip” button

To start the import process set a hook for accepting the disclaimer and press just appeared blue button “Select from My Computer”

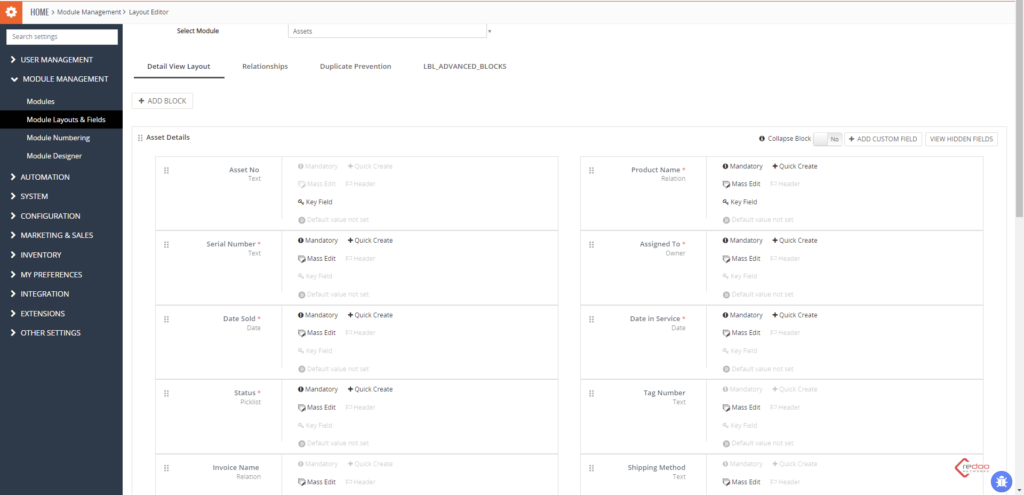
Module Layouts & Fields
This section is used particularly for customizing Fields for any module within the CRM
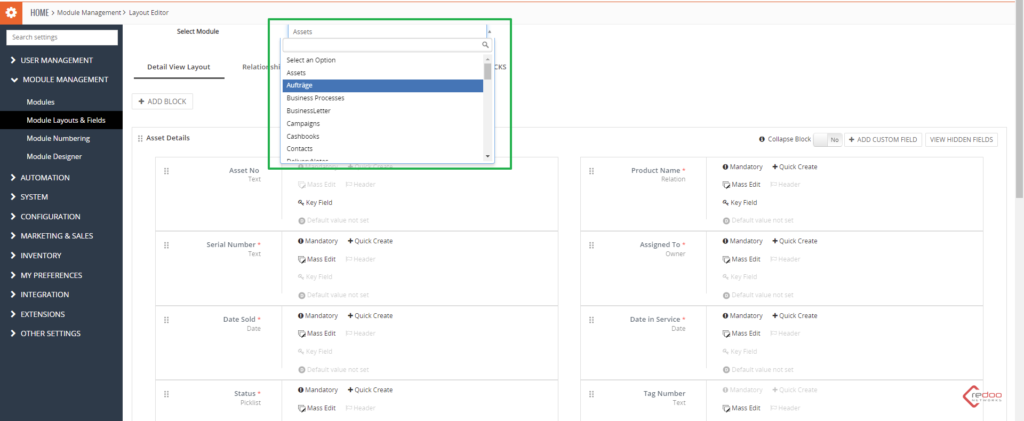
First step is to select a Module
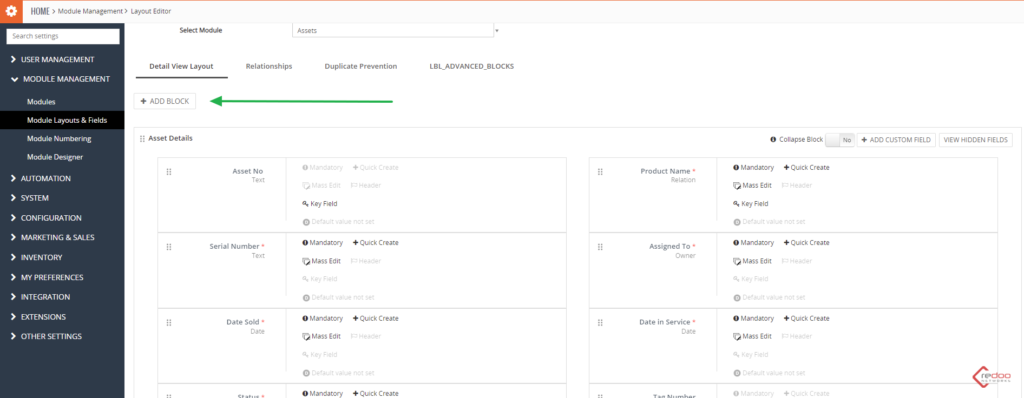
Next is Asset Details
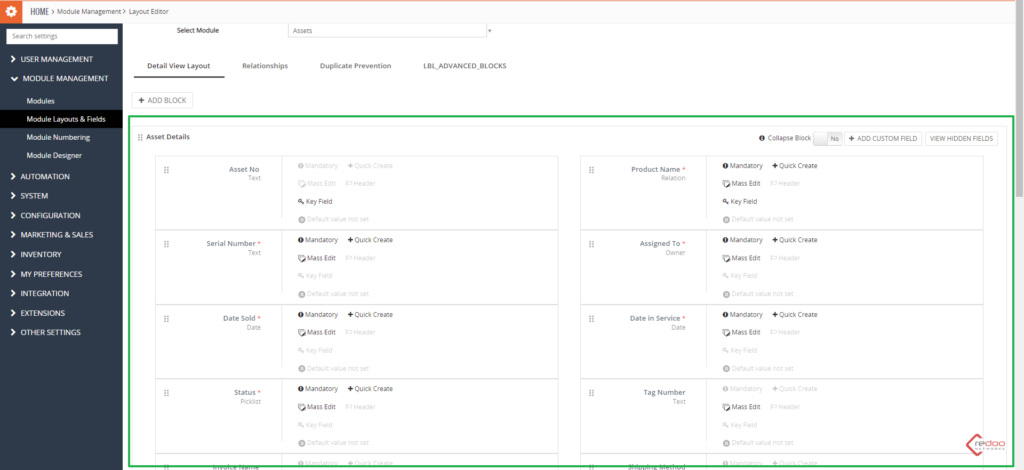
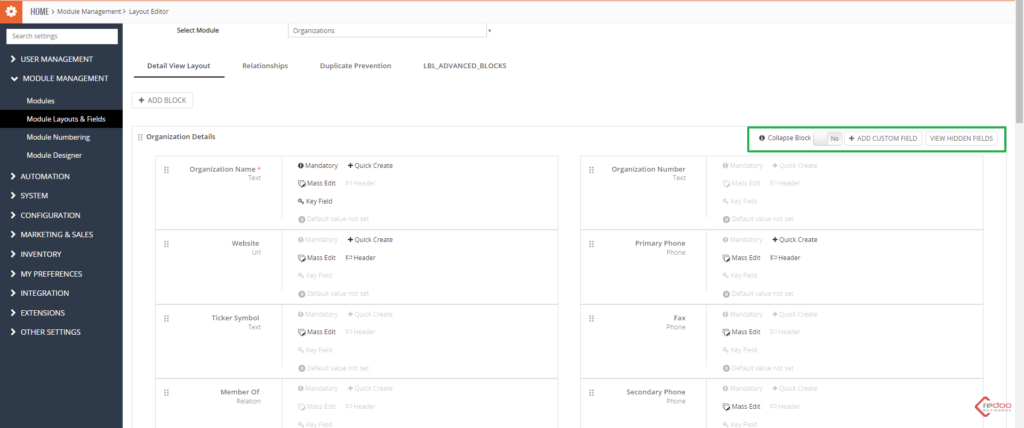
In that part there are three activity buttons corresponding for:
- Collapse block
- Add Custom Field
- View Hidden Fields
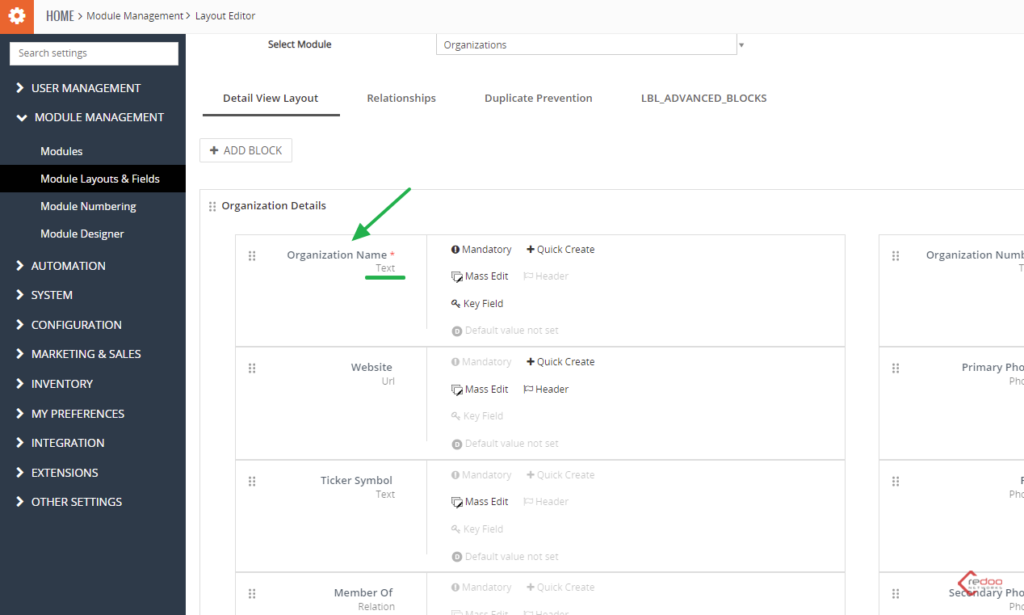
All of the fields are grouped in blocks like shown in the image
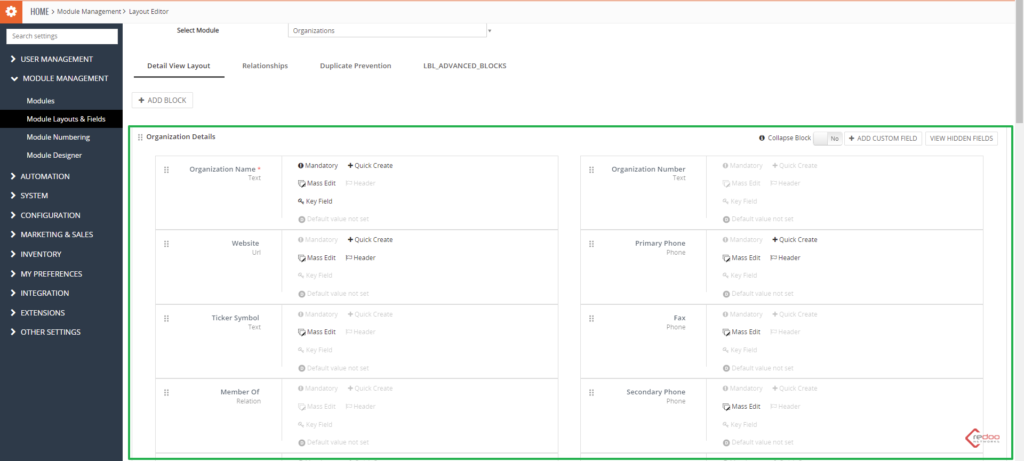
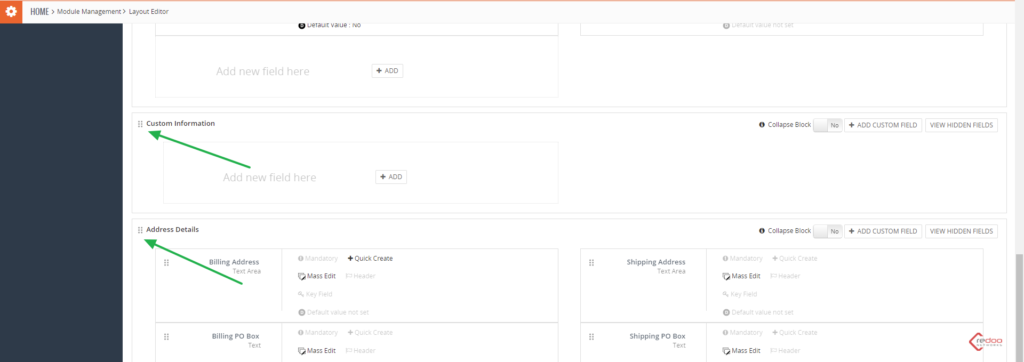
You can move blocks via drag and drop using these signs
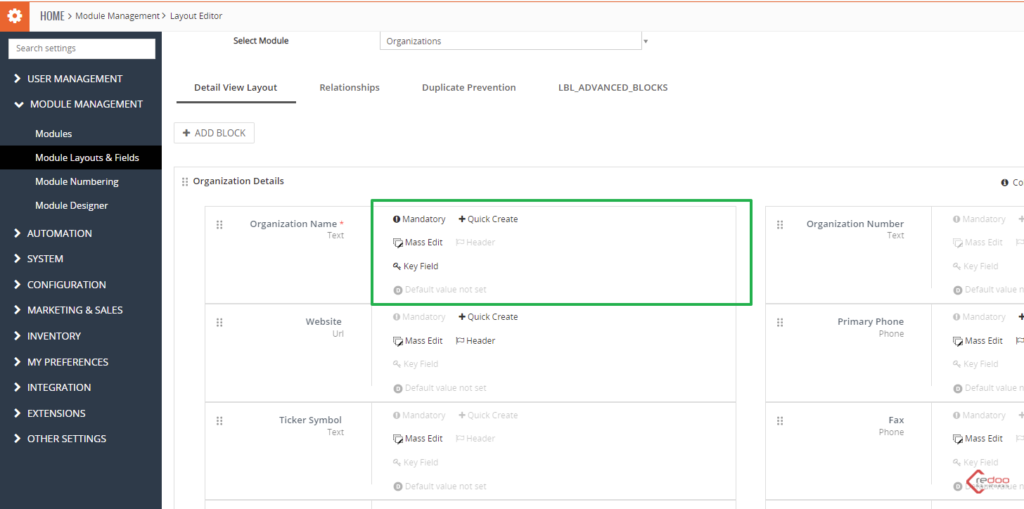
Every field has its own properties that you can see in here

Firs one goes the name and then the field type
Then goes the main properties of the fields like:
- Mandatory (yes/no)
- Quick create option
- Mass edit
- Header
- Key field (yes/no)
- Default value set/not set
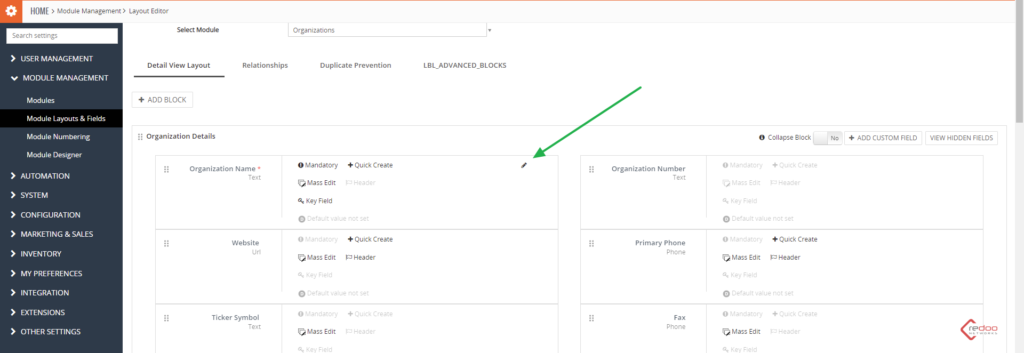
To edit a Field press this pencil button
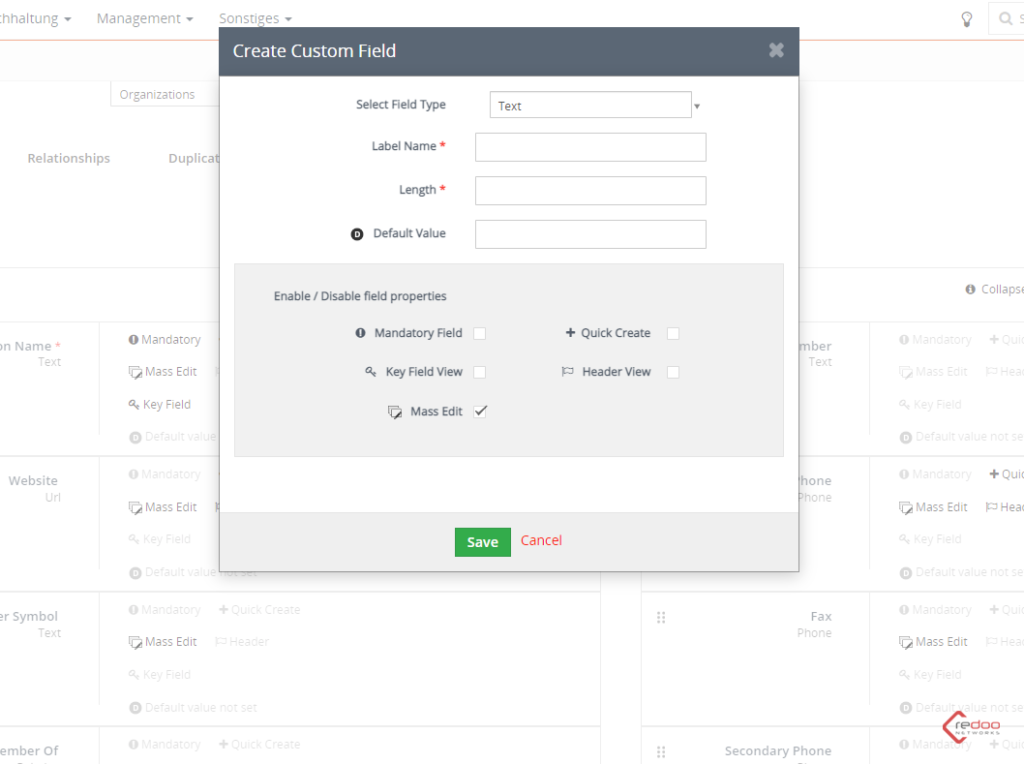
When adding a new custom field you should firstly select a field Type,
then enter Label Name and Length,
there is also an option to set a default value, but this field can be left untouched if the default value is not needed.
Then enable all desired properties and save.
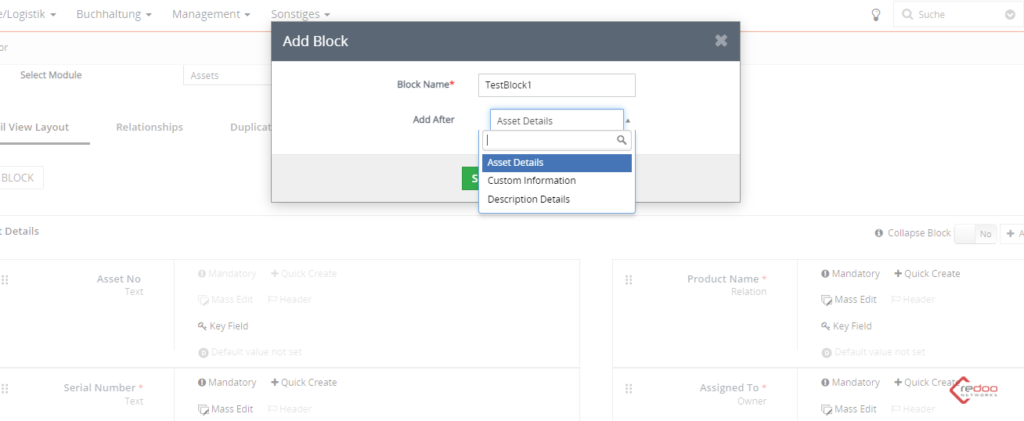
Using this button you can create a new block
In the opened window enter Block`s Name and what it is add after
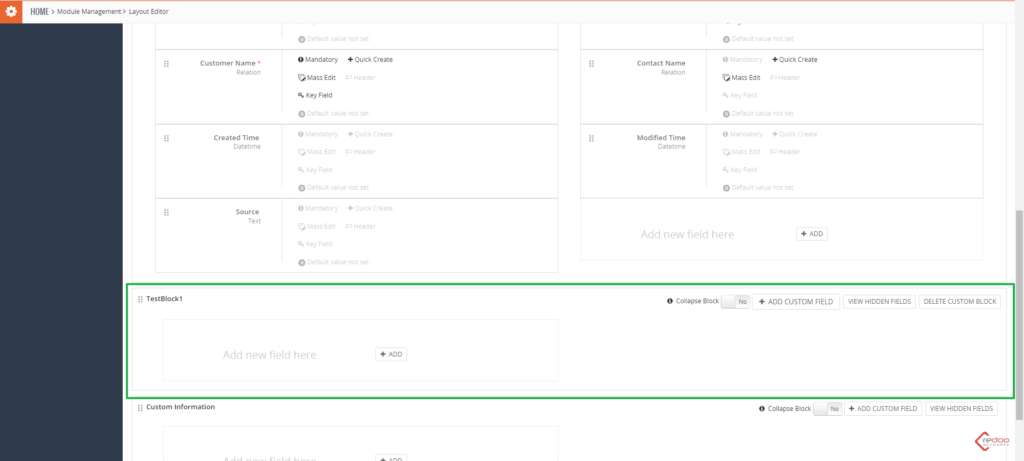
Newly created block will be then displayed on the page
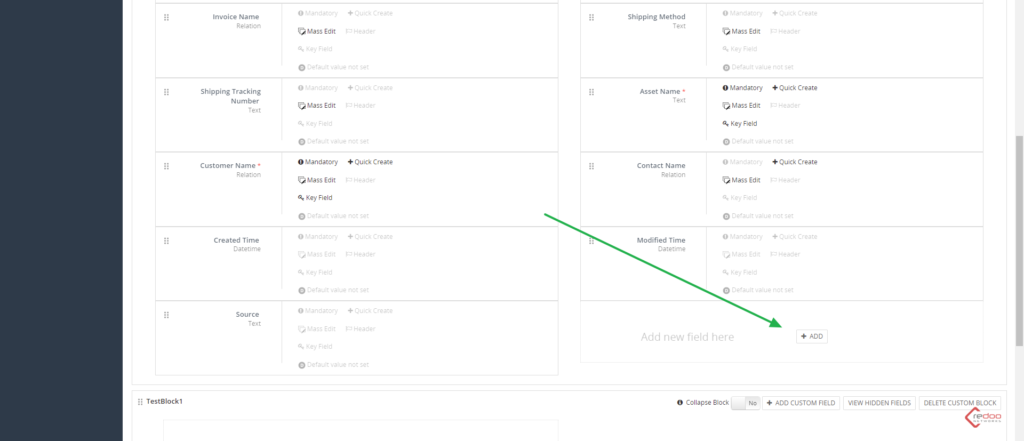
To add a new field press the “Add” button in the end of the block
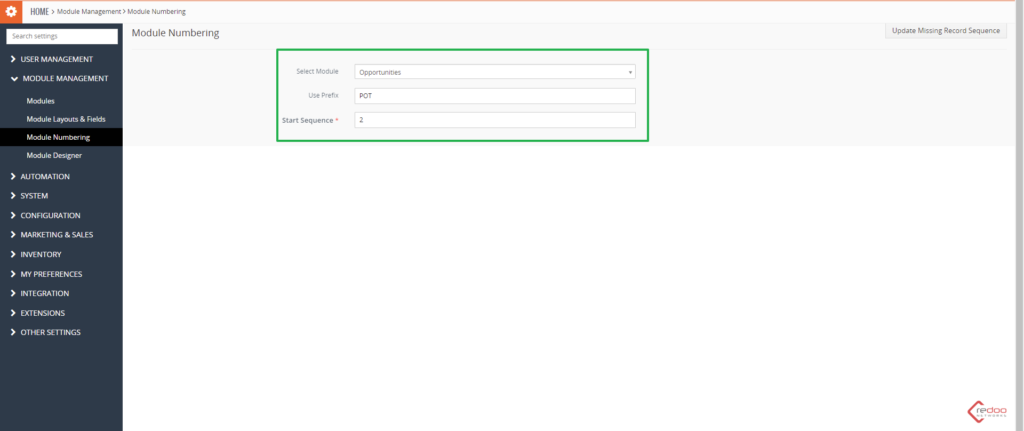
Module Numbering
Next section of Module Management is Module Numbering
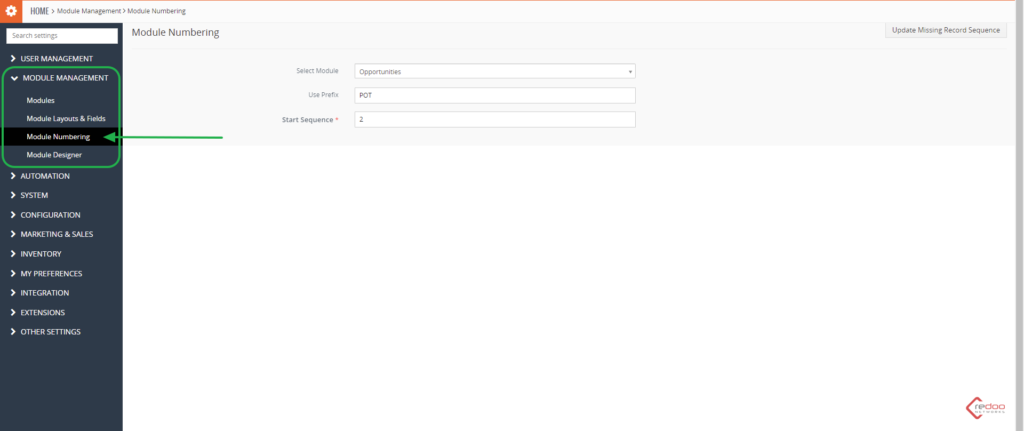
Here you can set a Prefix and Start Sequence for each module of the CRM
Module Designer
Here you can see the list of all modules within your CRM and create your personal one
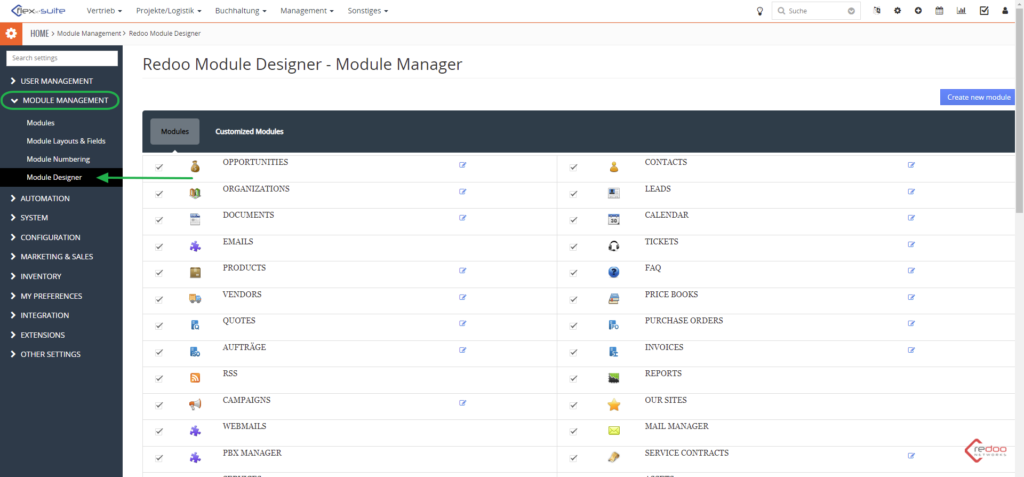
By setting a check mark near the Module you can make it available or disable it

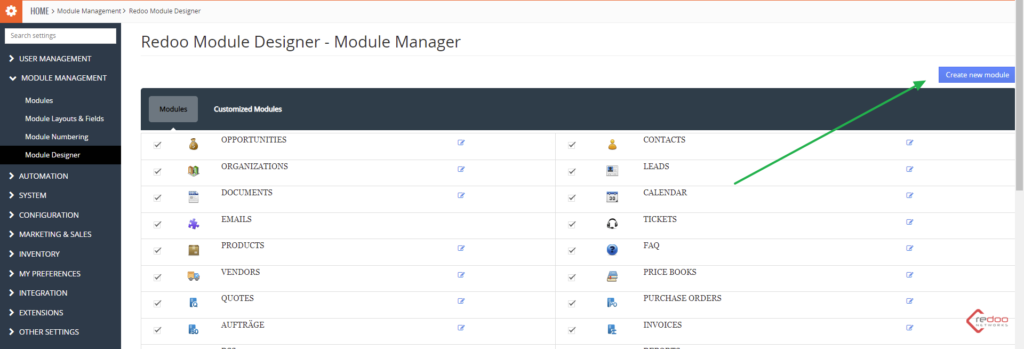
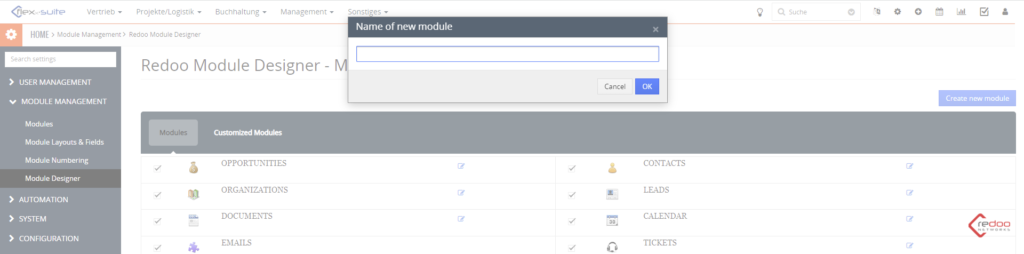
To create a new Module press the corresponding button like shown in the image
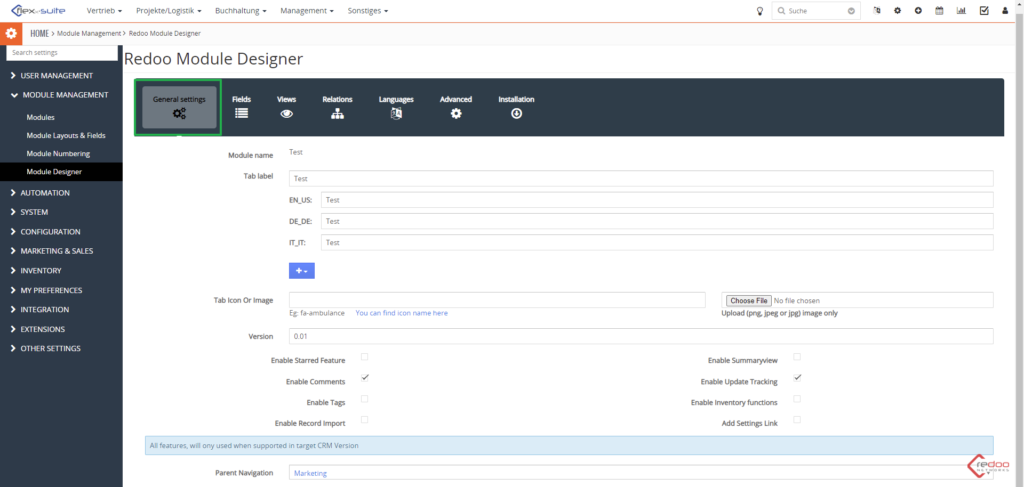
On the first step you will have to set the name
In Fields you can see some basic fields used in most records of different modules within the CRM
You can move them around via the block they are in via drag and drop
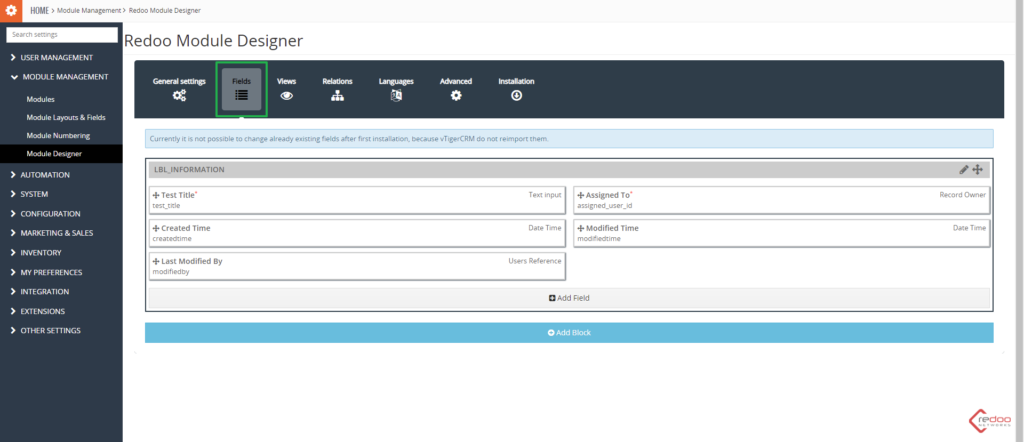
To add a new field within the block or to add a new block with fields use “Add Filed” and “Add Block” buttons

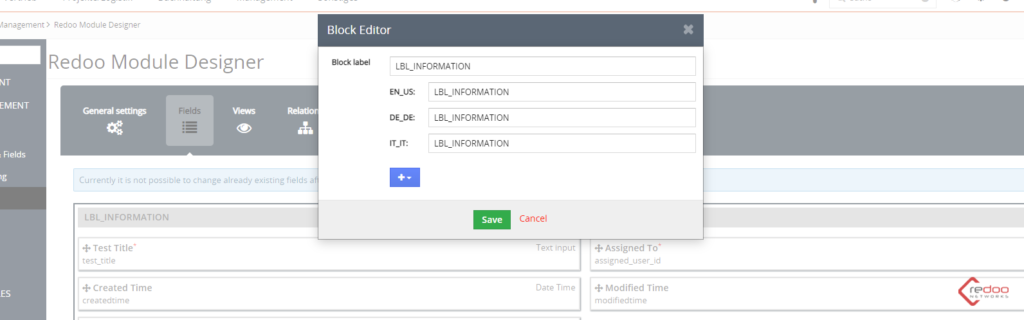
To edit a block press this edit sign like shown in the image
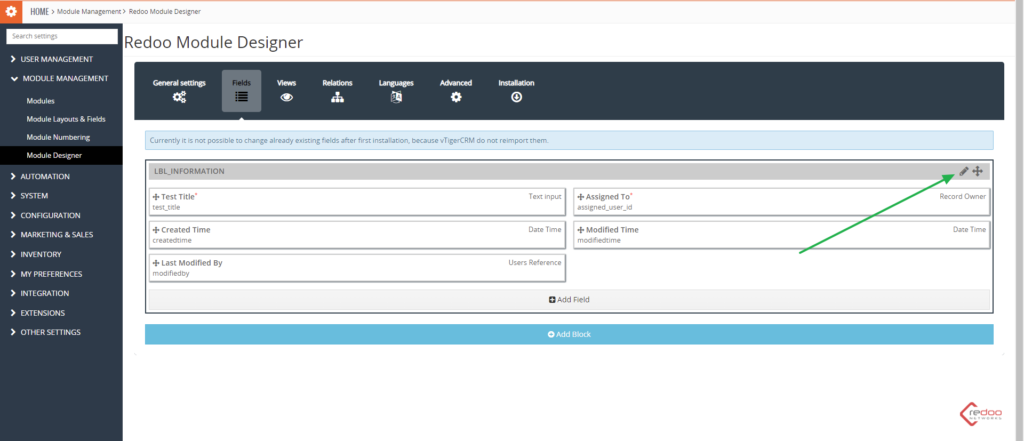
In the opened window you are able to configure Block label and it’s variations in different languages
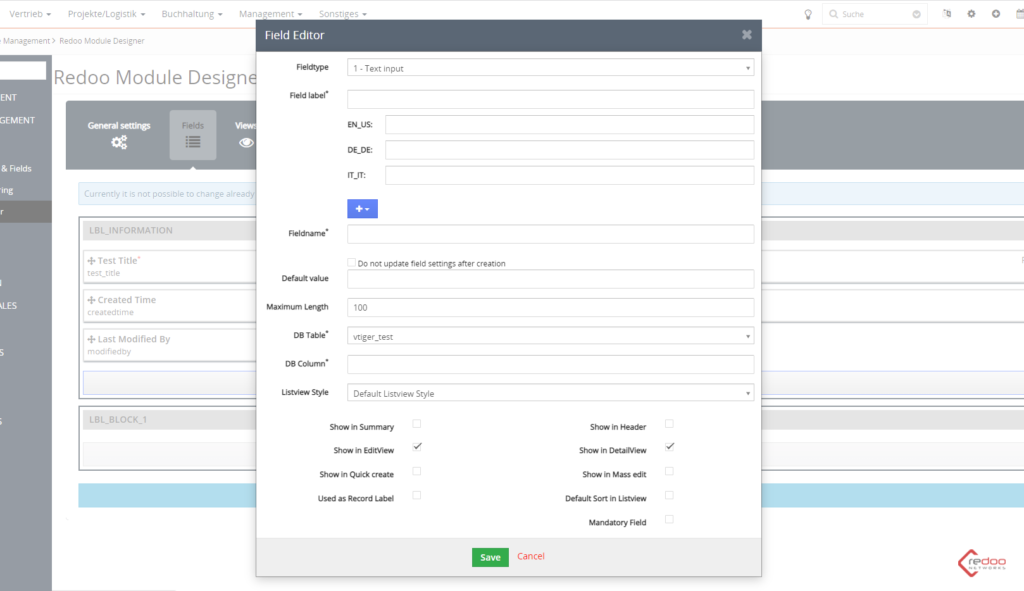
When creating a field first step is to set it`s type
Next is to create a Field label and a Fieldname
Below that you have an opportunity to set a Default value, Maximum length and a DataBase Table and Column which will then be used in the DataBase of the CRM itself
Last settings are for the Listview Style and for field visibility in different parts of the module