Setting up the new User Account
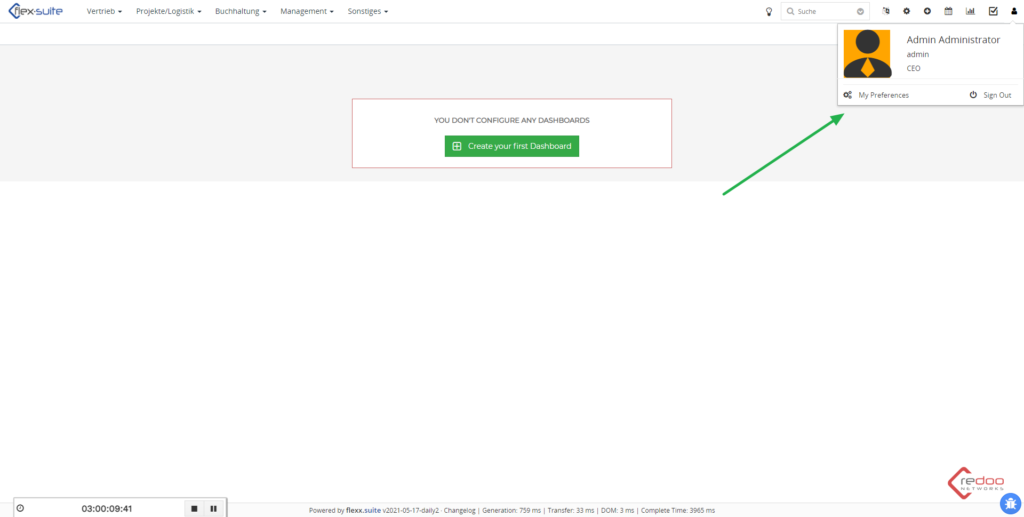
To set up a User Account you need to move to the Settings page
Click on the marked symbol.

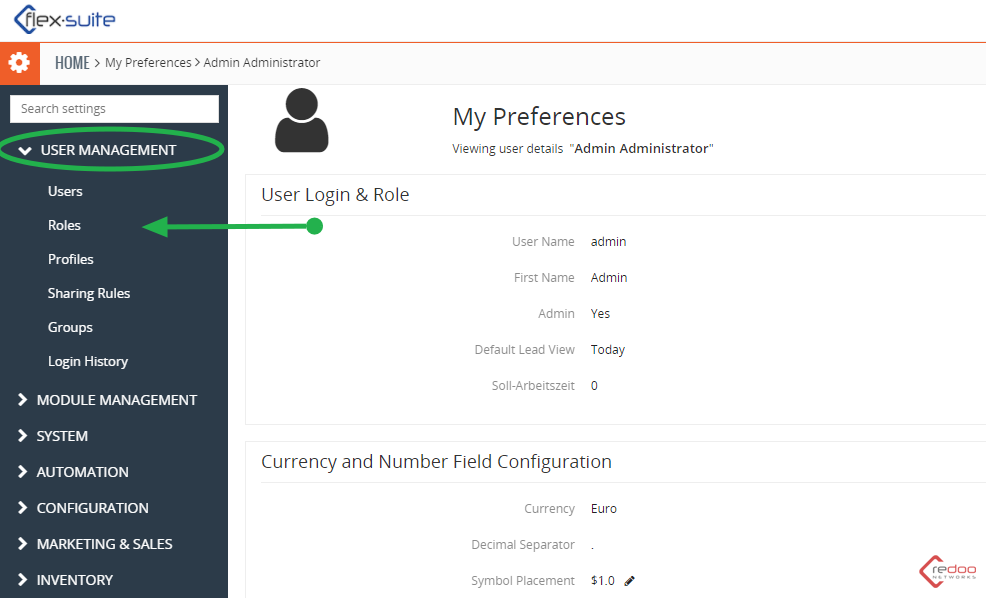
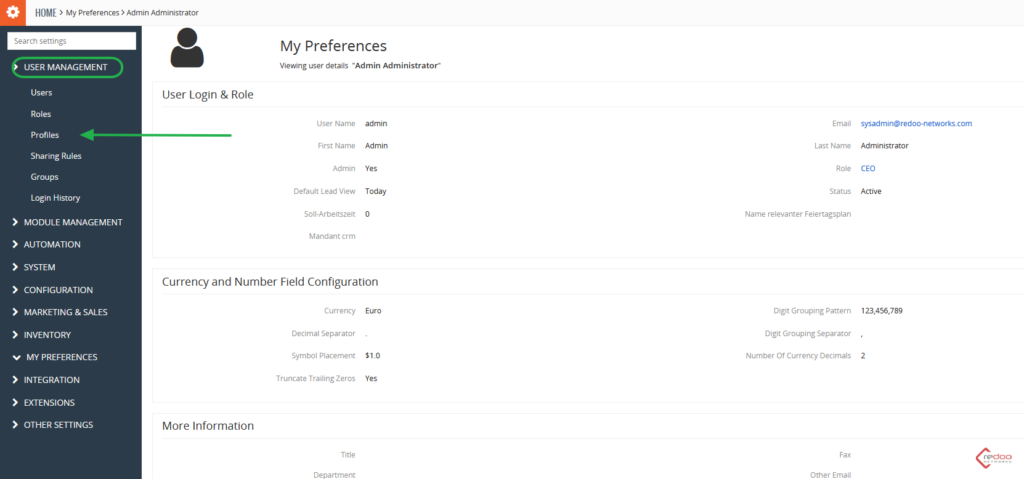
Now click on “My Preferences”.
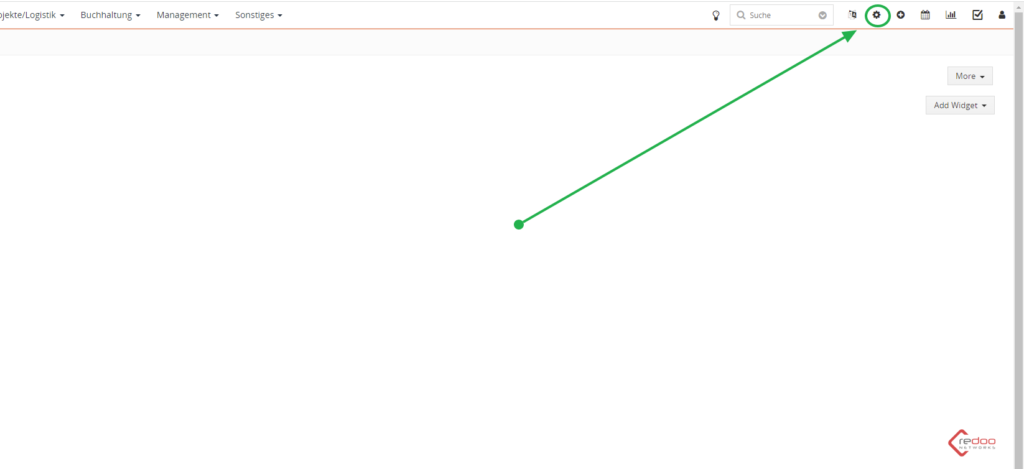
To open a settings page in another way click on the “Gear” symbol in the right side of the top bar
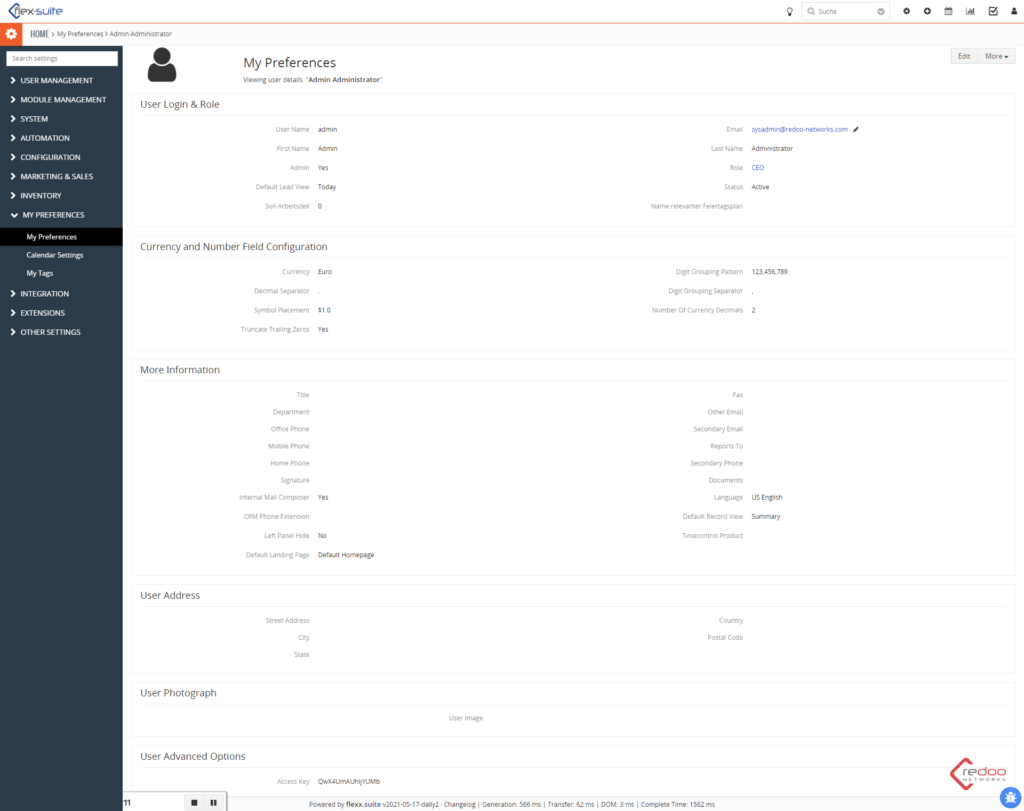
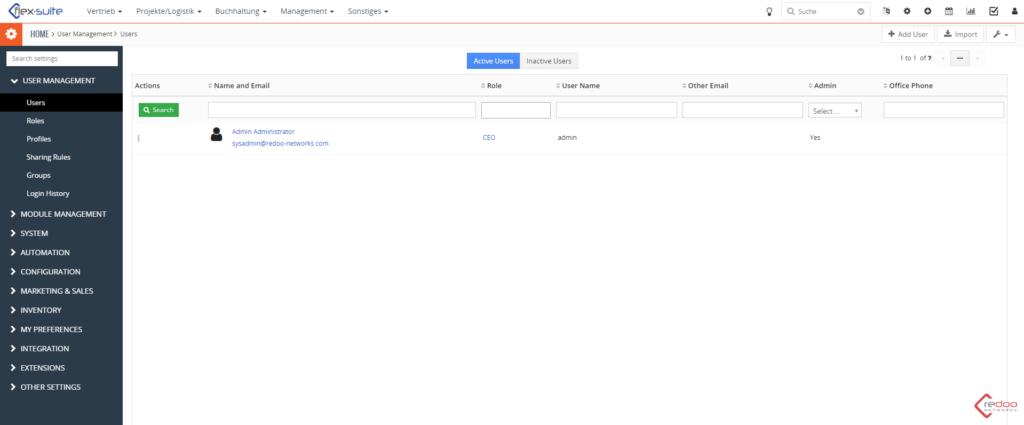
Now you are in the Settings page
Select User Management and click on Users option
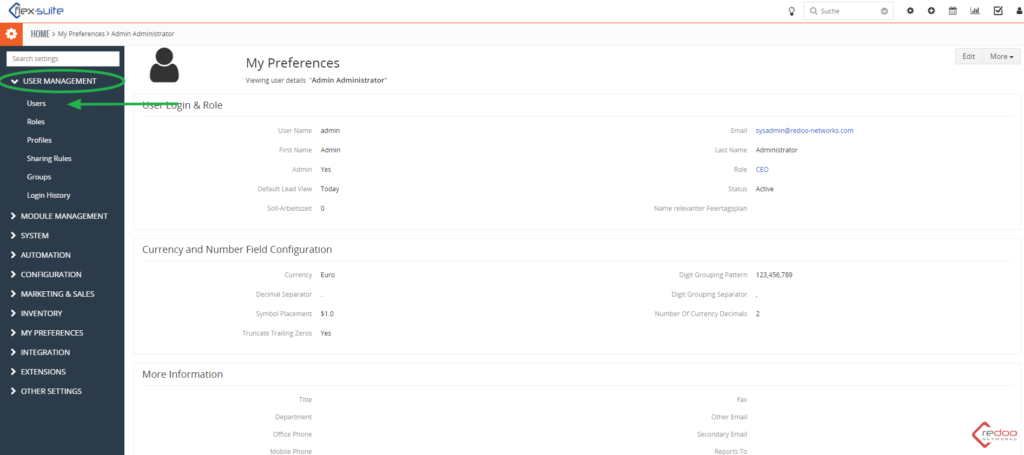
Now you can see the list of all users that have an access to the CRM:
- Name and Email
- Role
- User Name
- Does the User has an admin rights
- Office phone
To add new User press the “Add User” button in the right top corner
You can also see the list of inactive users by pressing the button in the top
This is a create new User page. Here you can define the basic values that will determine the User:
- User Name
- First and Last name
- Password
- Will the User have admin rights
- Role
You can also set some basic values in sections like:
- Currency and Number Field Configuration
- More Information
- User Address
- User Photo
After you finish press the “Save” button bellow to save

User Roles
Every User profile has its Role that defines its relations with other users and its credentials
To manage user roles go to the Preferences page, choose User Management and click on Roles.
Now you can see how the Roles system is build
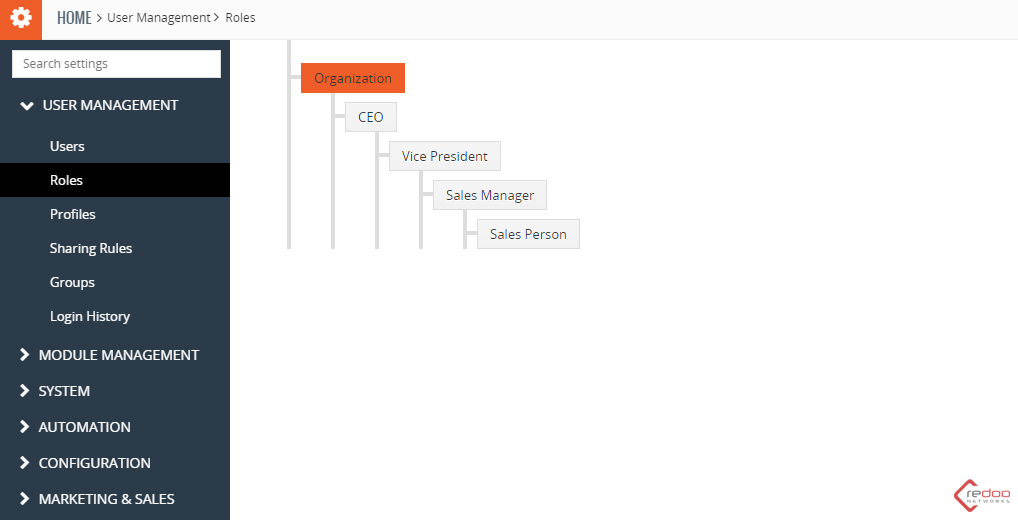
If you click on any of these entries you will see the deep Role settings page and edit it.
Lets see how CEO Role works
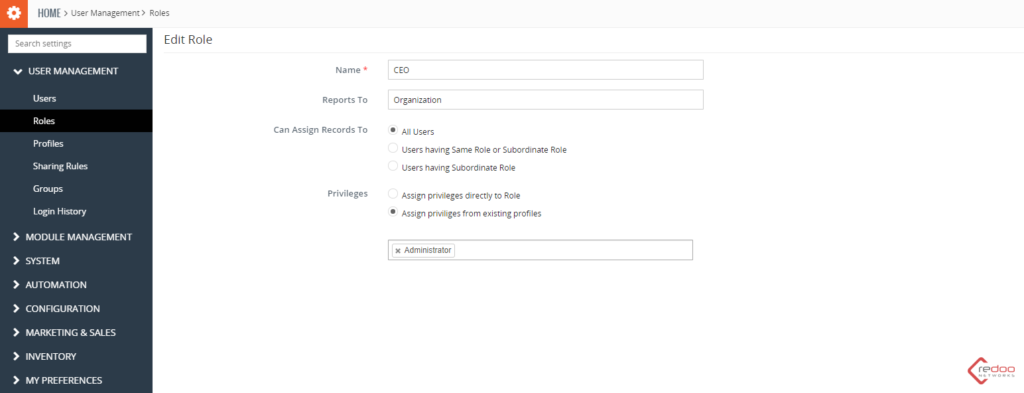
Here you can change a role Name
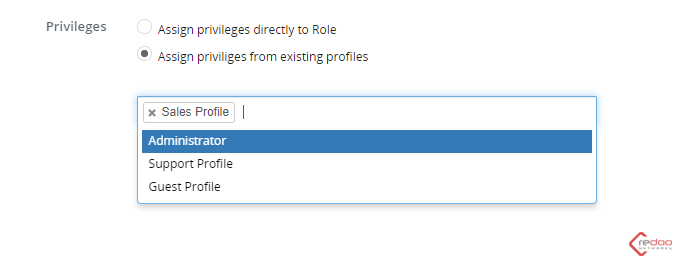
Choose the Role that this one will report to
Select if the Role can assign records to other users and if it has privileges assigned from already existing roles or profiles.
Profiles
In this section you can set up profiles in your CRM
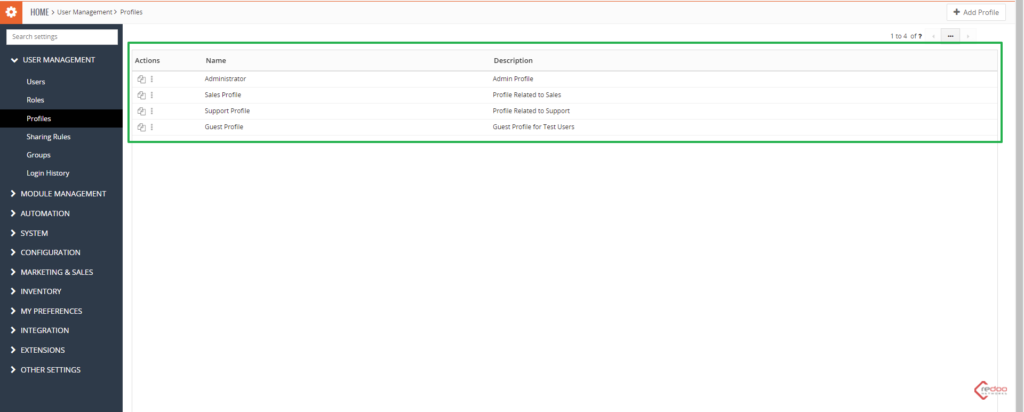
Here you can see the list view of all Profiles within the CRM
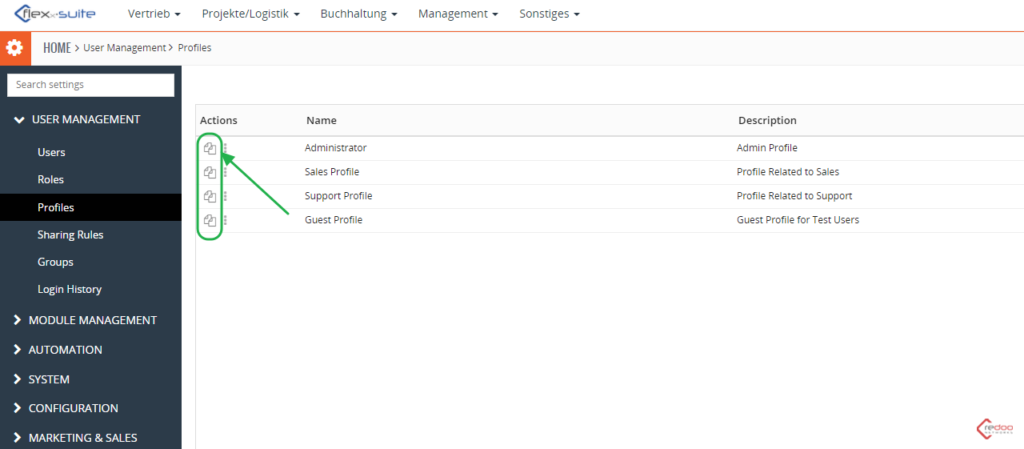
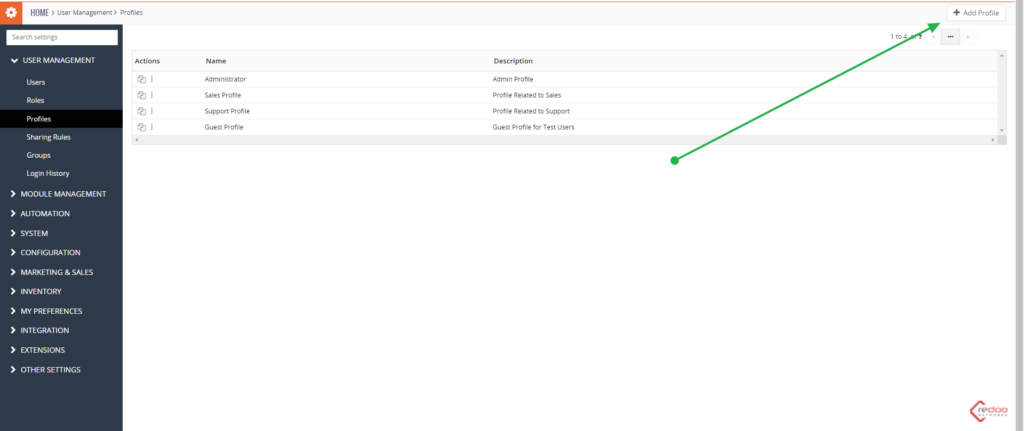
To duplicate a profile press this button like shown in the image
By pressing on this three-dot sign you will open Delete/Edit option pop-up

To see the Profile settings press on the desired field from the list here
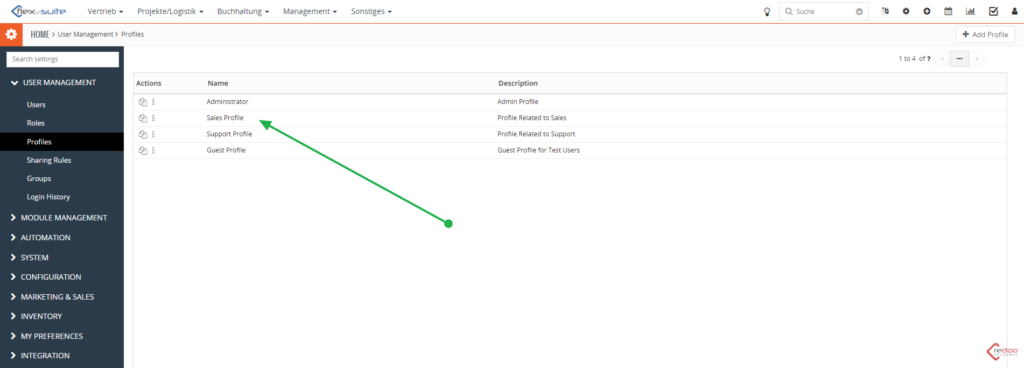
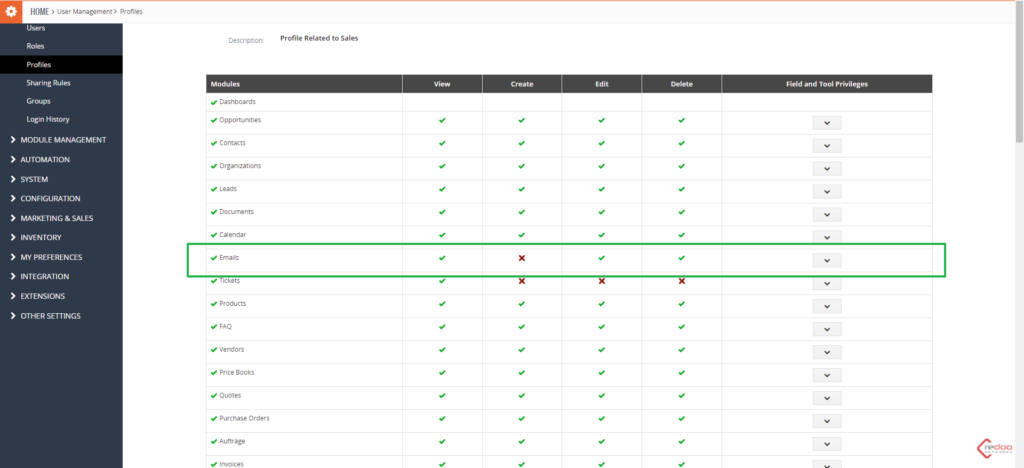
In this example we are viewing the Sales Person profile.
In the top panel you can view names of the columns:
- Modules
- View
- Create
- Edit
- Delete
- Field tool Privileges

Green check marks responds for the right to View, Create, Edit or Delete corresponding module records.
The red ones says that this Profile has no rights to these actions
To add a new Record press the “Add Record” button below
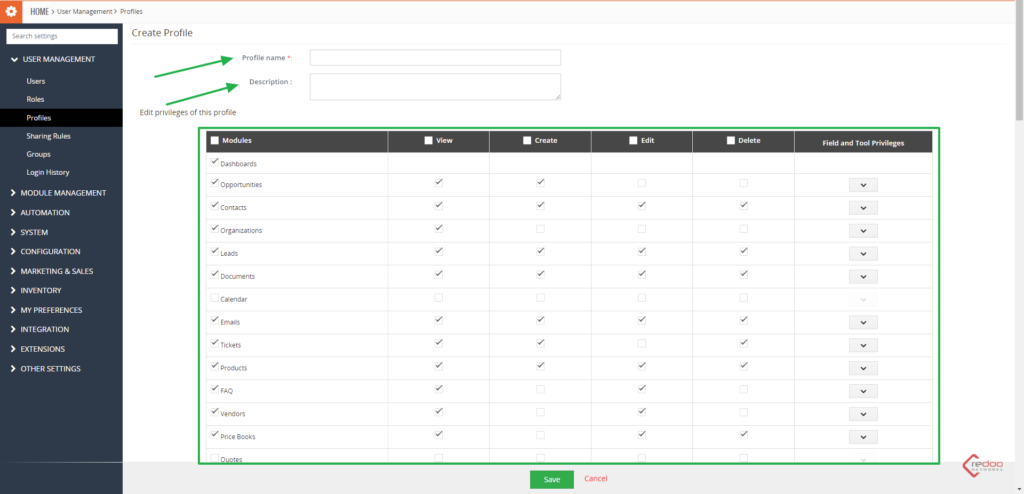
Here you can set a Profile`s name, Description and rights for each individual moudule
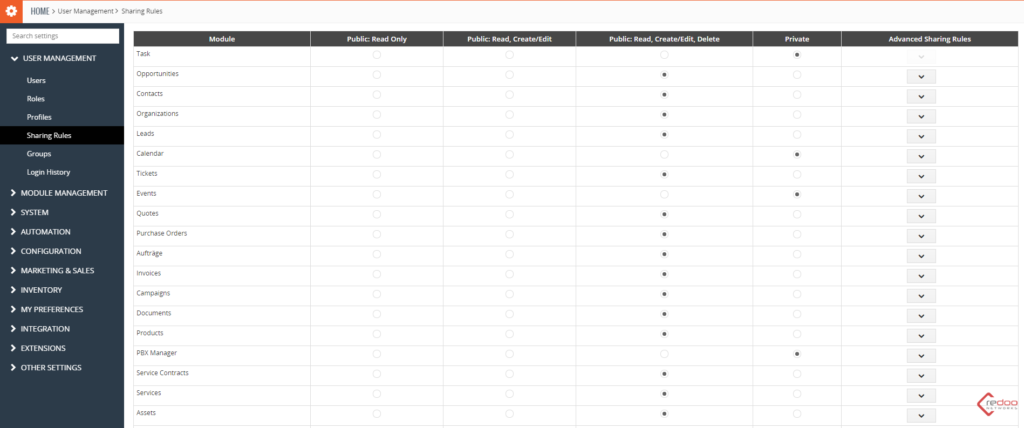
Sharing Rules
To set up Sharing Rules goes to the Settings page – User Management and choose the Sharing Rules option

Here you can see the list of all Modules available in the CRM and Sharing Rules settings like:
- Read Only
- Read, Create/Edit
- Private
- Advanced Sharing Rules
Using these options you can set the privacy settings for each module separately
You are also able to set a custom rule by expanding the module cell and clicking on “Add Custom Rule”

Here you can set “Organization of”, which roles can access the Module records and what permissions they will have
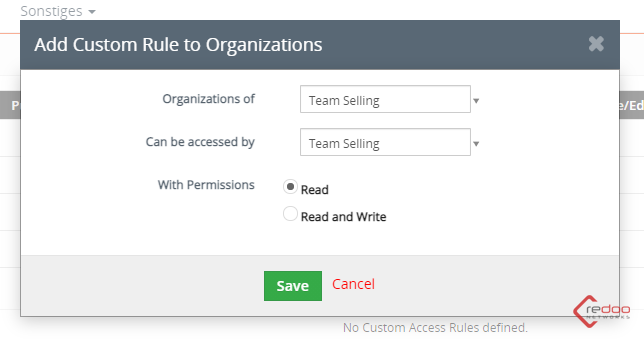
Press “Save” and then “Apply new Sharing Rules” buttons to save changes and continue.
Groups
Another section in User Management is Groups

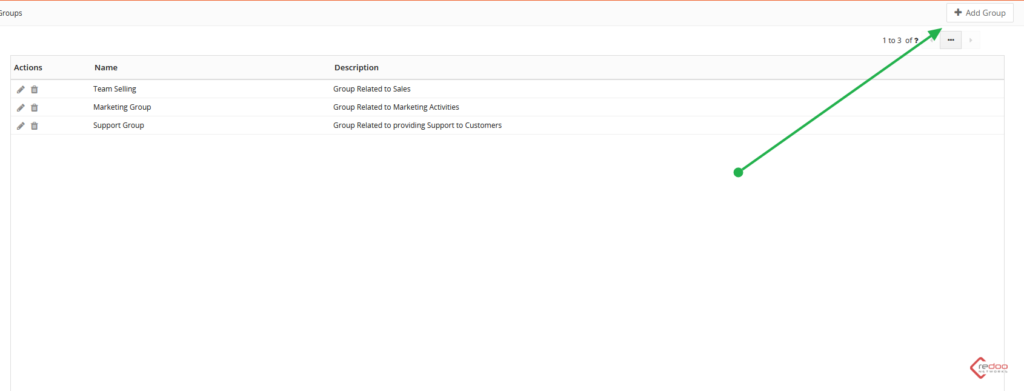
Here you can view the list of all Groups available in the CRM
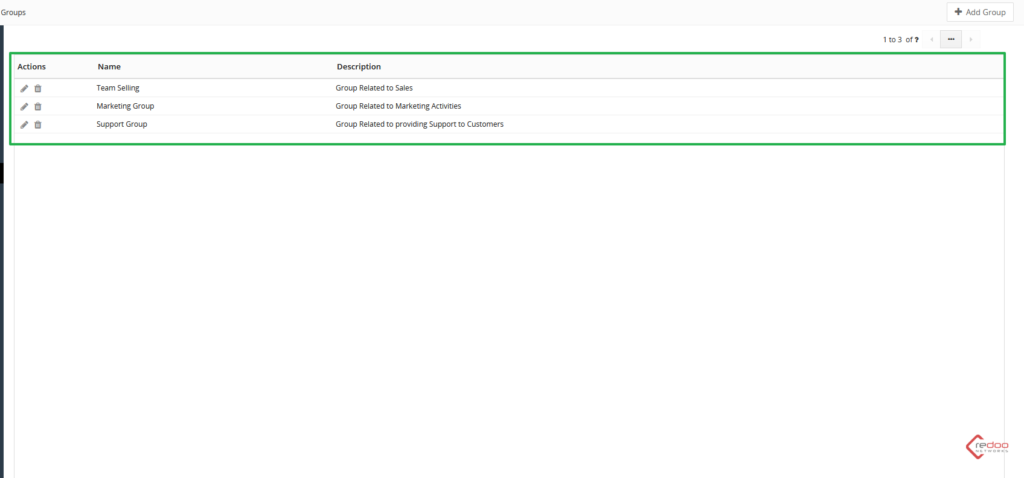
The list is divided in three sections:
- Actions – for editing or deleting a group
- Name of the group
- Description
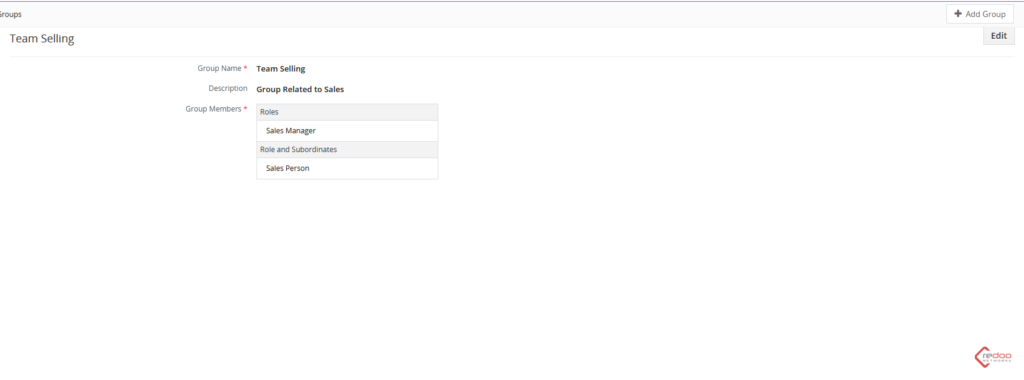
When you press on the Group’s name it will lead you to its page
Here you can see the Name, Description and Group members
You can also edit it in here
To add a new Group press the “Add Group” button in the upper right corner
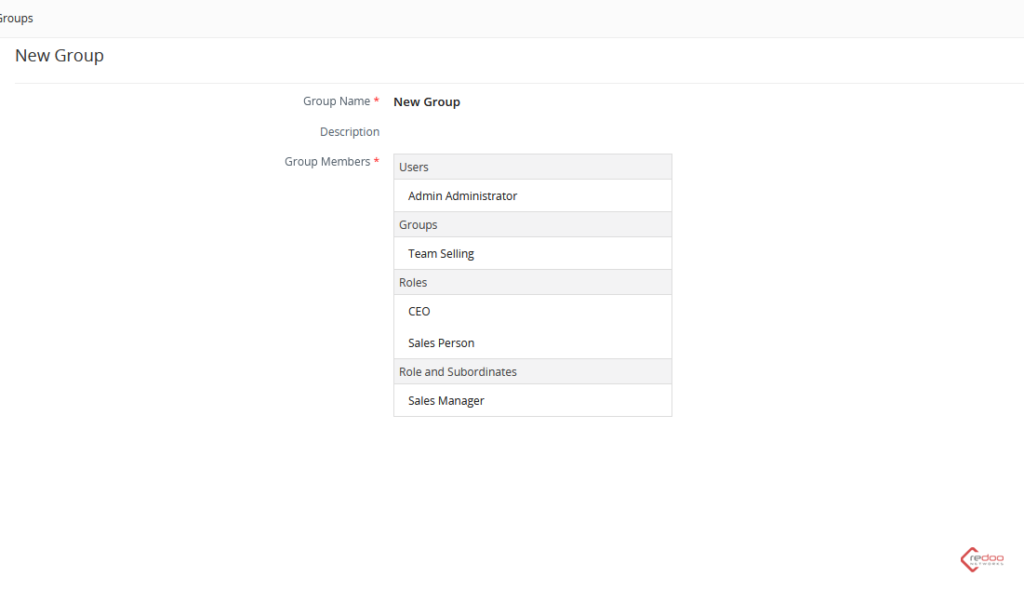
When you are creating a new group choose its name,
Set a Description
And select Group Members from Users, other Groups, Roles, Role and Subordinates lists available in your CRM system

After you have created a new group it will be available to view
Login History
Login History is a page where you can view log ins that were made by any user
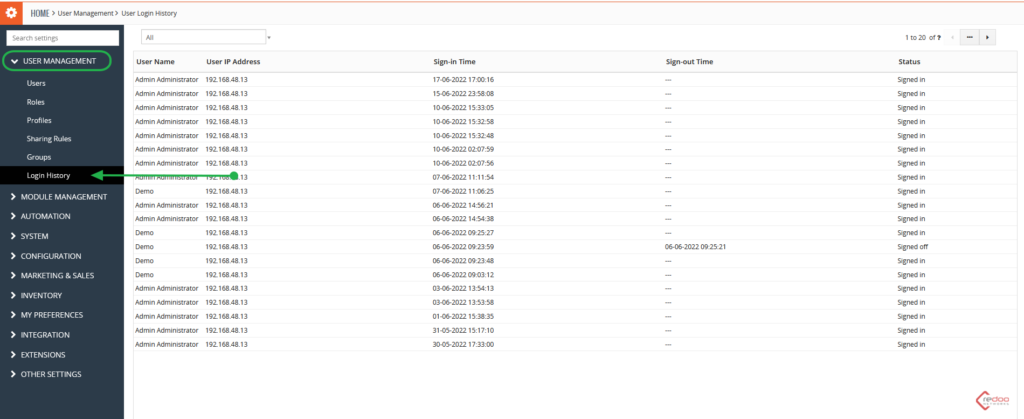
Here you can see information about:
- User Name
- User IP Address
- Sign-in and -out Time
- Status of the login
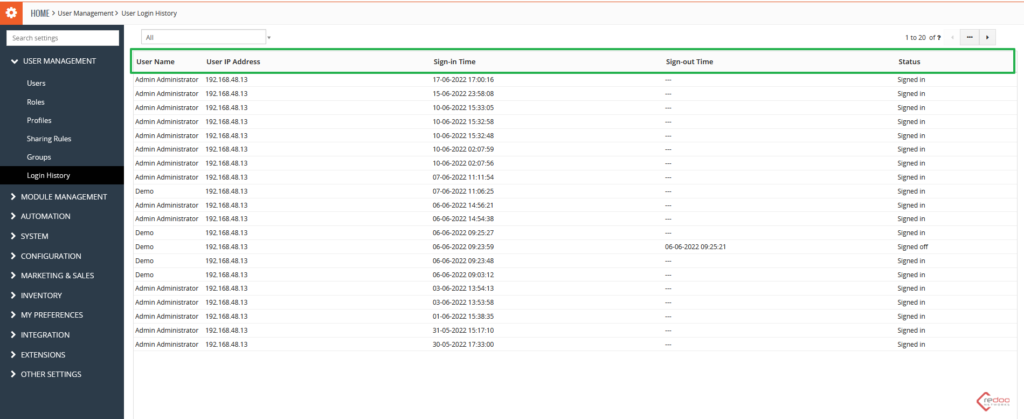
You are also able to sort Login History page by User Name
