Documents can be added by pressing the “Plus” button
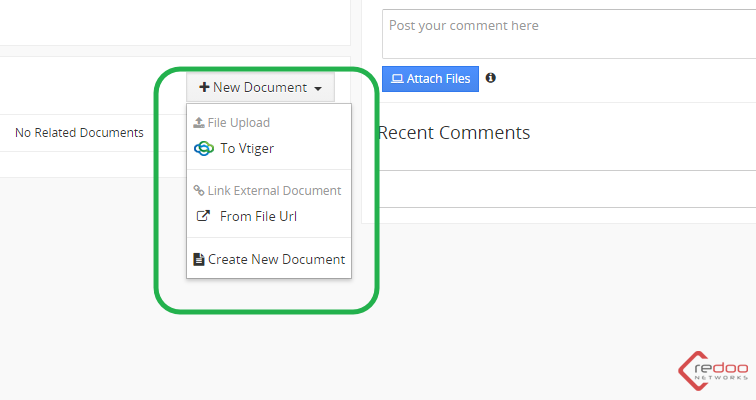
Here you can see the list of all available upload options
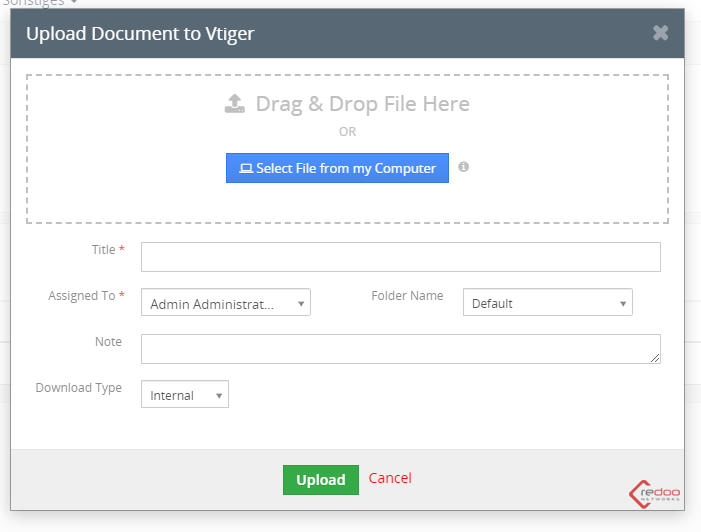
To Vtiger
From the URL

Yo are also able to create a new document using the build-in editor
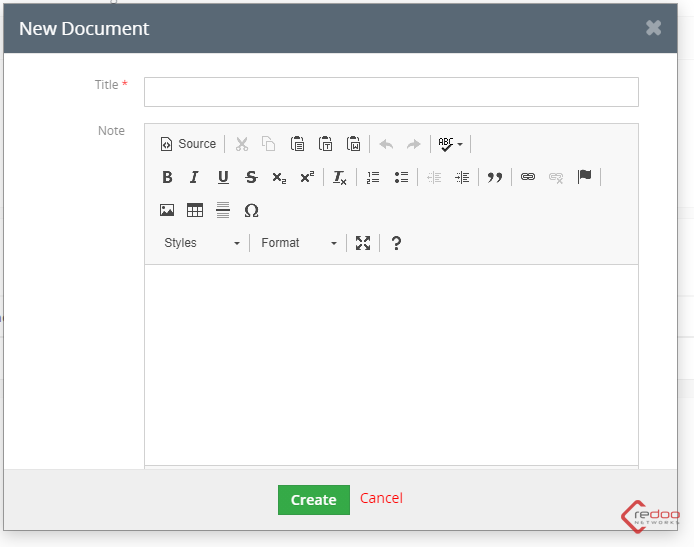
Now select the desired way and upload your document.
In the right corner you can see three available view types and all related modules to your main module
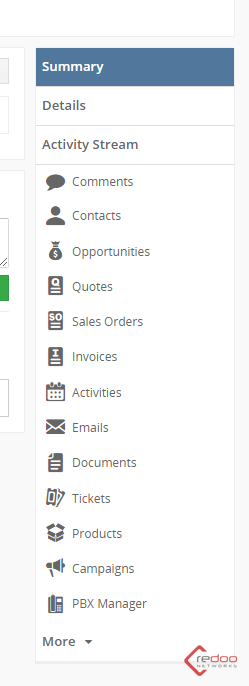
Lets move to the “Details” view page
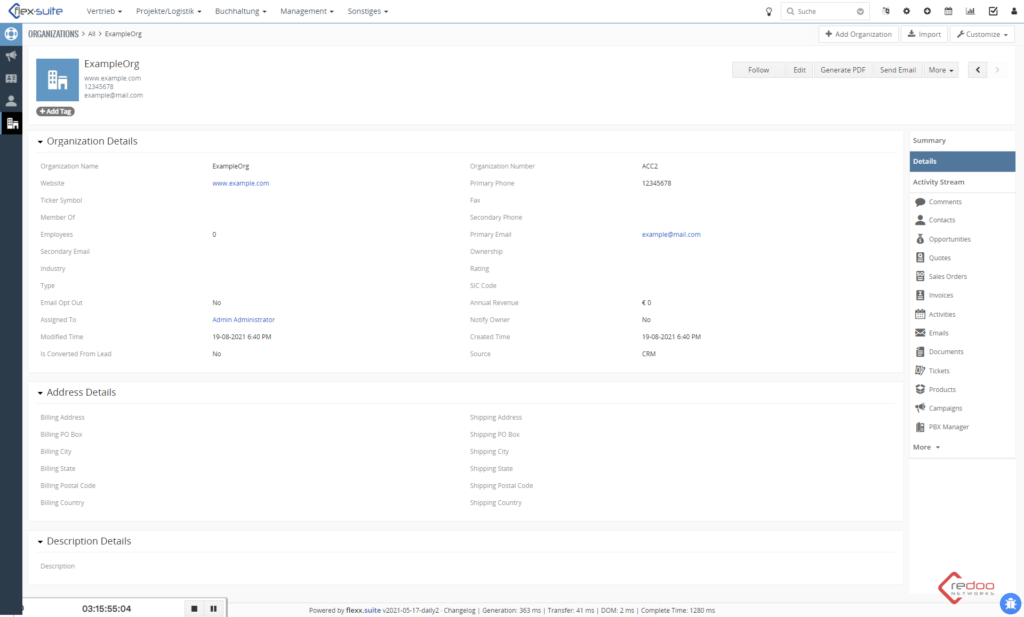
On this page you can see all information about the record
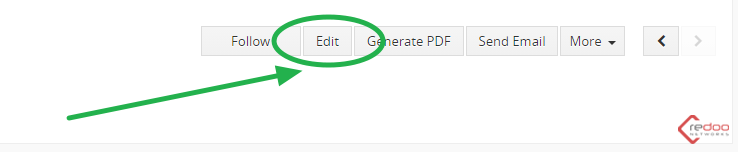
To fill empty fields or change existing ones press the “Edit” button like shown in the image
On the page just opened you can edit any field of an already existing record in your CRM
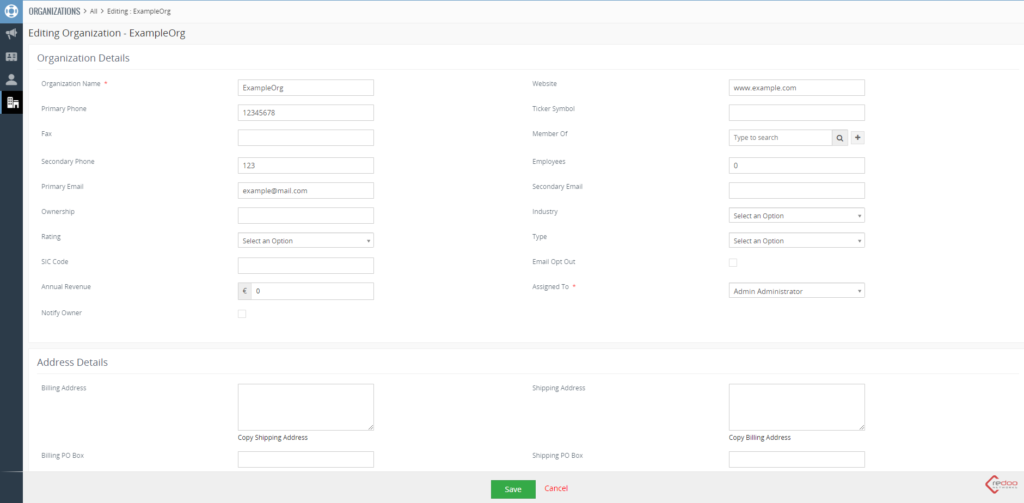
After you finish editing do not forget to save
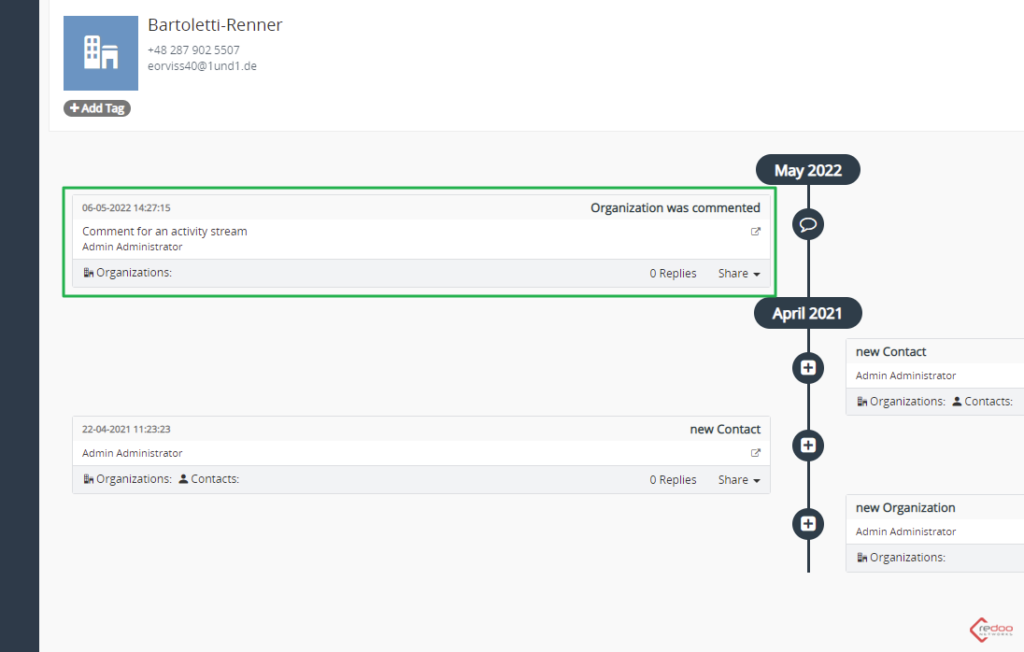
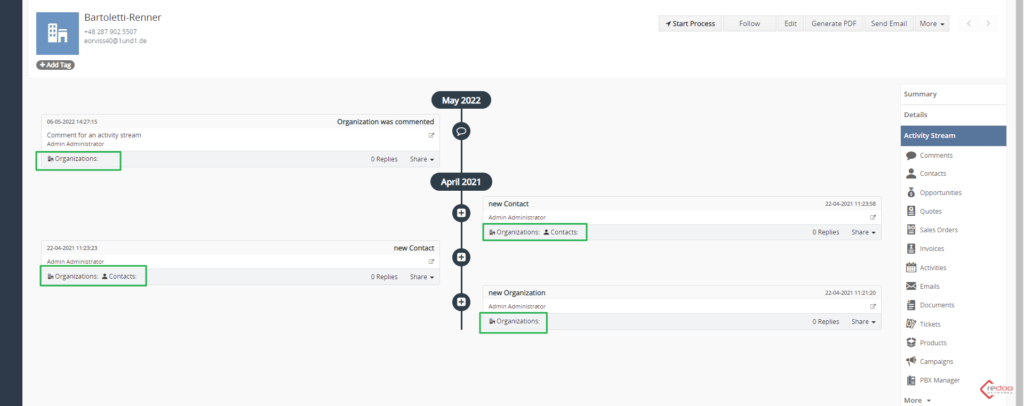
Lets move to the Activity Stream page, here you can see all changes that were made with the record, the exact date, the information that was added and who exactly did that particular activity.
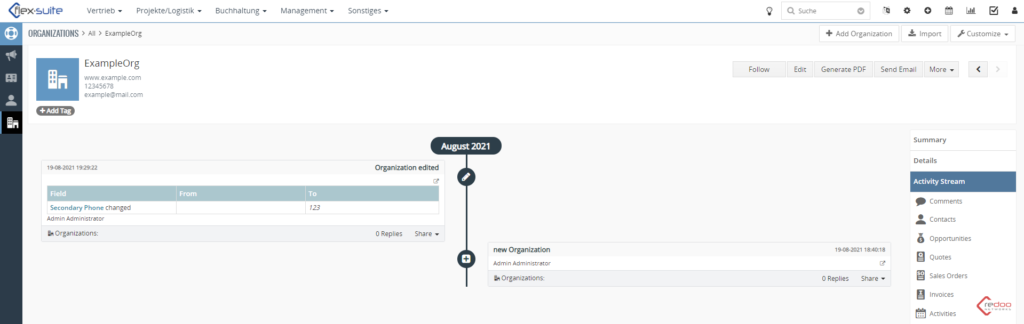
As you see, previously I showed you how to make an edit to the record and now there is a entry in Activity Stream that displays that exact change, when it was made and who did that change.
Each of these blocks has the information about:
- Time when the activity was made
- Type of the activity
- Body of the activity which can hold an additional information
- Person assigned
- Links to the related records
- Reply and Share options
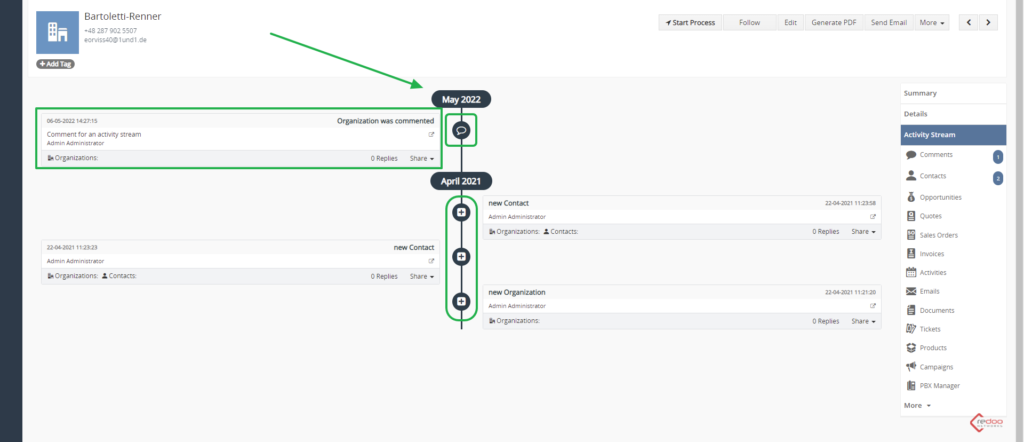
In the middle of the page you can see the type of activities that were made. In the picture below you can see weather it was a comment or a new entry.
There is also a date that shows the time when activities were made.
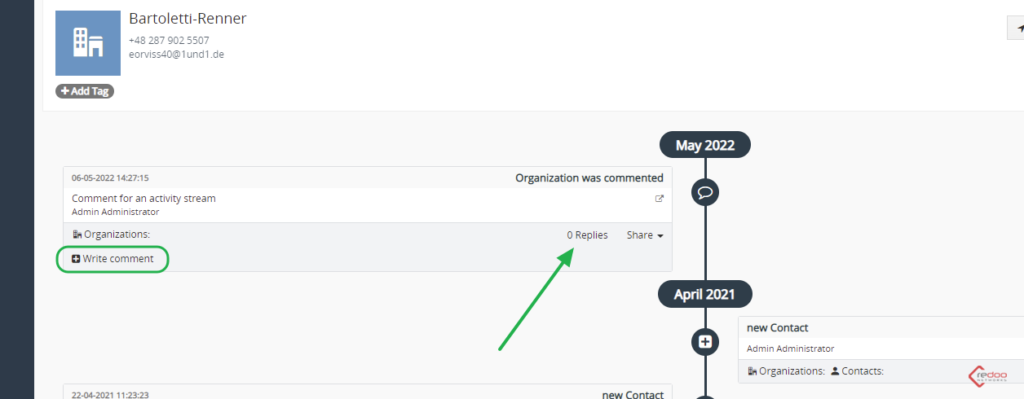
There is also an option to leave a reply. To do that press on the Replies count and then press “Write comment” button
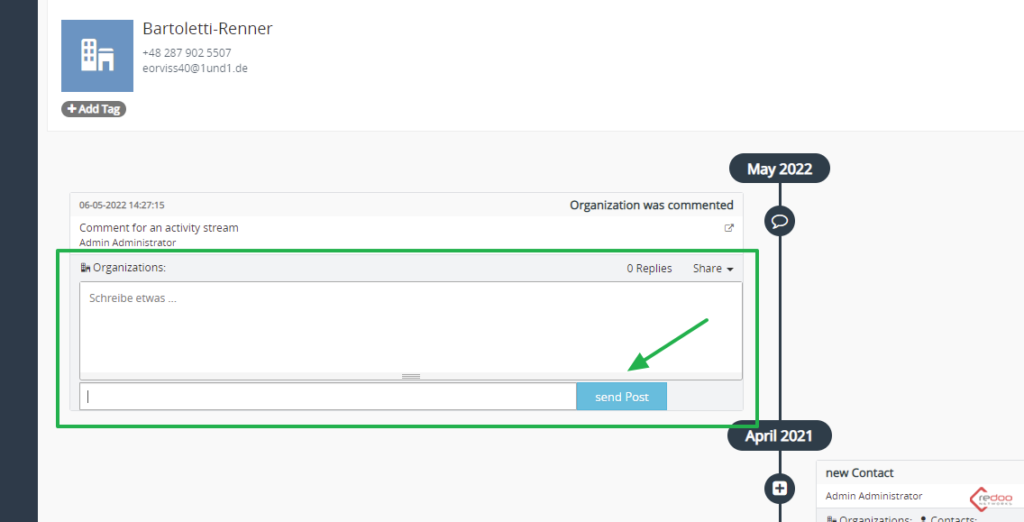
After that a window will open where you can leave your comment.
To save – press “send Post” button like shown in the image
You are also able to share the activity by using the corresponding sign like shown below

Here you have two options to share with a comment or without it
As you choose to Share without a comment your activity will be immediately to Timeline.
If you selected “Share” a window will open where you can leave a comment and/or add a CRM Relation
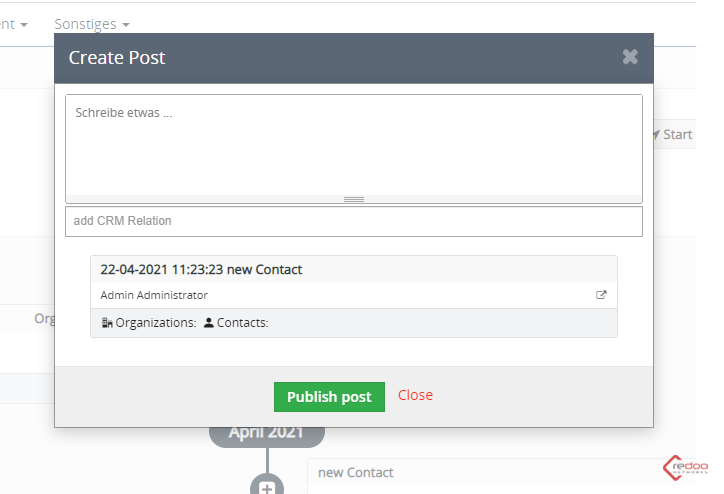
To share press the green button below.
Each Activity has links connected to it
Each link leads to a corresponding record that has a relation to the Activities that were made
This section allows you to see all module records related to the one you are viewing

As an example lets go to the Contacts page
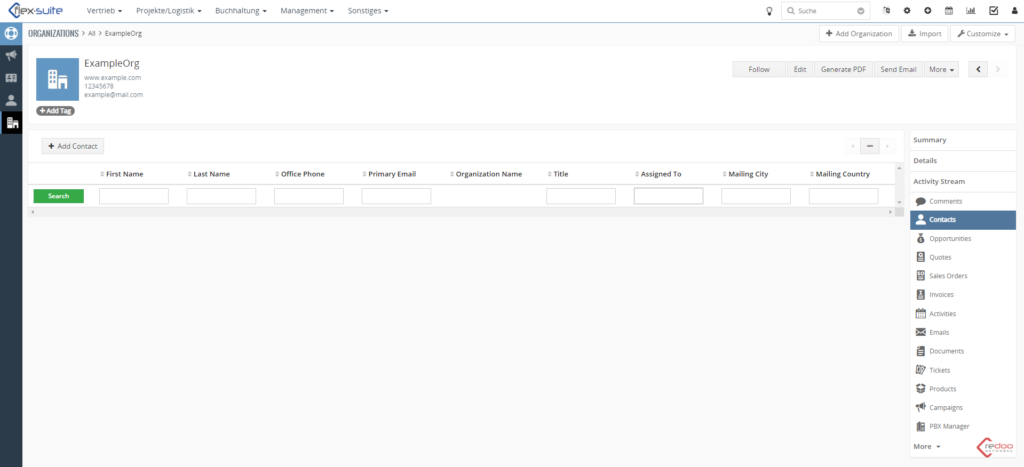
There are no records here for now as we did not add any entries to our test organization
To add a contact press the plus button “Add Contact”
A Quick Create Contact form has appeared
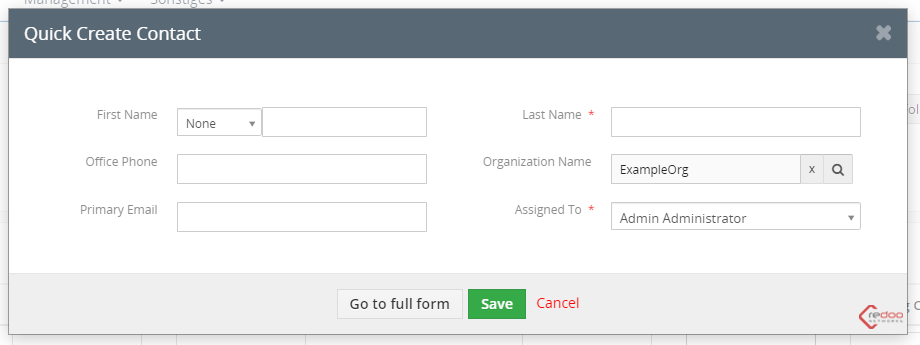
Here you can create a Contact record that will be related to your Organization in a quick way, adding only necessary information
You can also move to the full form by pressing the “Go to full form” button below
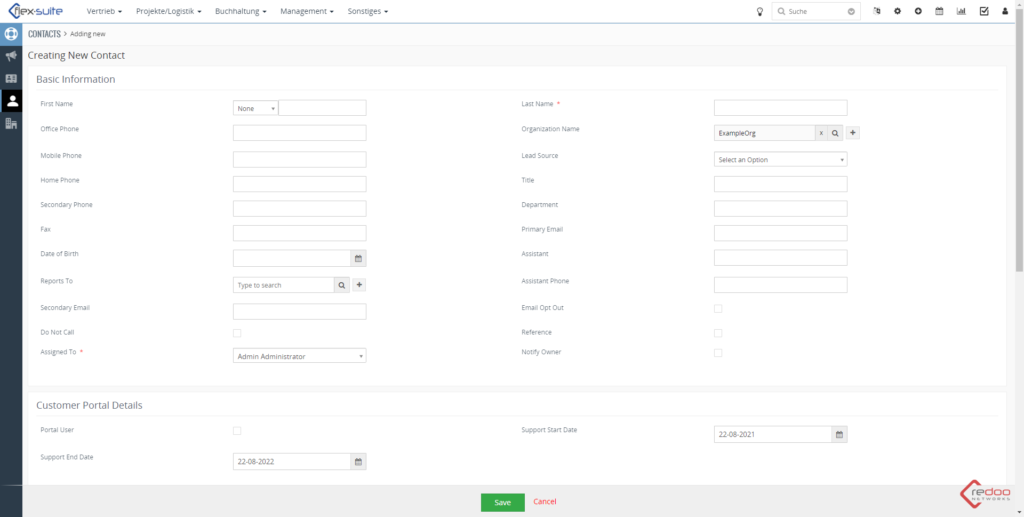
This will lead you to the form that would open as if you decided to create a new Contact entry from the Contacts view page, but with Organization Name field set to the Organization that you were creating a contact from
Lets save a new contact
Now you can see the Contact we have just saved listed here.
In the right corner you can see the number of entries related to your Organization, after we created a Contact, the number increases from zero to one.
