Next important section is Configuration which consists of the following parts:
- Company Details
- Customer Portal
- Currencies
- Picklist Field
- Picklist Dependency
- Menu
- Configuration editor
- Mandanten

Company Details
On Company Details page you can see all the essential information about your company
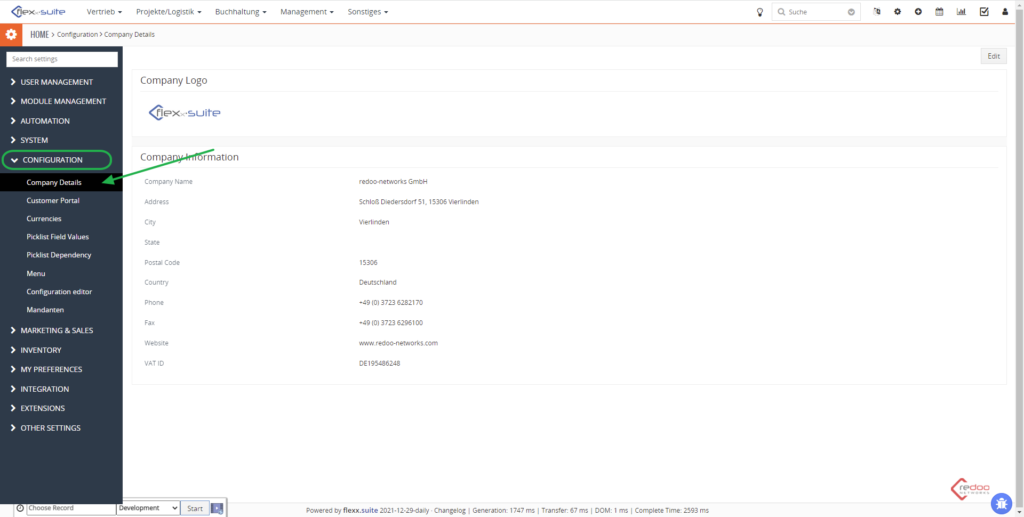
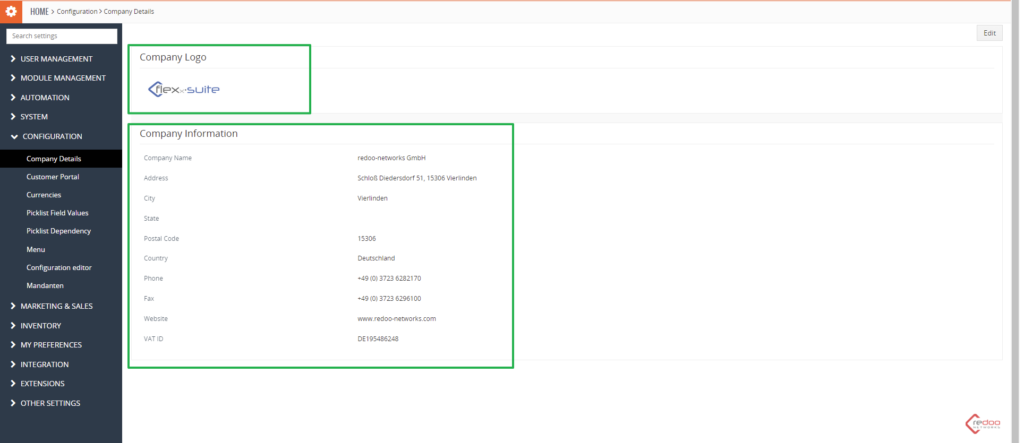
Here you can see Company Logo and Company information including:
- Company Name
- Address
- City
- State
- Postal Code
- Country
- Phone
- Fax
- Website
- VAT ID
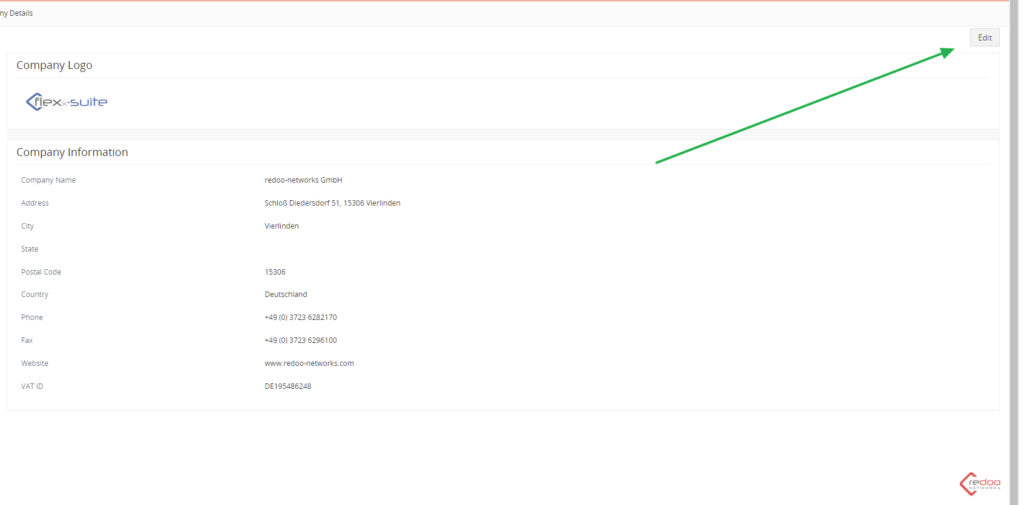
To edit the information press “Edit” button in the upper right corner of the page
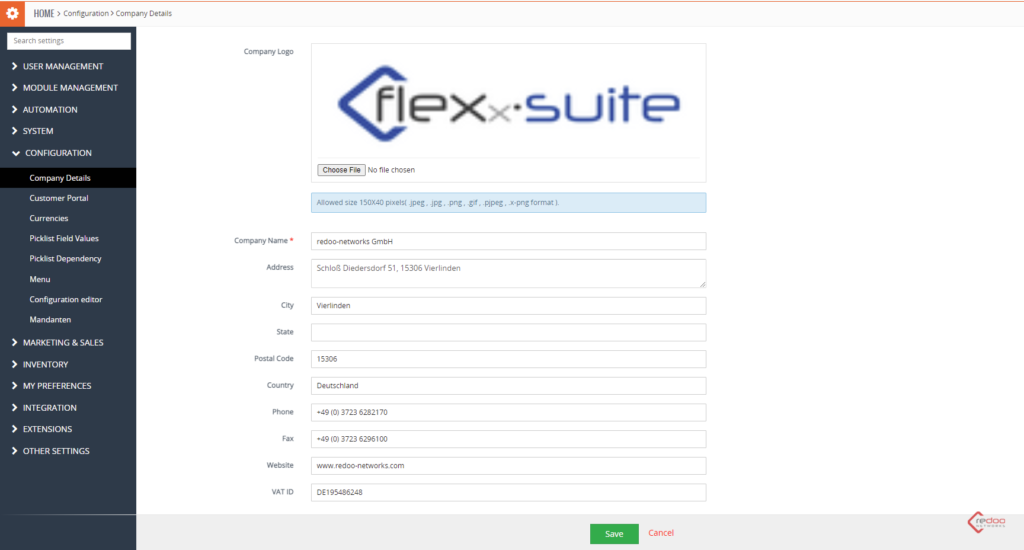
On the edit page you can change the logo and any information from the list

Press “Save” button below to continue
Customer Portal
Another part of Configuration block is Customer Portal
Here you are able to configure a customer portal where your customers will be able to view module records you share with them, keep an eye on important announcements and use important widgets
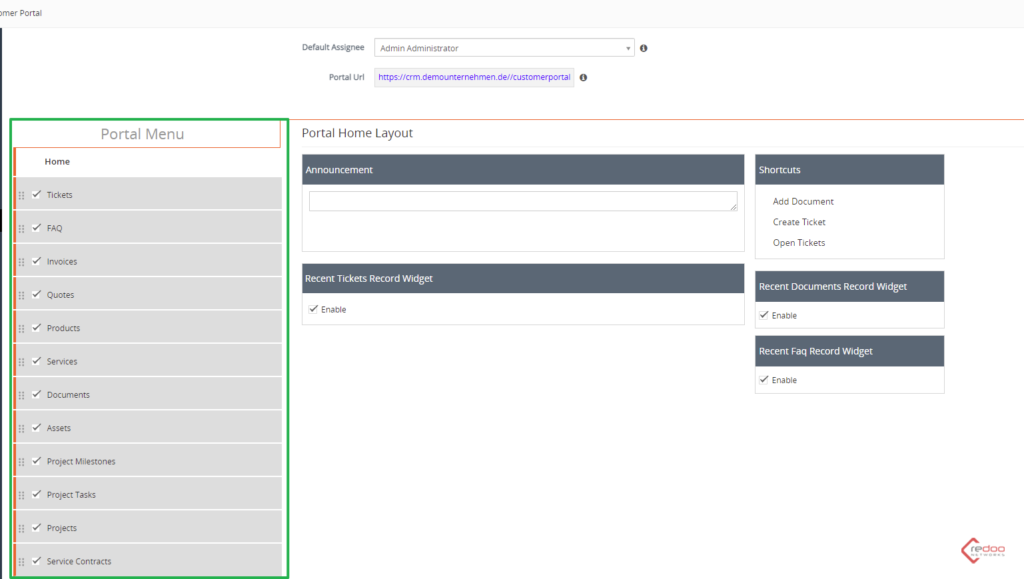
Im linken Block können Sie durch Ankreuzen Module festlegen, die für Kunden sichtbar sein sollen
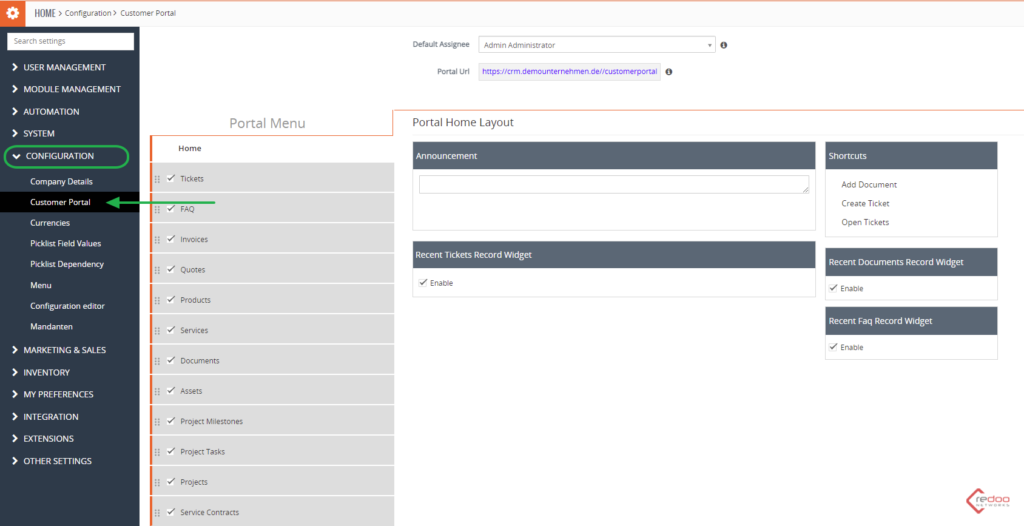
In the left block you can set modules via check marks that will be available for customers to view
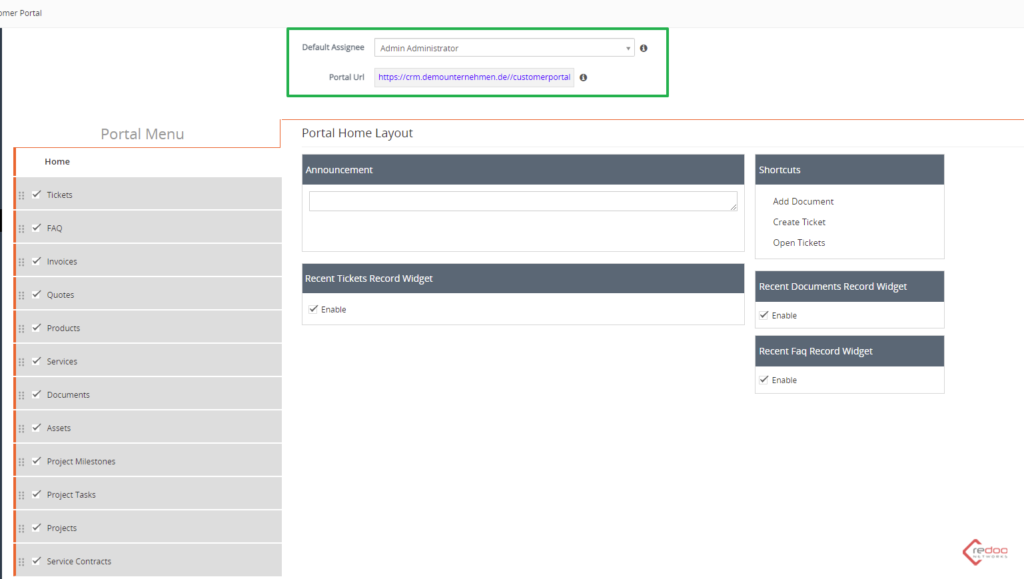
But firstly you set a default assignee for the customer portal and set the Portal Url
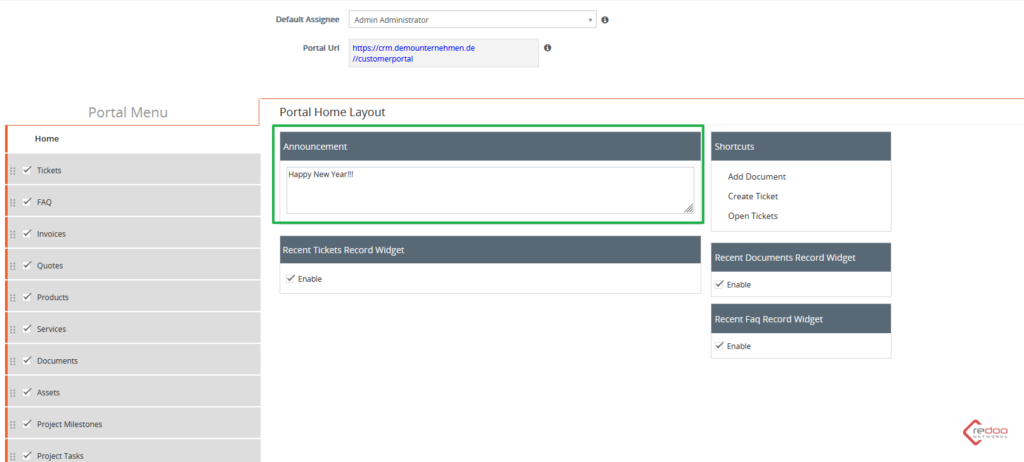
Next block is used for Portal Home Layout customization
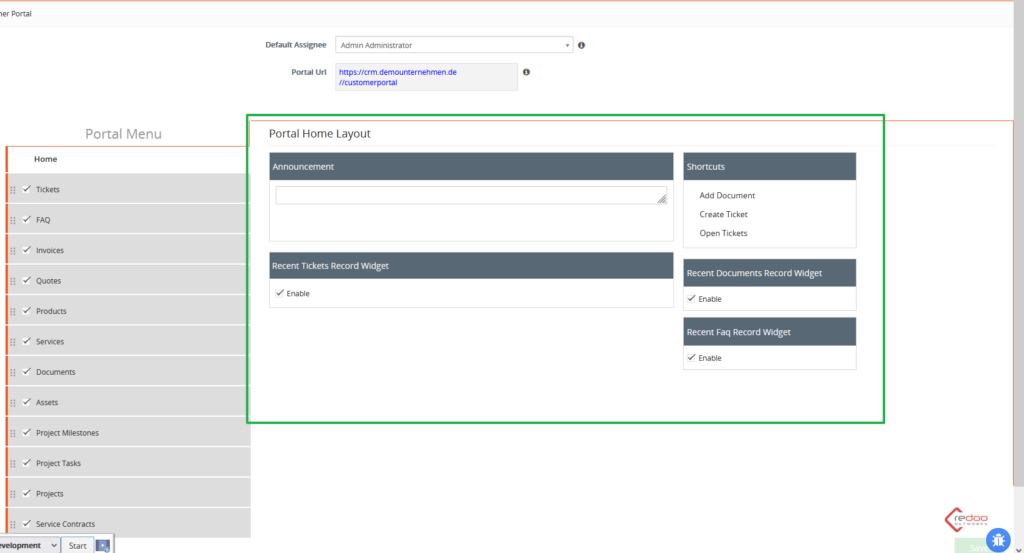
In Announcement window you can upload some important news
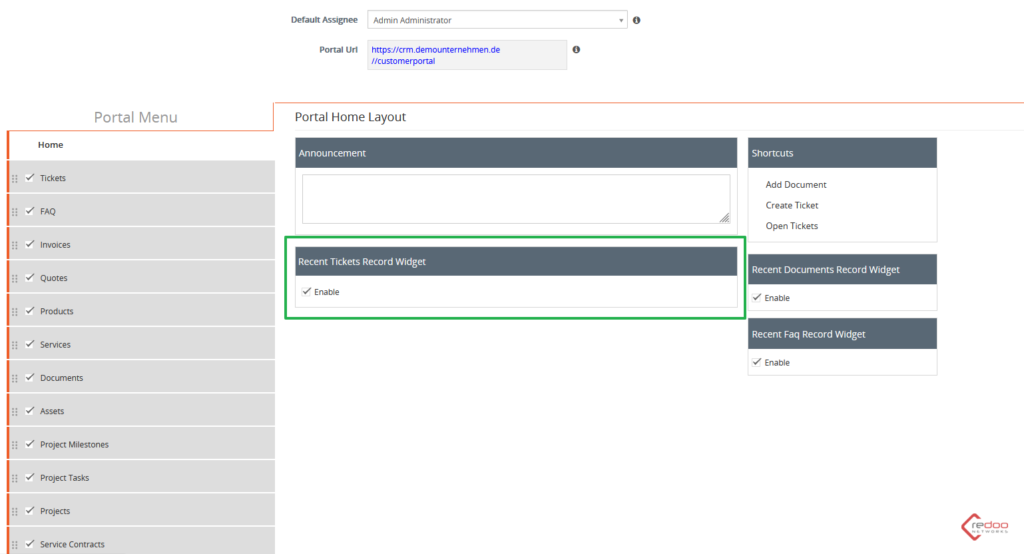
Right below there is a place where you can enable Recent Tickets Record Widget via check mark
Next one is Recent Documents Widget which you can enable or disable via check mark which shows the recent documents added to the CRM
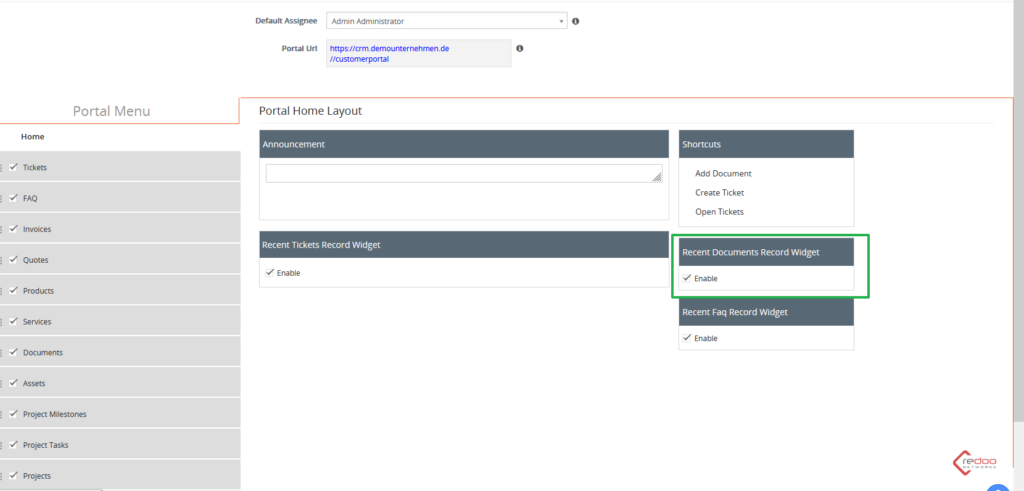
Below there is another widget you can enable via check mark which shows the latest FAQs records in the CRM

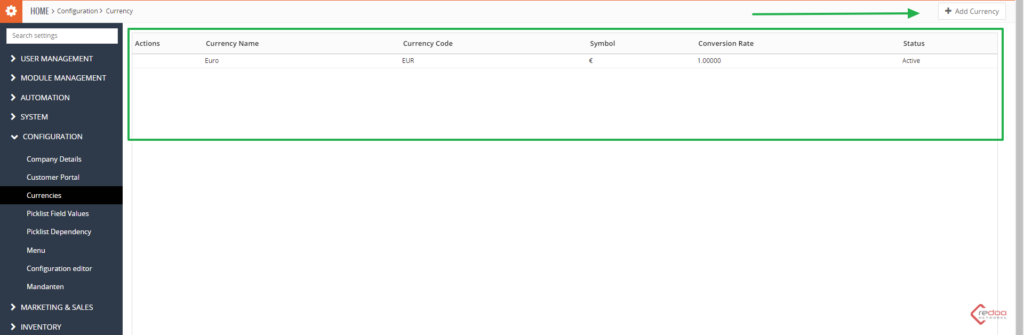
Currencies
On Currencies page you can see the list of currencies that are used within your CRM system
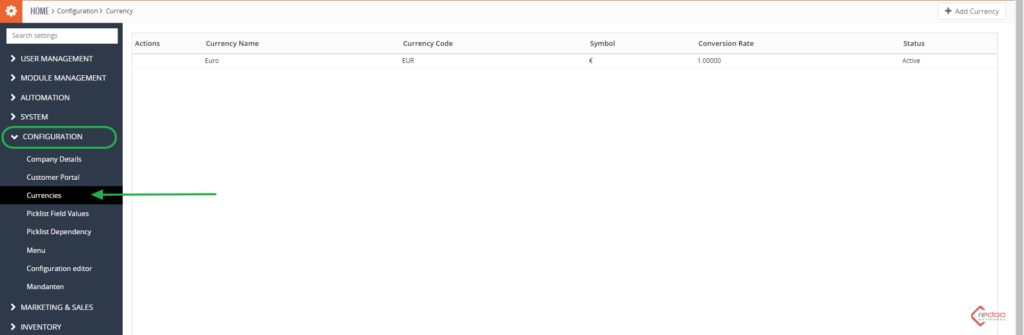
To add a new currency press the “Add Currency” button like shown in the image
After that a window opens where you select a Currency Name from the list of all currencies available in the world
Currency Code and Symbol will then be set automatically accordingly to the Currency you had set before
Then you should set the Conversion Rate and a Status.
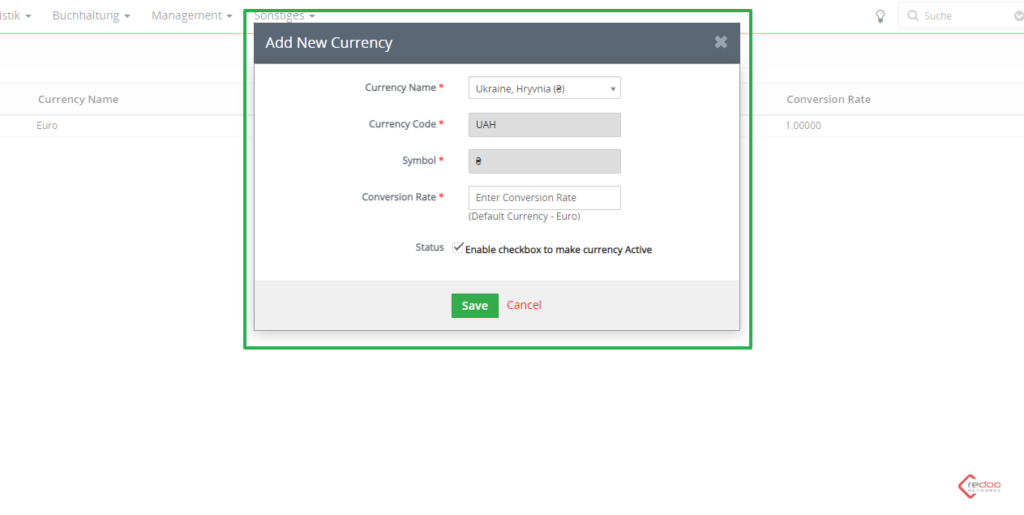
Press “Save” button below to add the Currency to your CRM
Customer Portal User view
To give a customer and access to Customer portal you have to create a Contact record for the particular customer, enter his e-mail and set a check mark in “Portal User” field
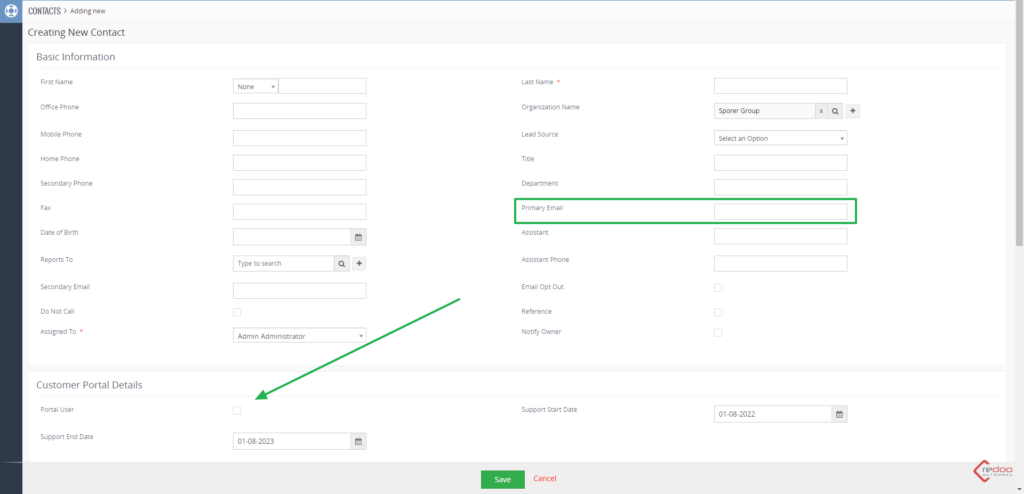
As you register you will get login and password sent to the user`s email
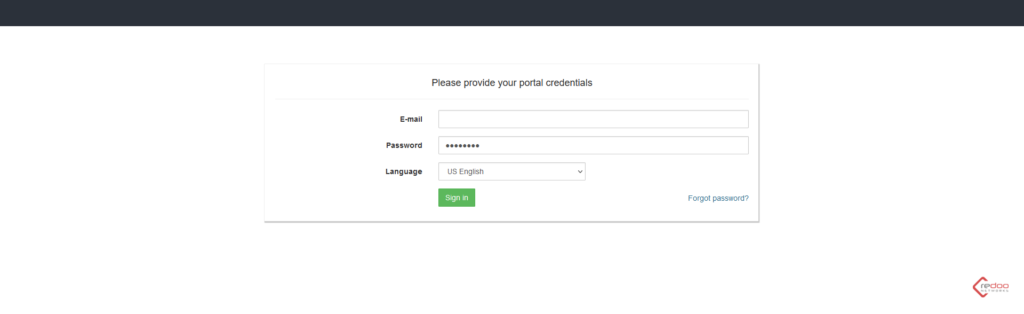
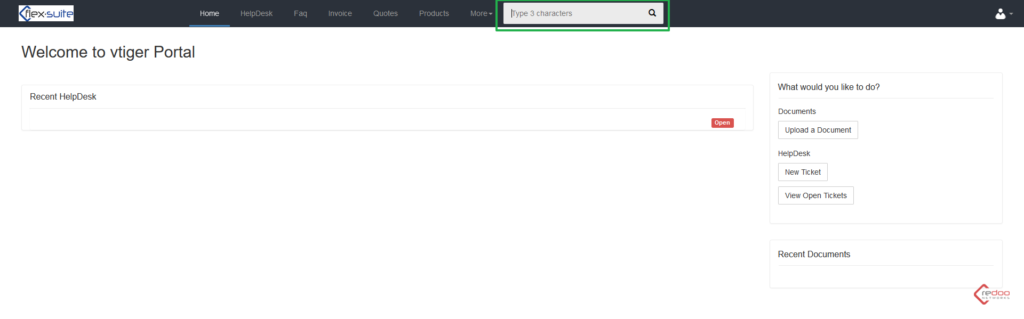
This is Customer Portal from user perspective
At the Home page you can see a quick access to Document and HelpDesk functions
From this page you can enter other parts of Customer Portal
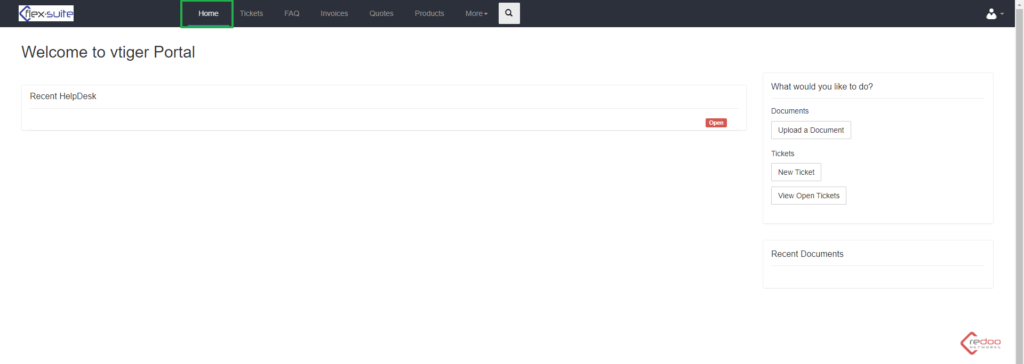
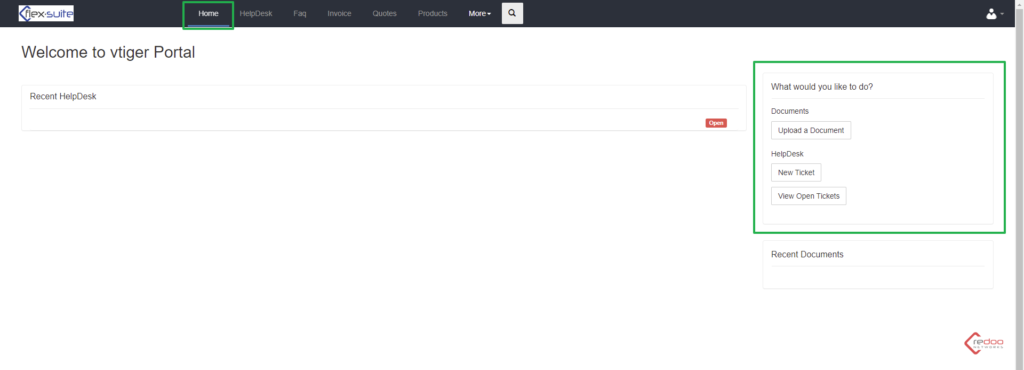
There is a quick-create block “What would you like to do?” where you can in a fast way upload a document, add a new ticket or view already opened ones.
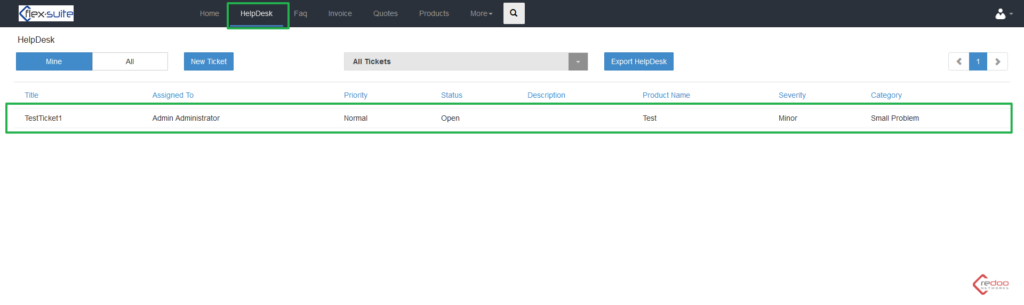
At HelpDesk page you can view the list of Tickets
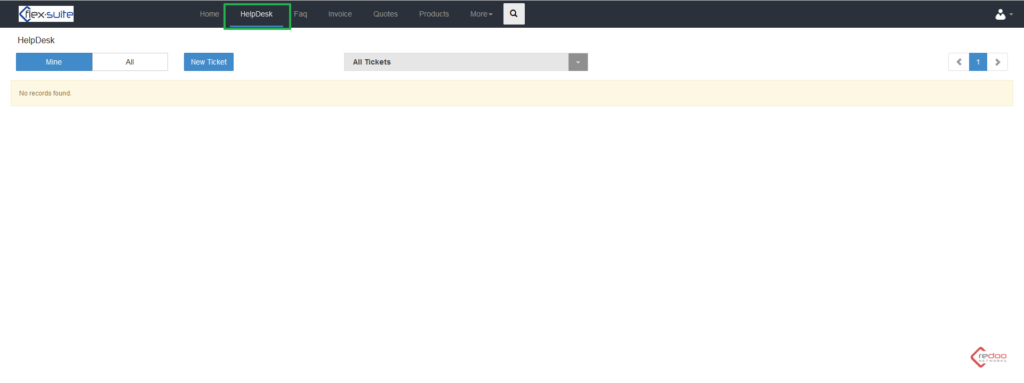
From here you can add new tickets by pressing the “New Ticket” button

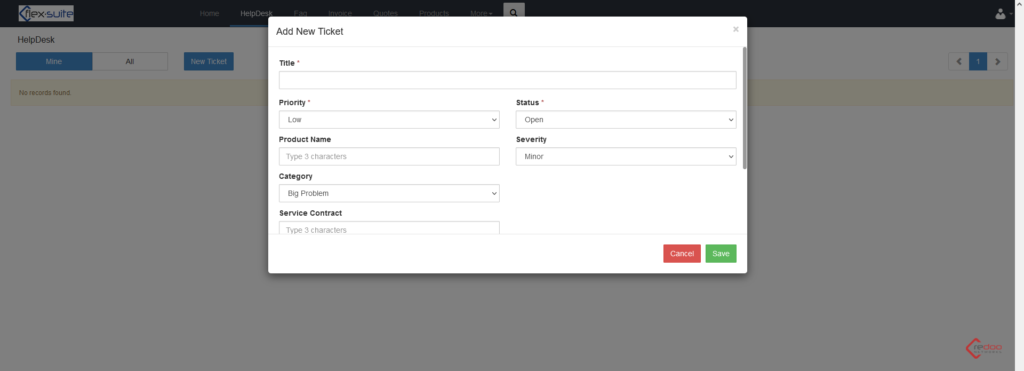
In the opened window you can add all the needed information about the ticket:
- Title
- Priority
- Status
- Product Name
- Severity
- Category
- Service Contract
- Description
As you pressed “Save” new ticket will be displayed on the page
By opening ticket’s page you will see all basic information displayed
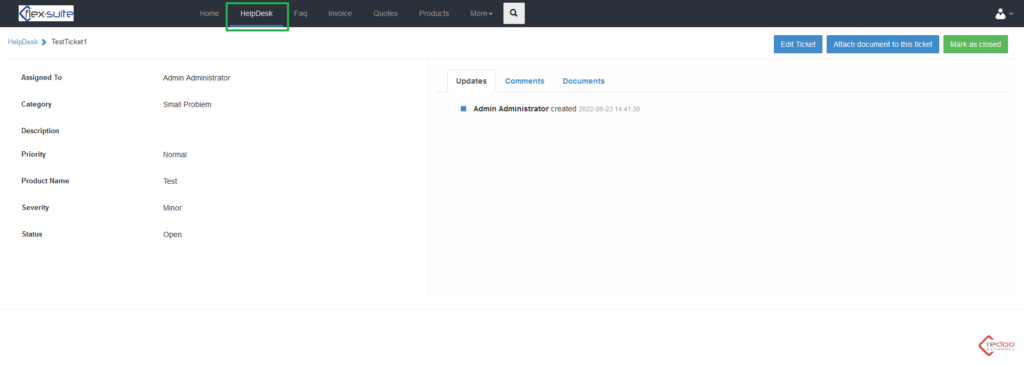
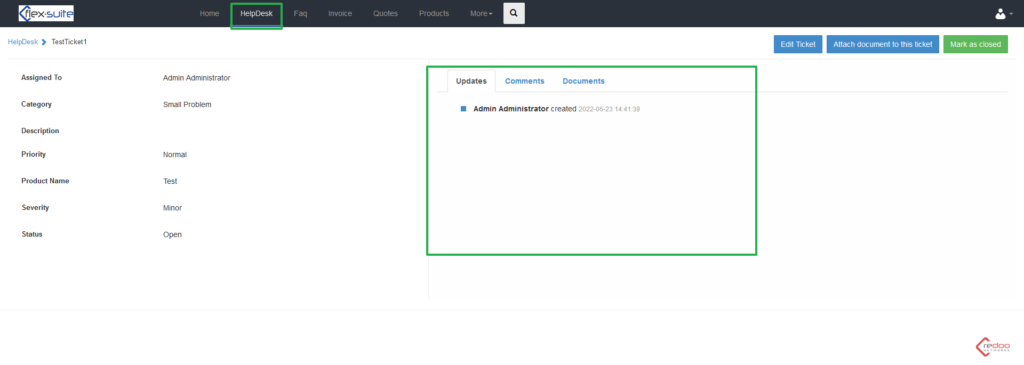
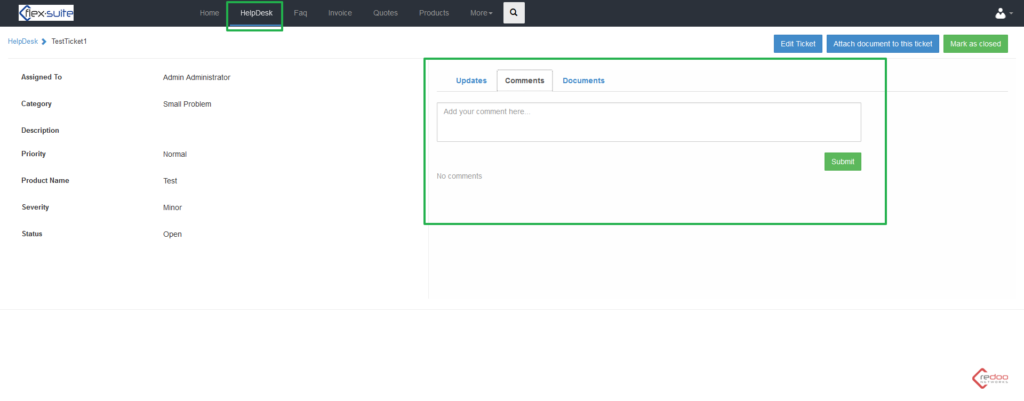
In the right corner you may see an Update, Comments and Documents section

In the upper right corner of the page you can see an “Edit Ticket” button for editing the ticket and “Attach document to this ticket” which will allow to add document to the ticket
There is also a green “Mark as closed” button which you can use if the ticket was finished

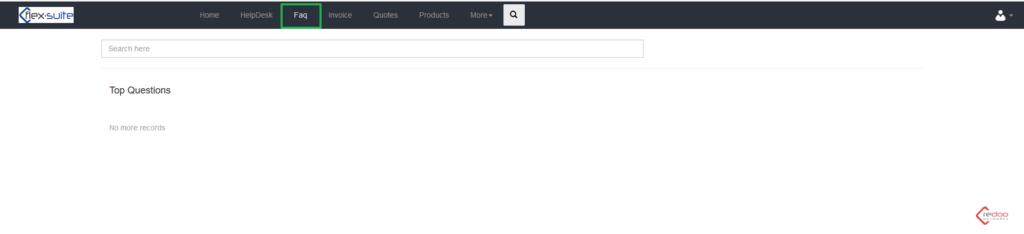
Next section of the Customer Portal is Faq
Here you can search for any top questions recorded in the CRM
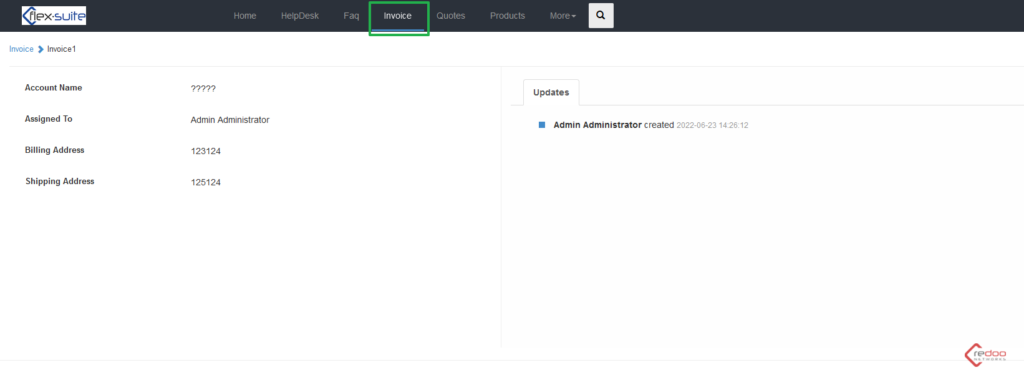
On the Invoice page you can see the list of all available Invoices connected to your user profile
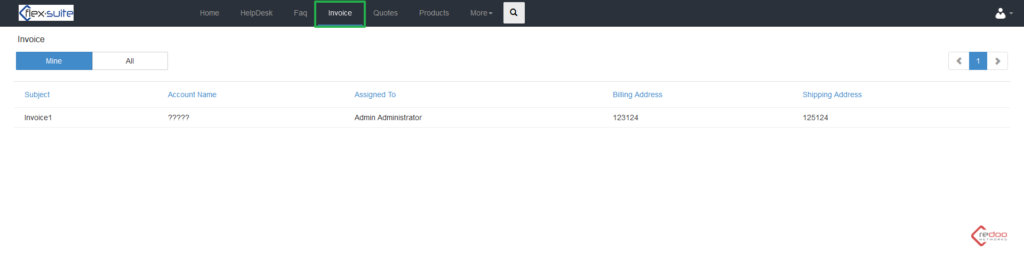
By clicking on the Invoice name you will see the page corresponding to it
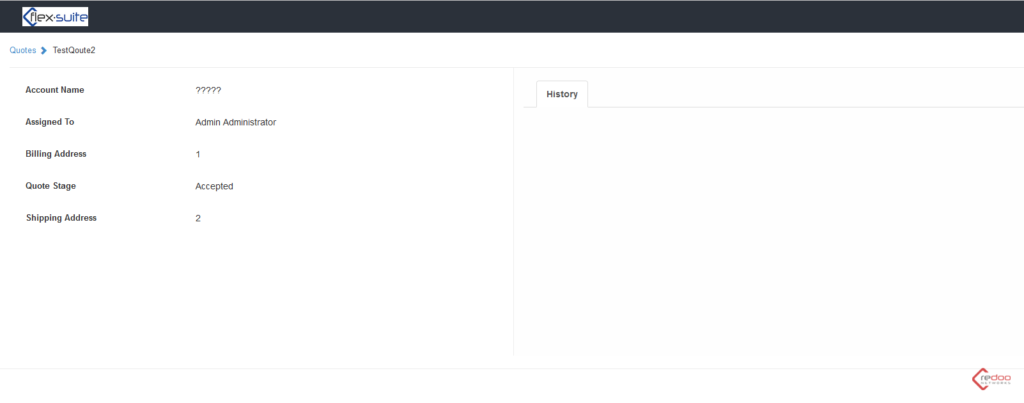
Next one is a Quotes page where all quotes connected to your account are available
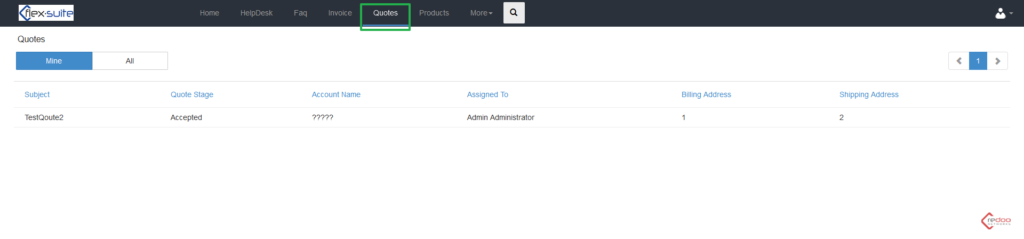
On the quote page itself you can see some basic information and History block
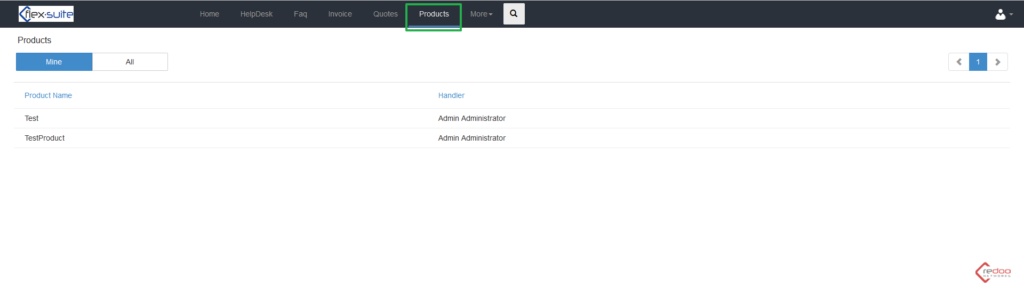
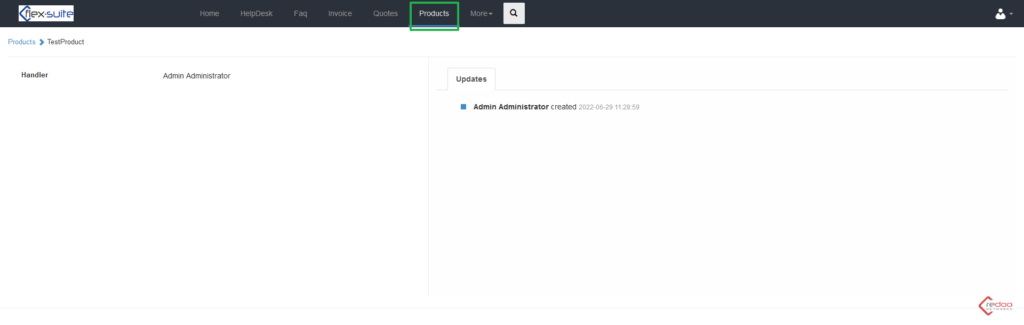
On the Products page you can see the list of all products that you are connected with as a Contact
In More there is a pop-up window where you can get to the:
- Services
- Documents
- Assets
- Project
- ServiceContracts
- Redoo Messages
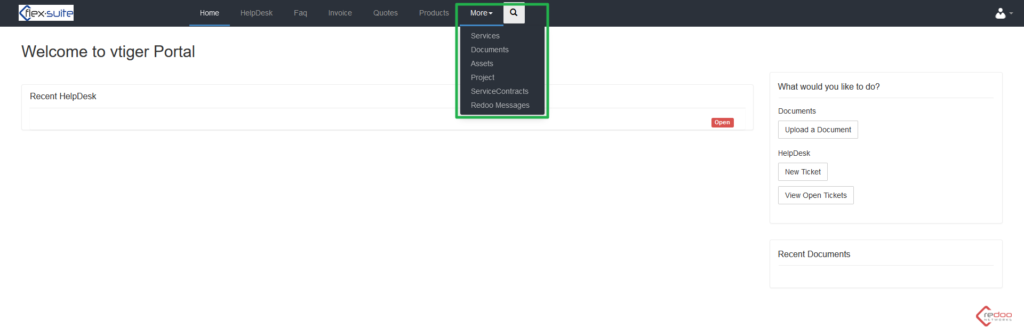
On the right you can see
Picklist Field Values
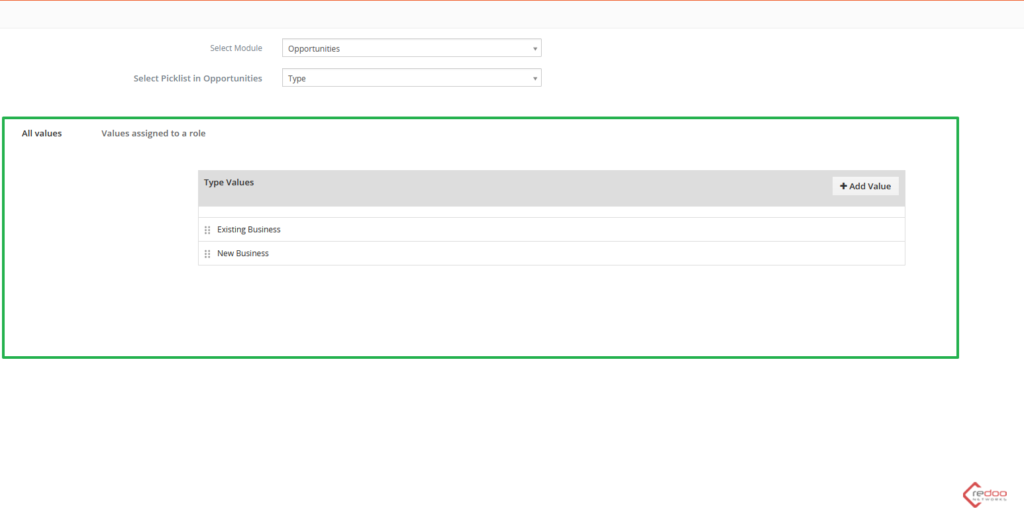
The next page in Configuration block is Picklist Field Values
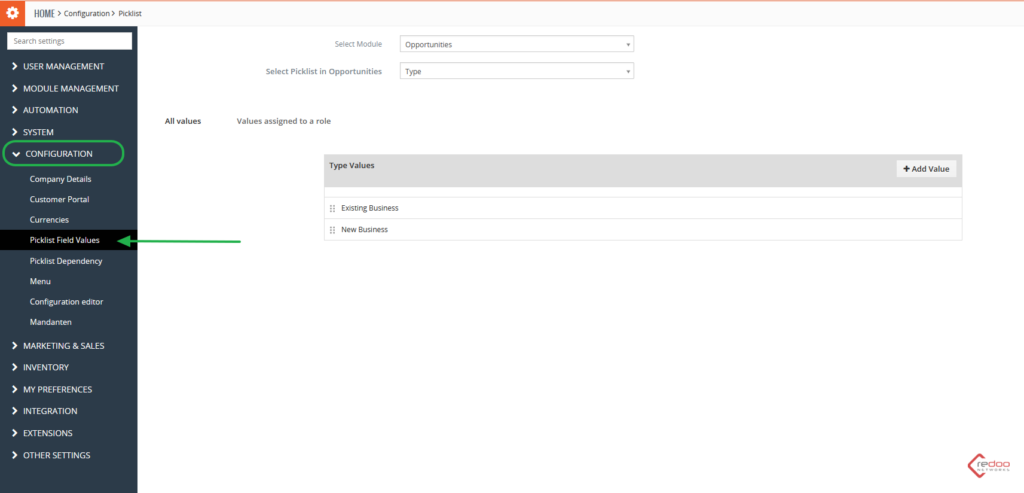
On the first steps you have to select a module which you would like to select picklist for
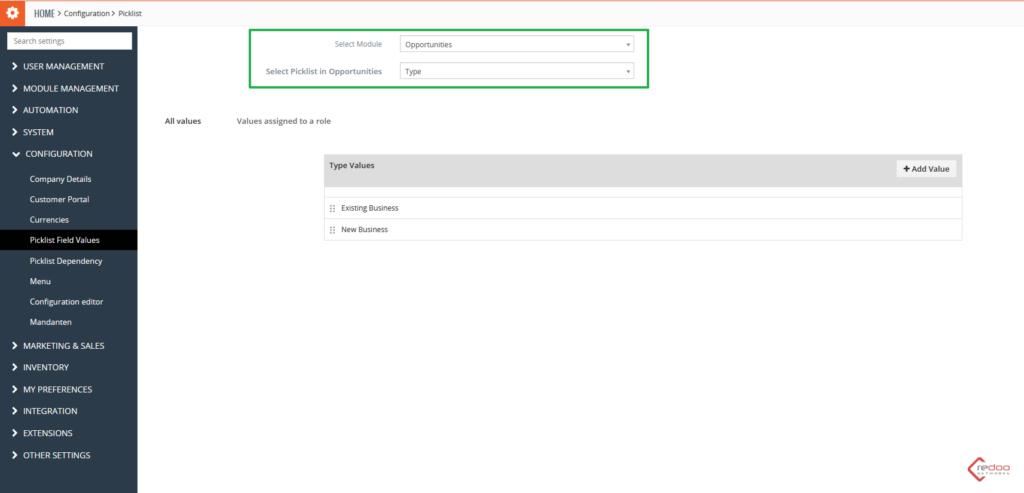
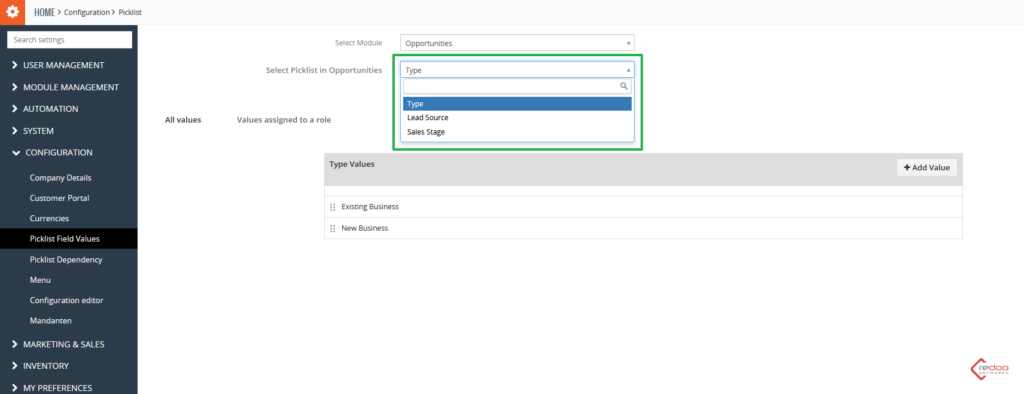
und wählen Sie unter “Möglichkeiten” die Option “Pickerl”, wo Sie zwischen drei Optionen wählen können:
- Typ
- Lead-Quelle
- Verkaufsstufe
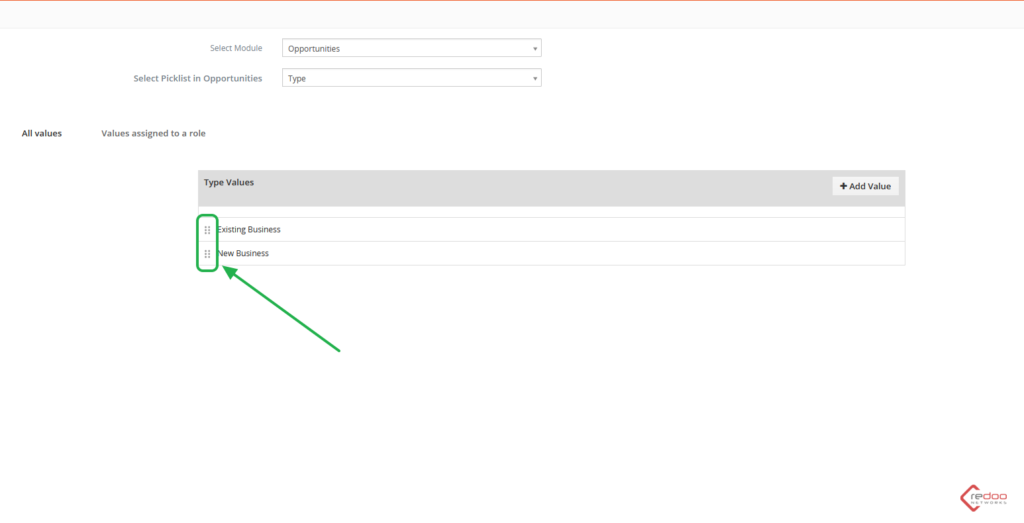
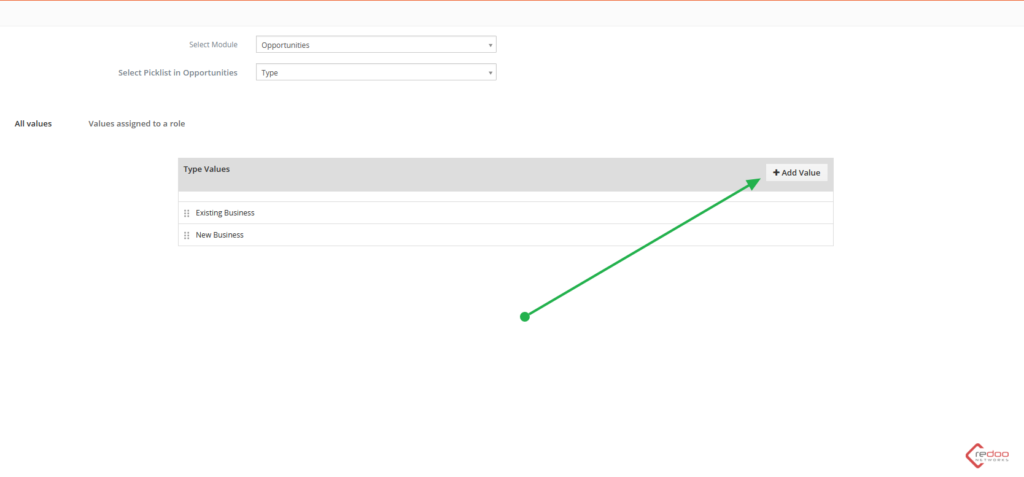
In the main part of the page you can see a list of all Picklist Values that are used within the CRM
You can move them via drag and drop using these dot signs
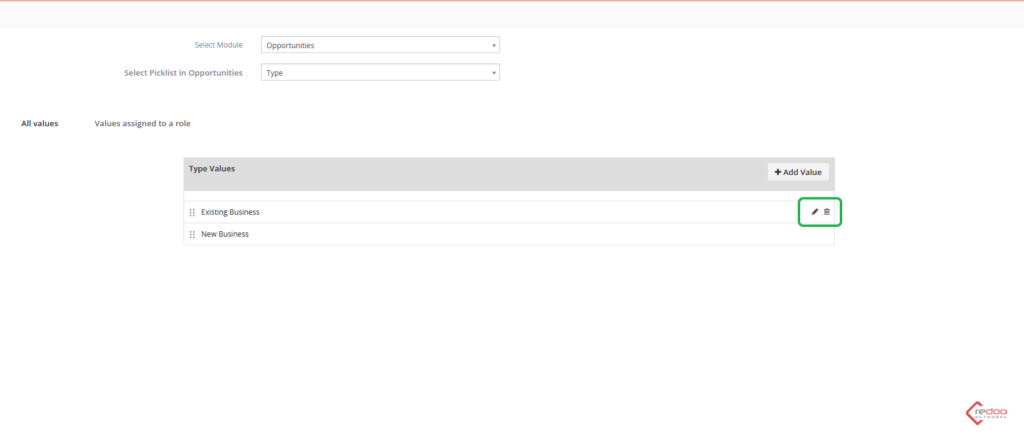
To edit or delete a picklist values you can use these “pencil” and “trash can” icons by clicking at them like shown in the image
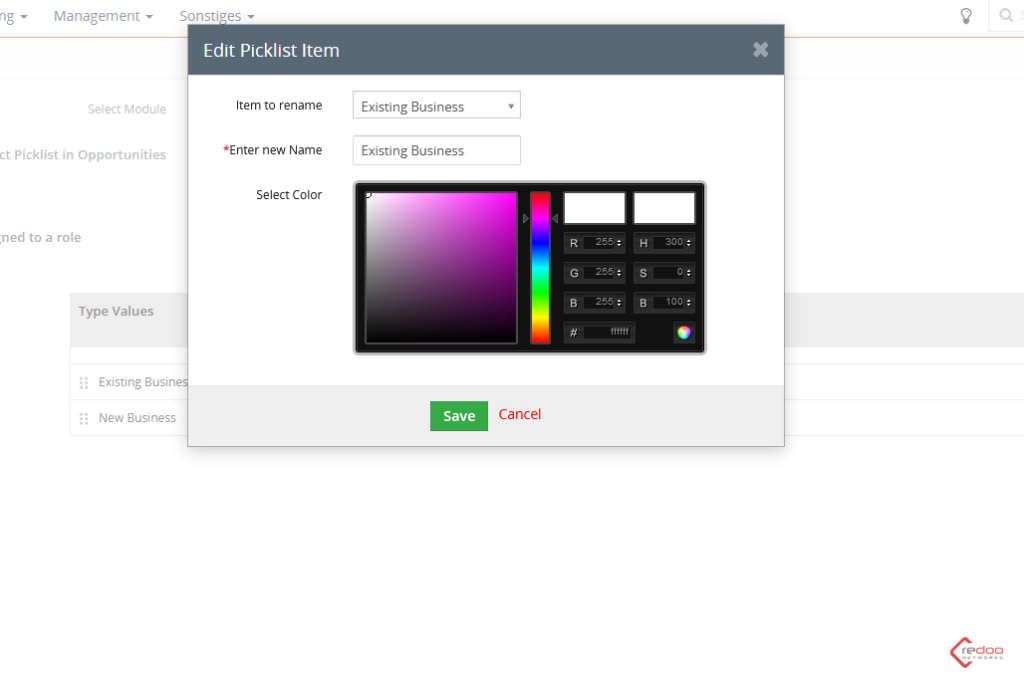
When you edit a Picklist Value you should choose an Item to rename, Enter the new Name and select a color.
To add a Picklist Value use the “Add Value” button shown in the image
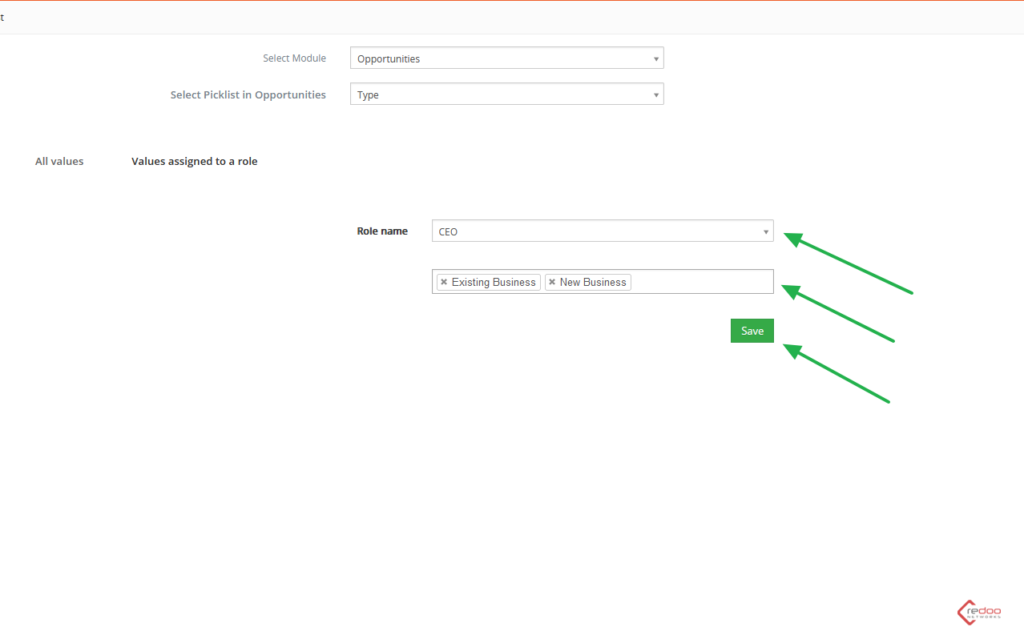
There is also an option to set up Picklist Values individually to each role by switching to the Values assigned to a role page
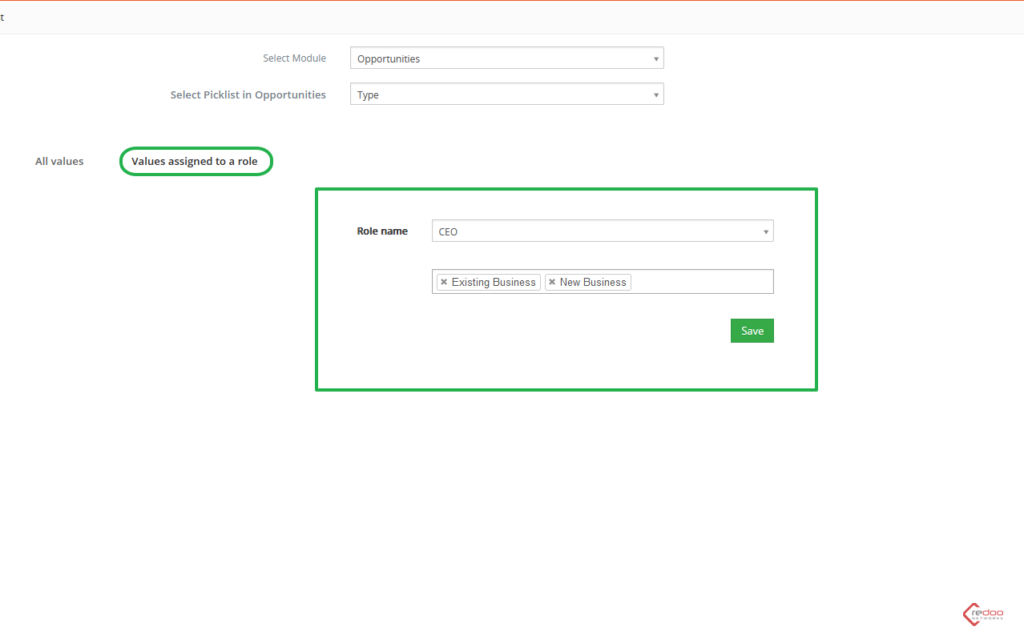
Firstly – Select a role name
Then choose which Picklist Values to add or remove the extra ones
And finally – save
Menu
Here you can see a page divided in two columns
The column shown in green displays the list of all modules available in CRM
The red column responds for all top bar sections and modules that you can view from a pop-up window that opens when you select the proper section.
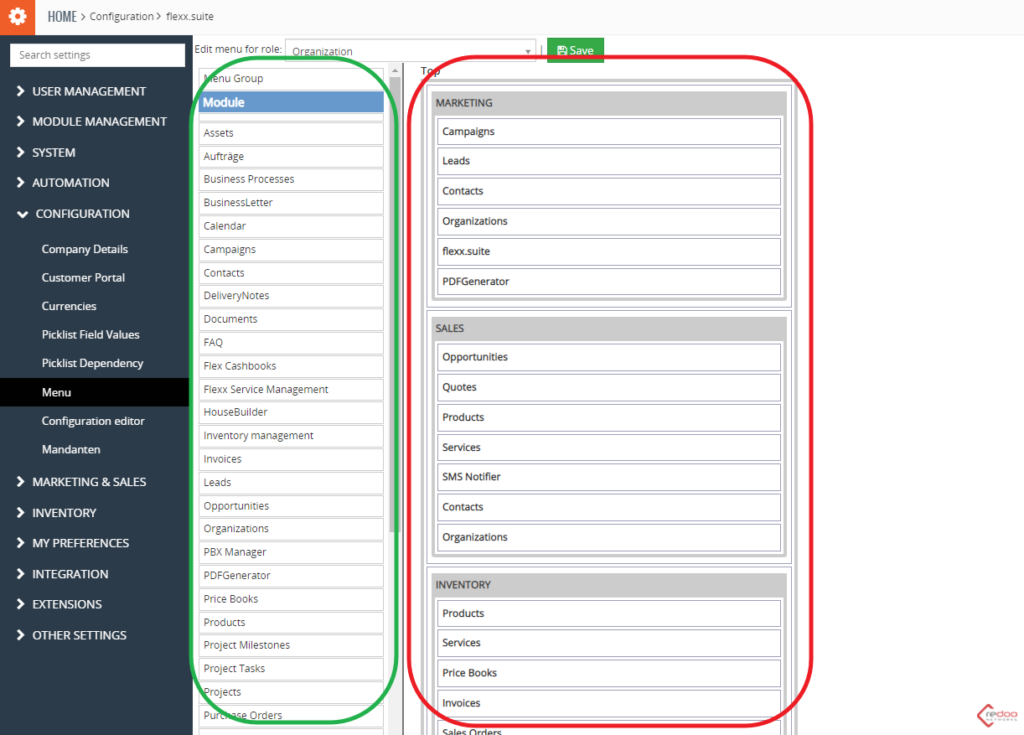
Via drag and drop you can move modules from left column and place them in the desired section
In the example below you can see how a Calendar module is mode to the Marketing section and placed between “Organizations” and “flexx.suite” modules
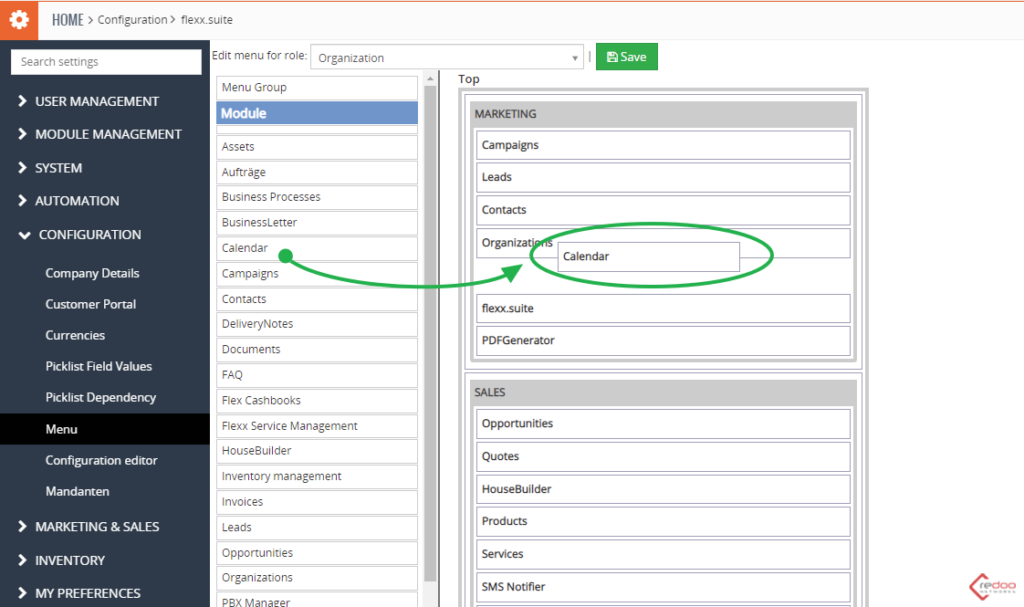
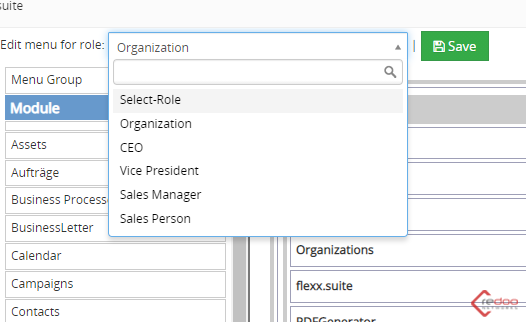
On the top of the page there is a section when you are able to choose a specific role that will work with the menu you created below
To save your progress press the green “Save” button.
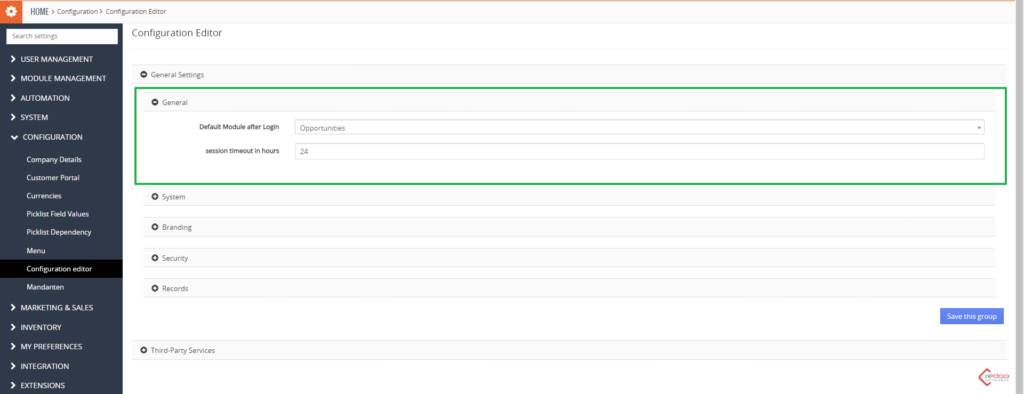
Configuration Editor
This page responds for Configuration Editor
It is divided in two sections:
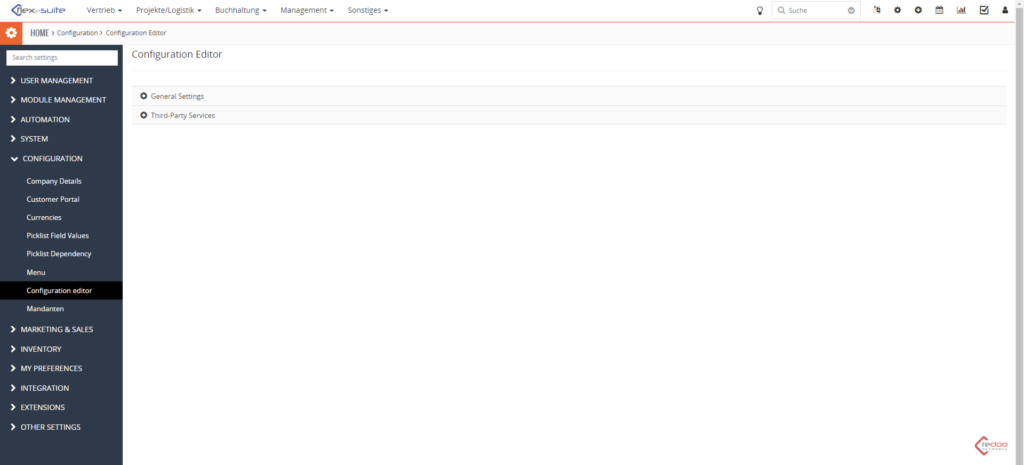
First is General Settings
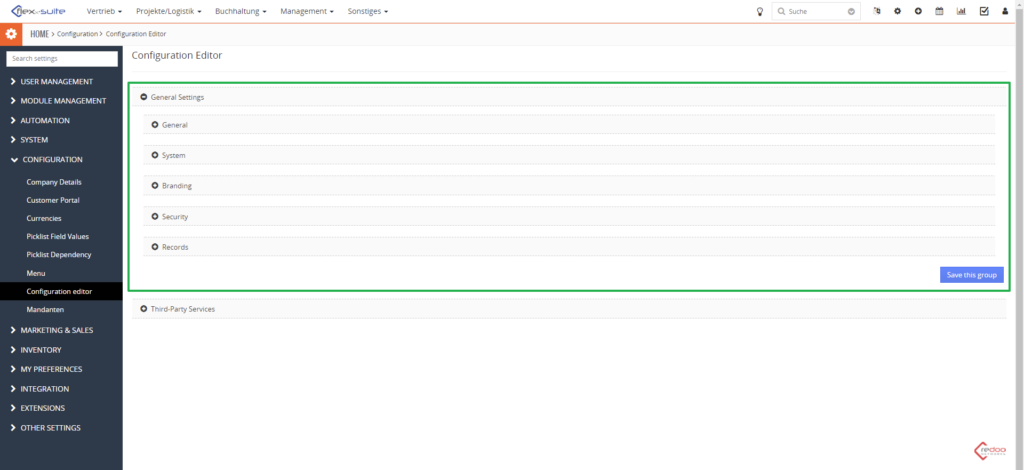
Here are 5 sections corresponding to different aspects of the CRM system:
- General
In this part you can set the default module after login and set session timeout in hours
- System
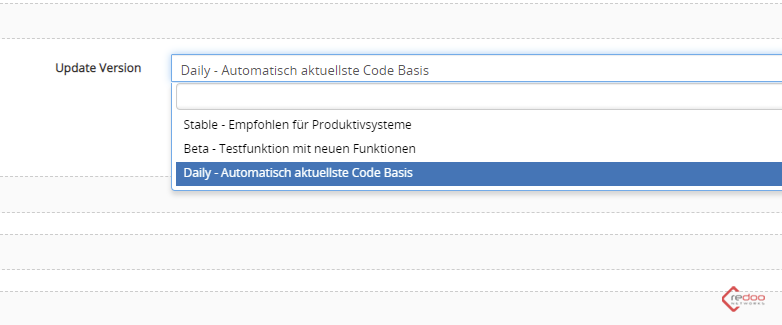
Here you may configure the update process
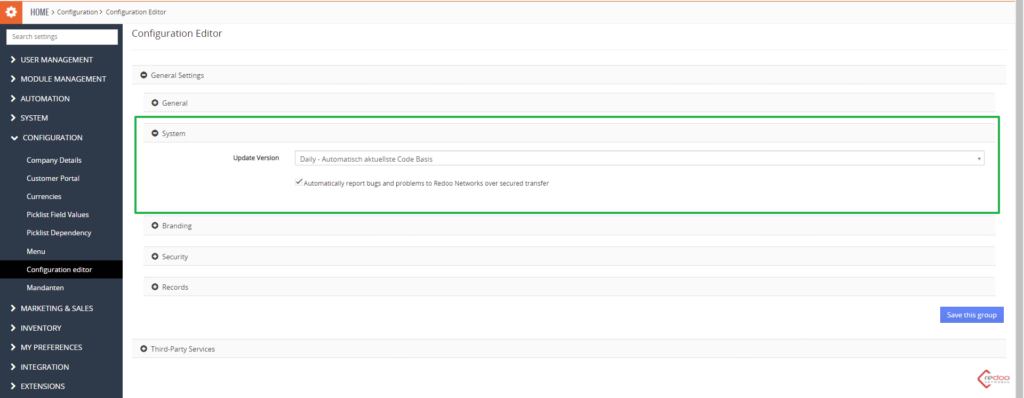
Pick up one of three different options: Stable, Beta and Daily
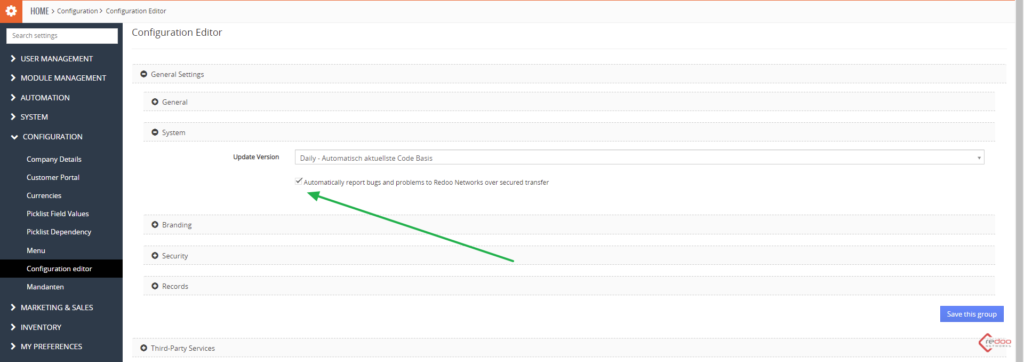
Below there is an option to turn on the automatic bug report function which will send bugs and problems to Redoo Networks over secured transfer
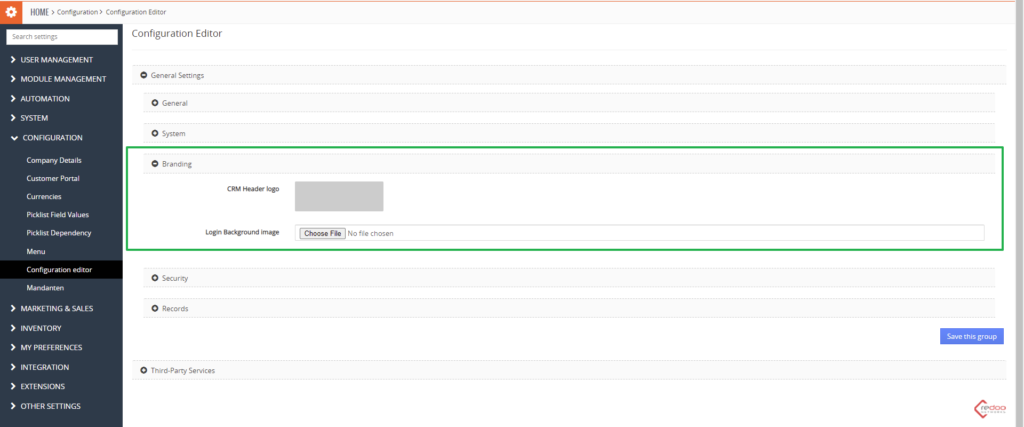
- Branding
This section is made to set up a header logo and login background image
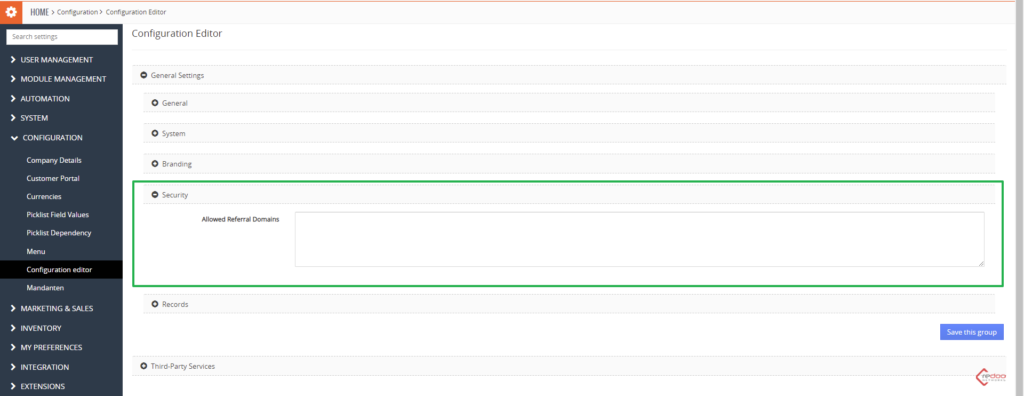
- Security
Security allows you to manually enter the allowed referral domains
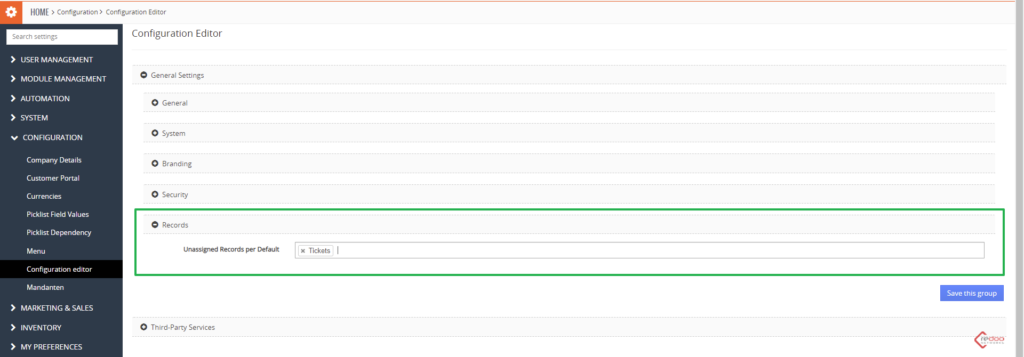
- Records
in Records you can select modules which new-made records will be unsigned by default
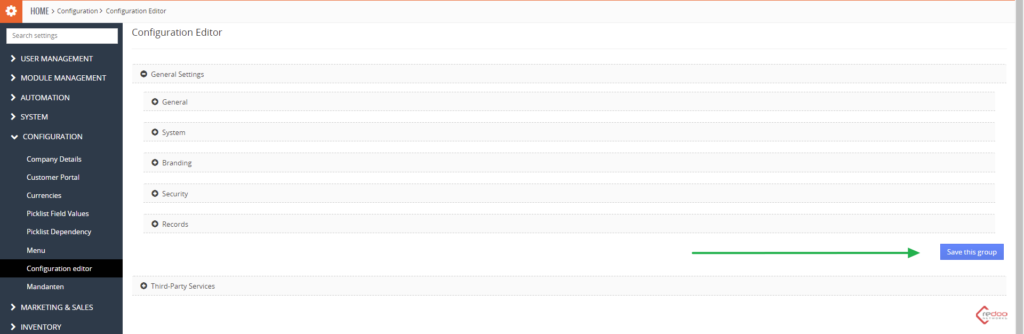
To save changes press the blue button like shown in the image
Below there is a second block called Third-Party Services:
First block responds for Google Maps API Key
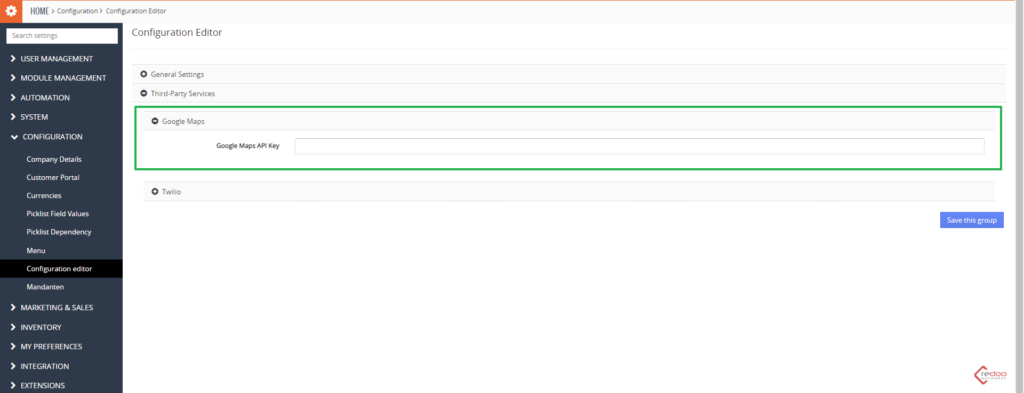
And the second one for Twiilo
Here you can fill in the Account sid, Authentication token and Twilio phone number
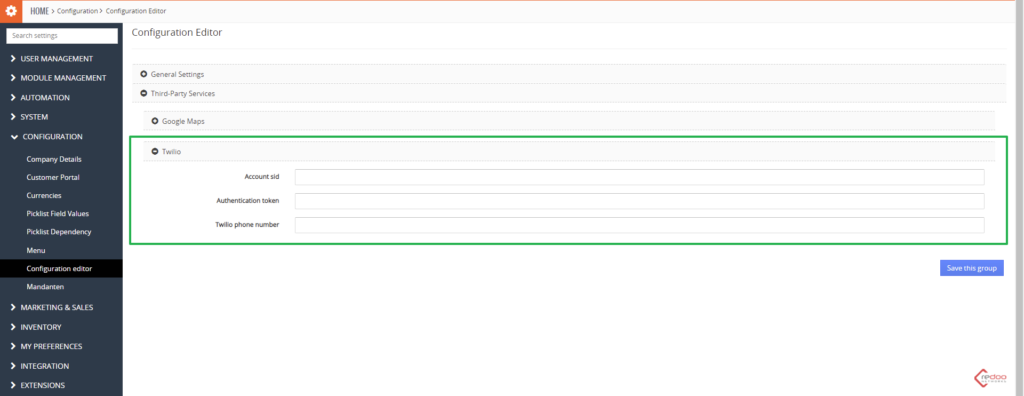
Do not forget to save!
Artikel-PDF herunterladen