With the COLORIZER module from redoo-networks you get a powerful Vtiger tool, which can greatly improve the clarity of your system
It allows you to highlight fields in Vtiger based on conditions.
Linked to conditions, you are able to highlight field values, field labels or entire rows (in the list view) in color
- Has a date been exceeded? Then color the corresponding entry red!
- Was a checkbox selected? Then color the corresponding entry yellow!
- Was a certain status selected? Then let the entry blink!
- ….
In addition, actions linked to conditions can be executed: Hide blocks / fields
- Show blocks / fields
- Minimized / maximized display of blocks
- Declare fields as mandatory
- Prevent saving of entry
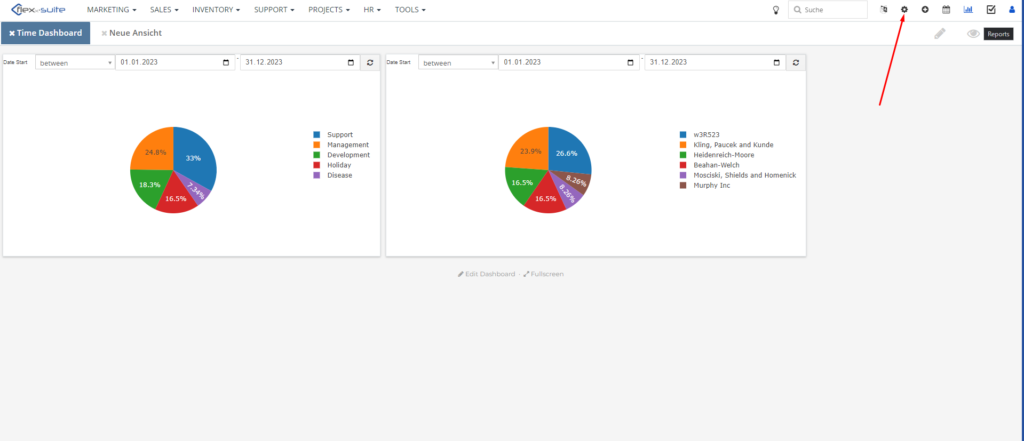
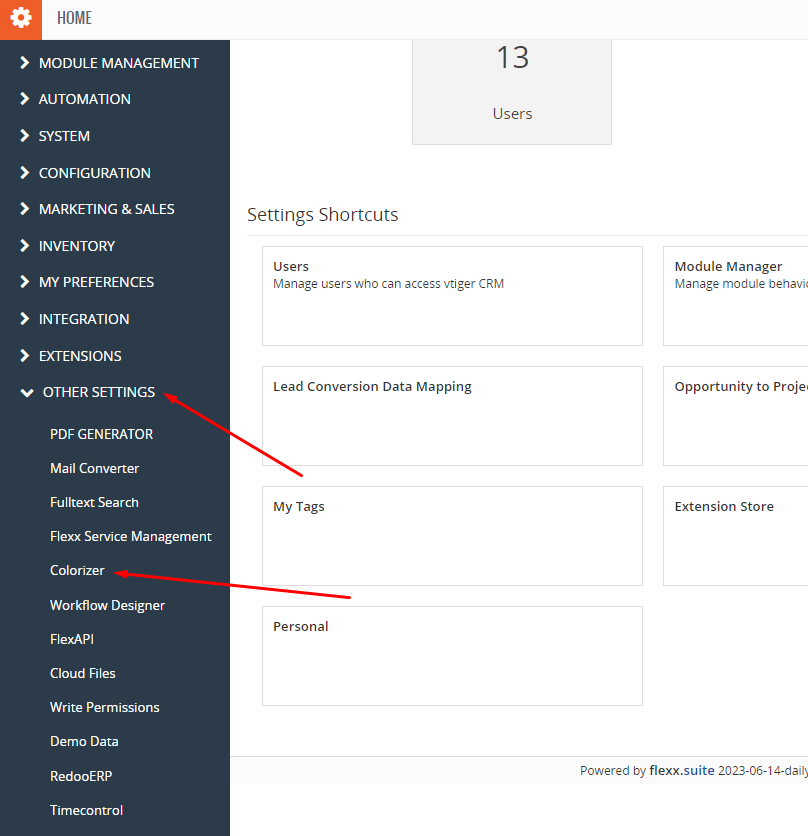
From your Dashboard you can access the Colorizer module via the Settings button.
In this area, under “Other settings”, select the Colorizer module.
Now click on the “Add Configuration” button
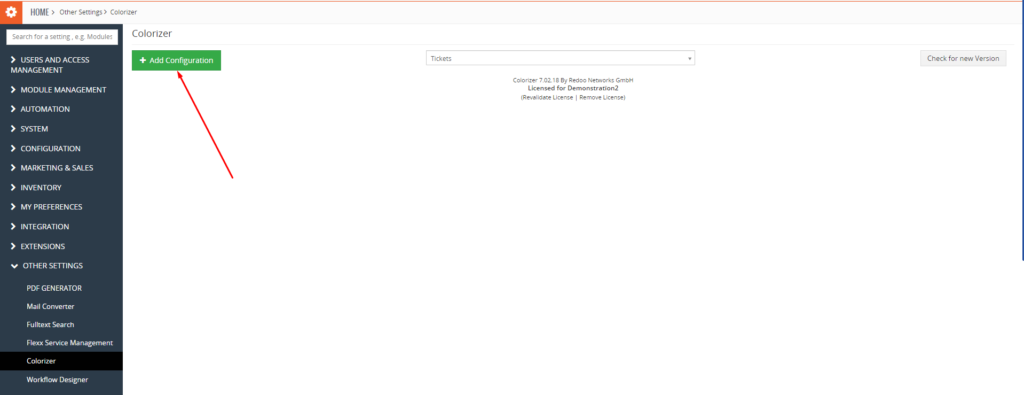
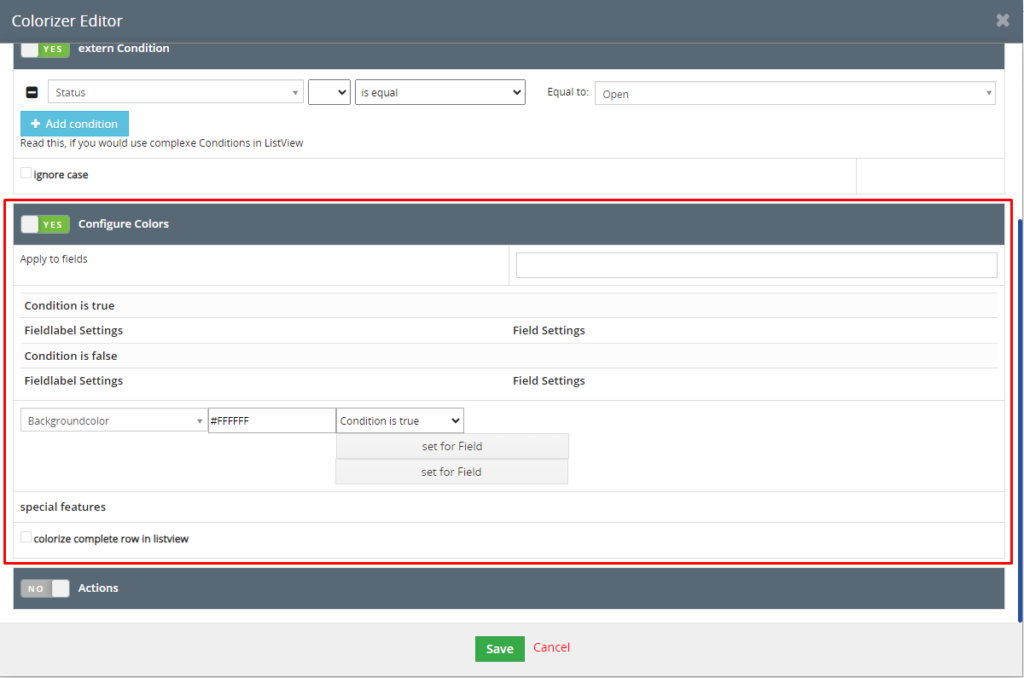
You will get the following screen.
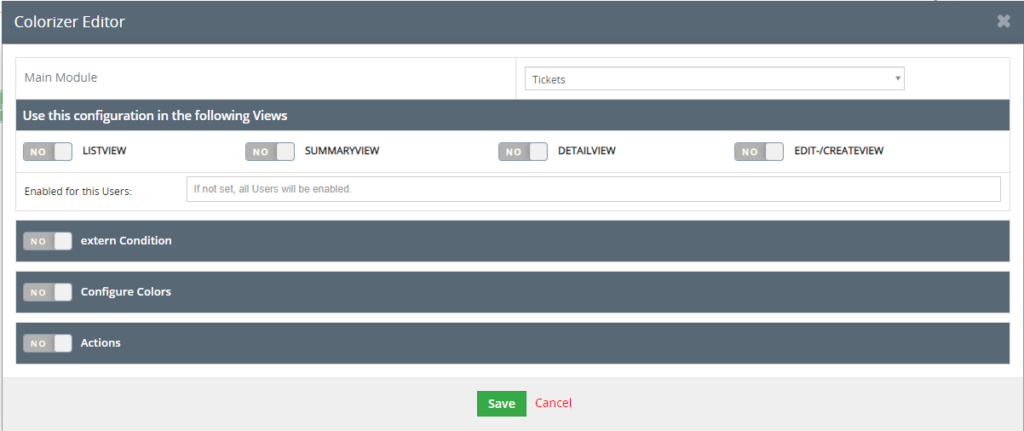
Now you can configure the desired settings. We will now do this using the “Status” example. A status should appear in 3 different colors.
In this case, the color highlights should appear in the list view. Therefore, the “Listview” field is activated.
In the “external conditions” you enter the desired component. In our case it refers to the Status component.
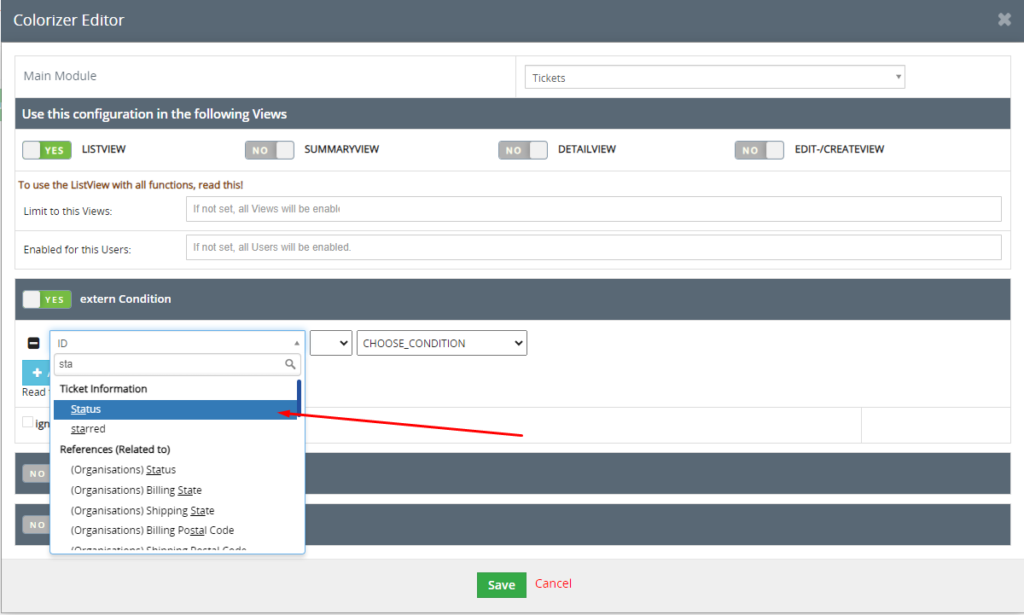
In the next step, you now select the associated condition.
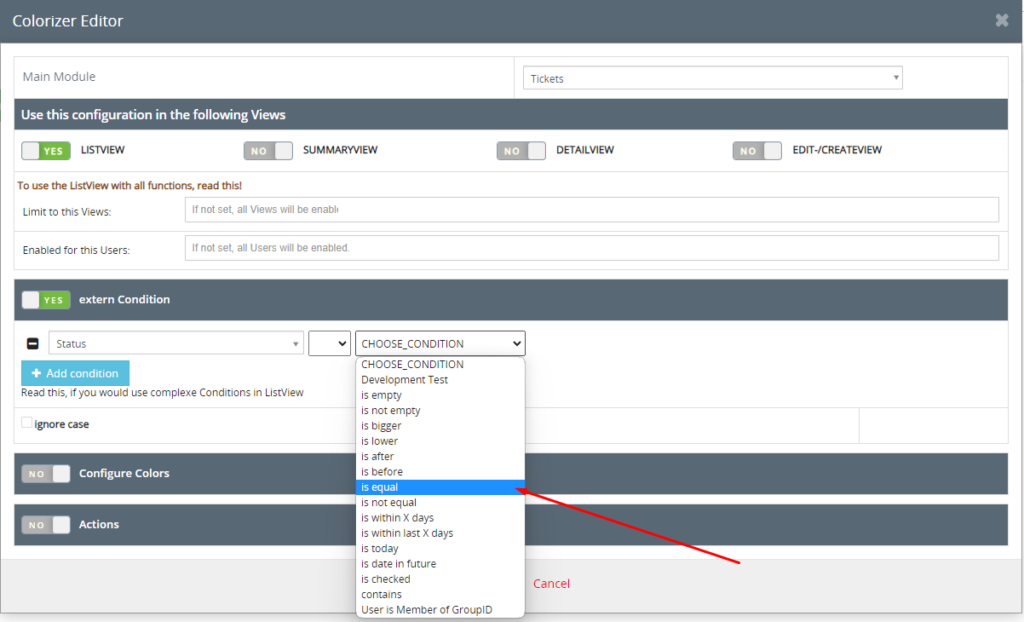
In our case, we have set the condition to “equal”, which means that the color highlighting will be displayed when the status is shown as “open”.
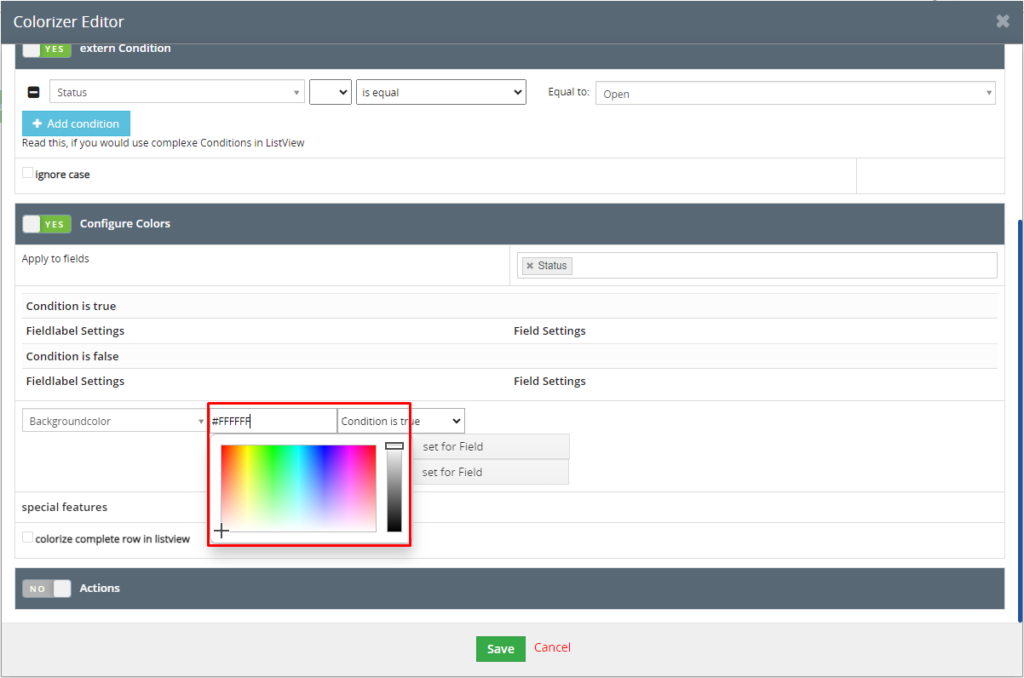
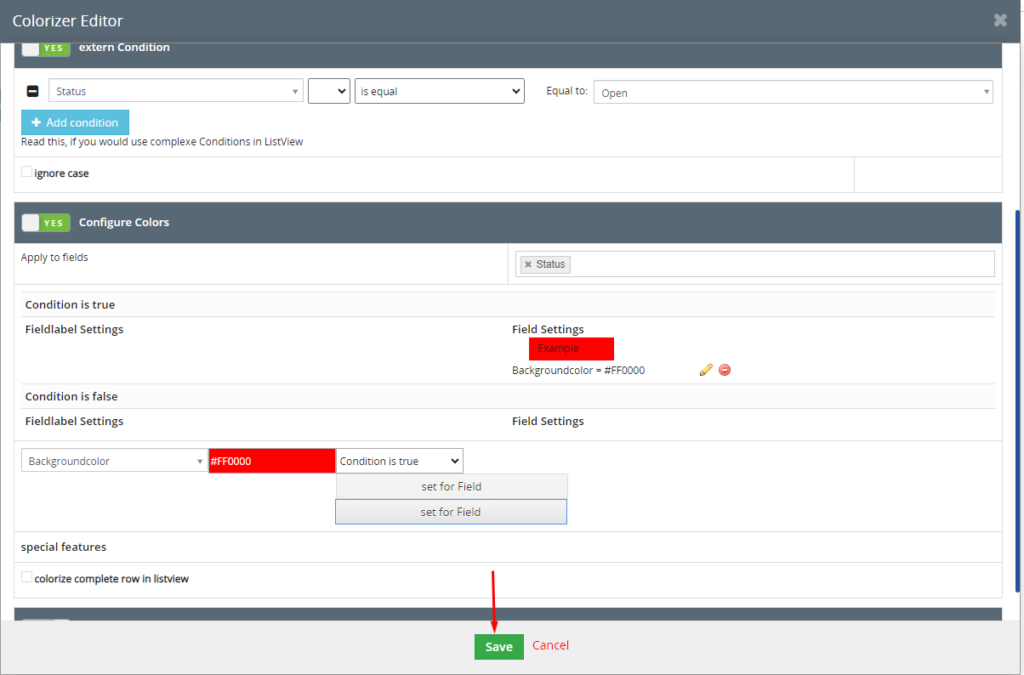
In the further field, the colors are defined. Activate the corresponding field and set your desired colors.
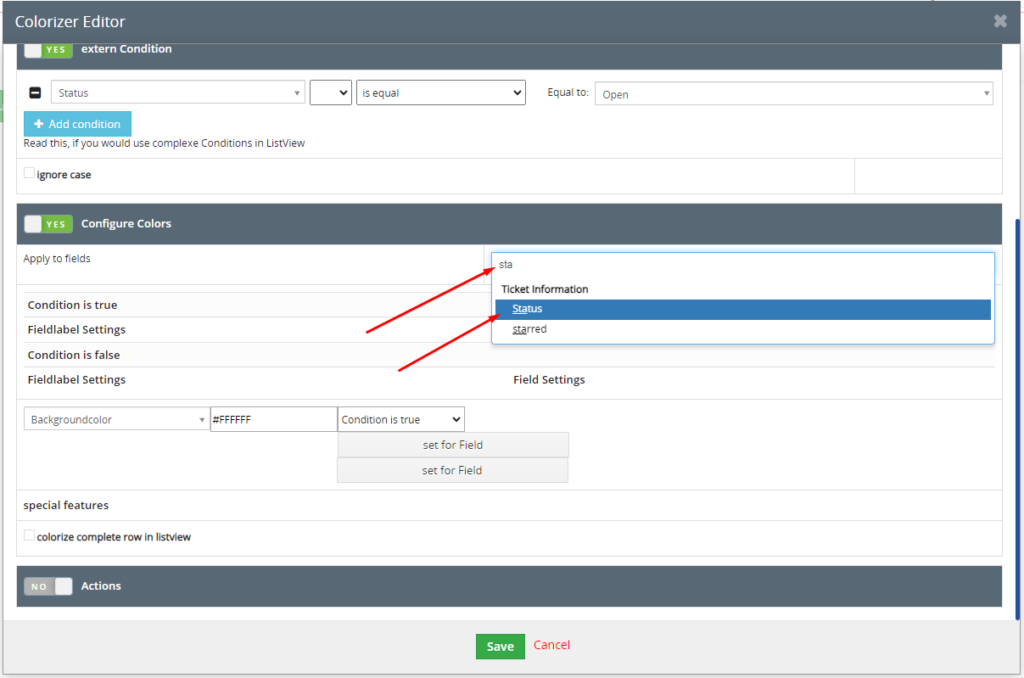
Specify the field in which the color highlighting is to be displayed. In our case, this is to be displayed in the Status field.
Now select your desired color.
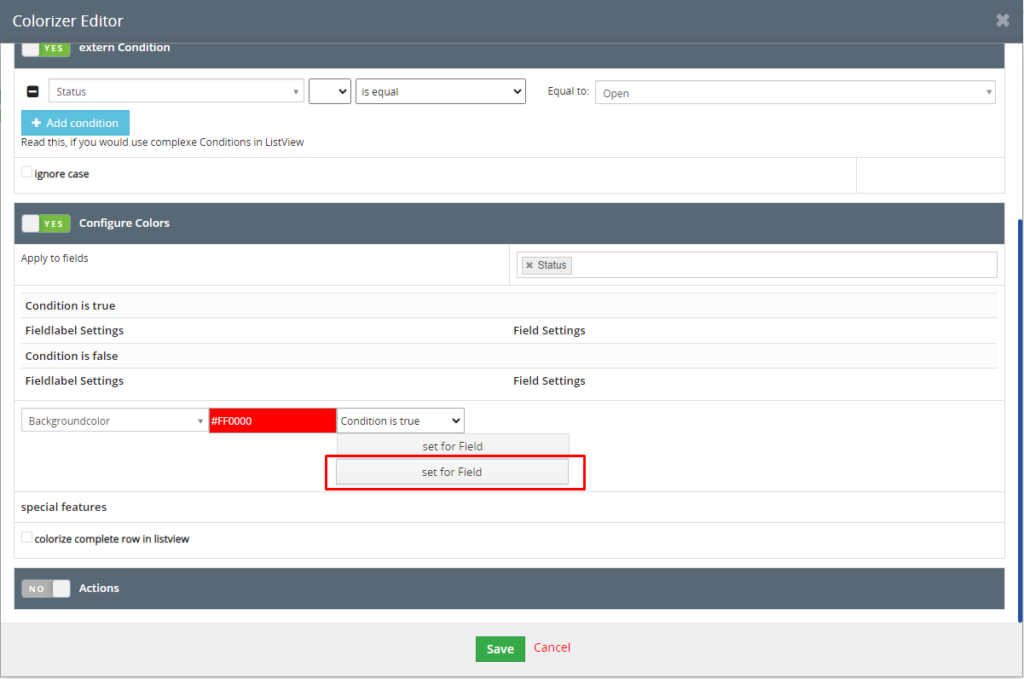
In our case we have marked the “Status” field with the condition “open” in red color. Now mark the button “set for Field”, so that the corresponding field is also activated.
Once you are done with your entries, you can confirm them by clicking the green “Save” button.
You will now see the configuration you created in the Colorizer overview.
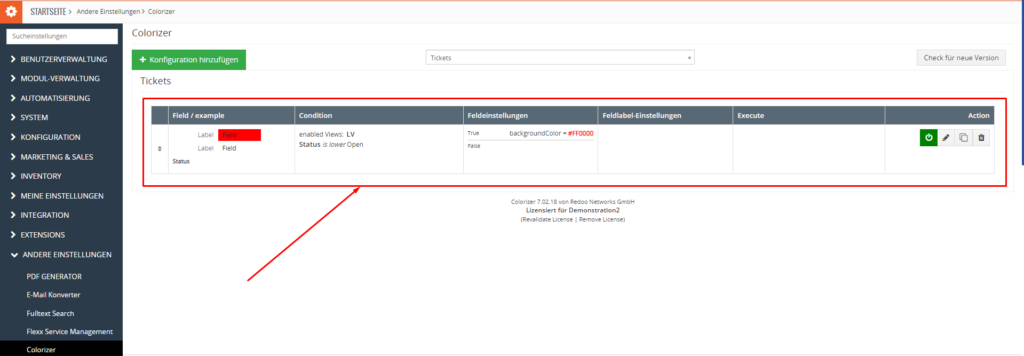
Since in our case the status can change based on the editing, we now create a second configuration for the “Status”.

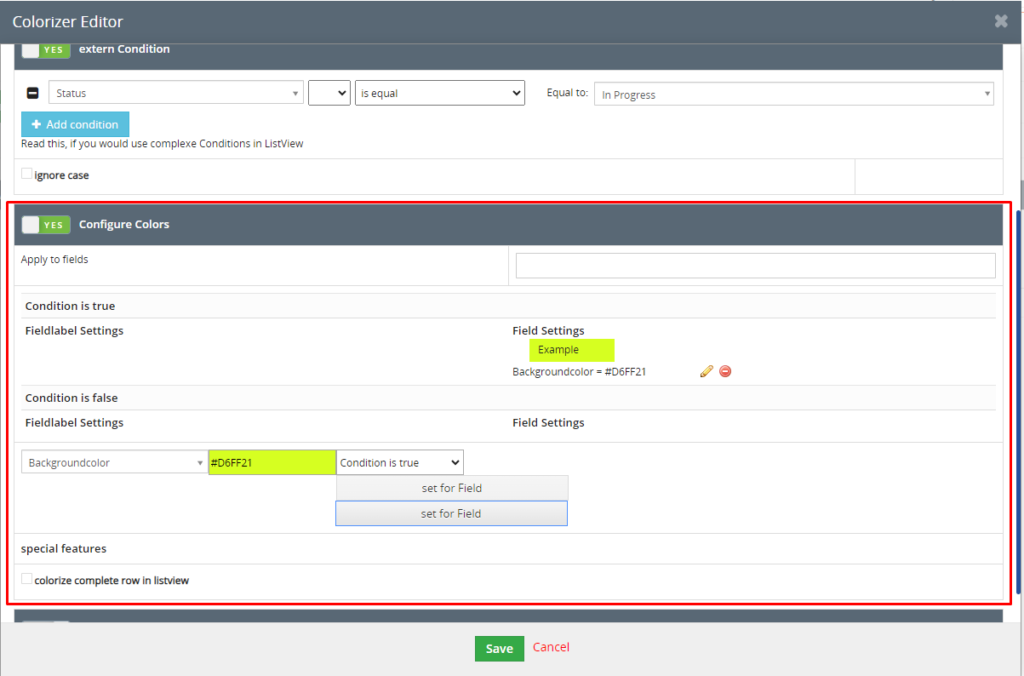
Our status should now be displayed in a different color when the status has changed. In our example, this is applied as soon as the user changes the status to “In Progress”. We would like to display this in yellow color.
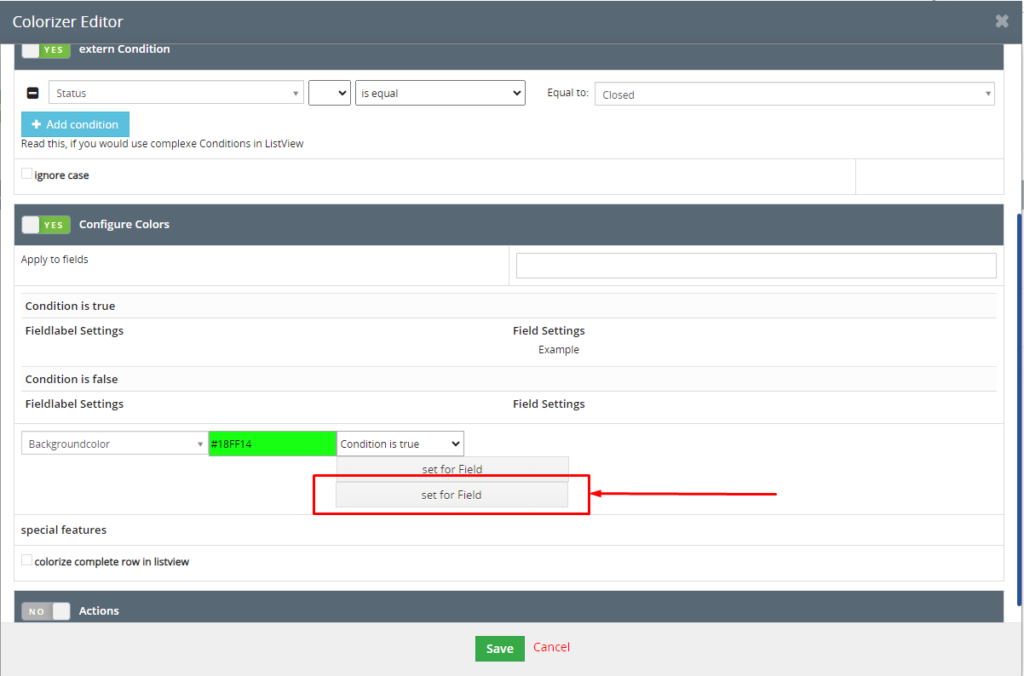
Another configuration is needed in our case as soon as the user sets the status to “closed”. We would then like to display this in green color.

It is still necessary to select where this configuration should be displayed. In our case we always want to select the option “set for Field”.
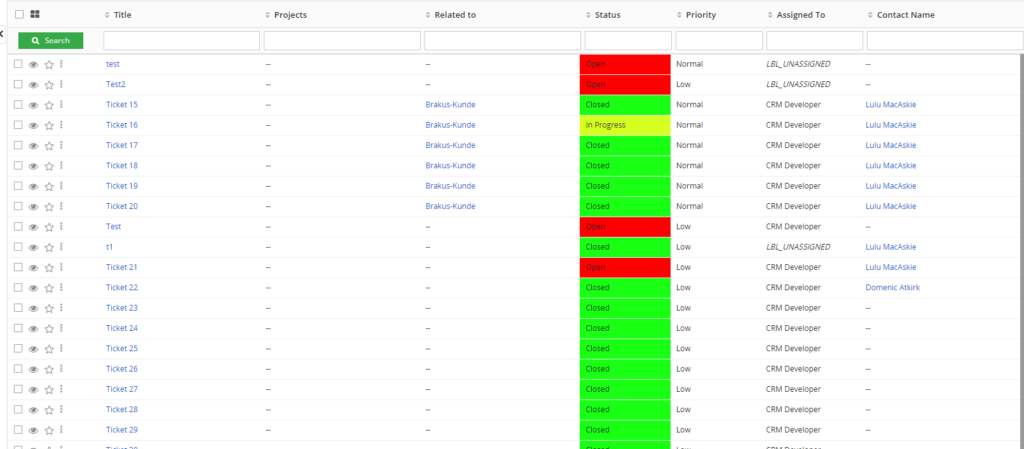
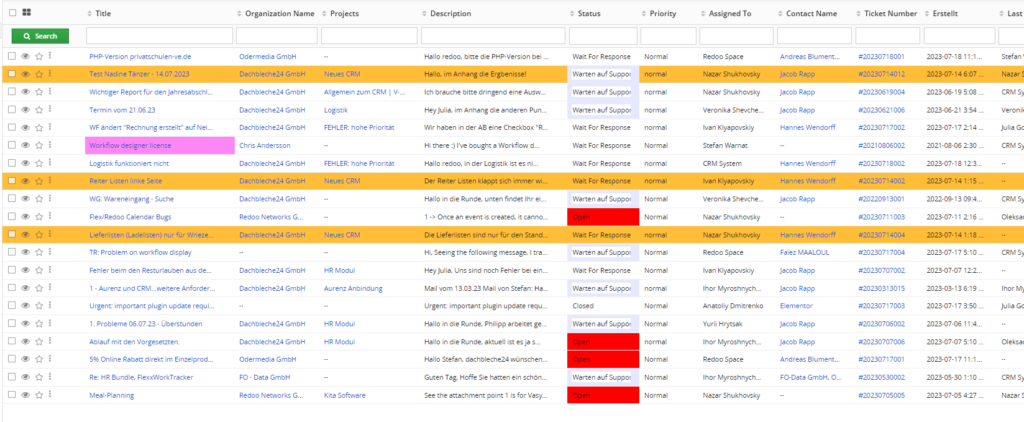
In our list view we can now see the status in different colored backgrounds.